If you want to know how to complete the Abandoned Refuge event in Baldur’s Gate 3, you’re in the right place.
When you finally complete Act One of BG3, you must choose between two paths heading into Act Two. You can either take the overhead Mountain Pass, or go through the underground lands of the Underdark to get to the Shadow-Cursed Lands. While both paths have their own challenges, the Underdark takes you through an optional area, the Grymforge.
But before you get too far into the Grymforge, you must complete the Abandoned Refuge event. If you don’t, certain questlines won’t progress.
How to start the Abandoned Refuge event in Baldur’s Gate 3
Beginning this quest requires you to complete Act One or to get to the point where you’re given the choice of the Mountain Pass or the Underdark. Since the area we need to get to lies in the Underdark, we must find a way to get there first.
Getting to the Underdark
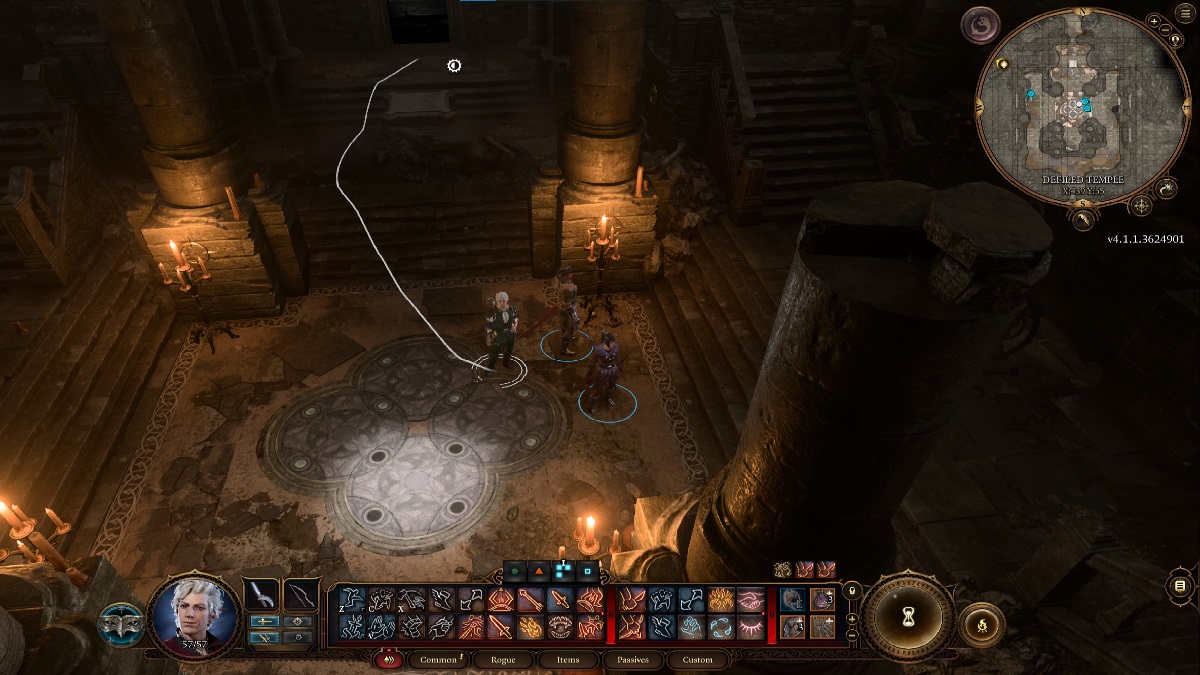
The first order of business is gaining access to the Underdark. There are multiple paths you can take to get there, but the quickest way is from the Goblin Camp. If you have sided with the Goblins, it is much easier to traverse through the camp. If not, clear out all the remaining hostile Goblins and head deeper into the Shattered Sanctum.
Clear the puzzle in the Shattered Sanctum to gain access to a ladder that takes you to the Underdark. Once here, we head to the Grymforge.
Finding the Grymforge
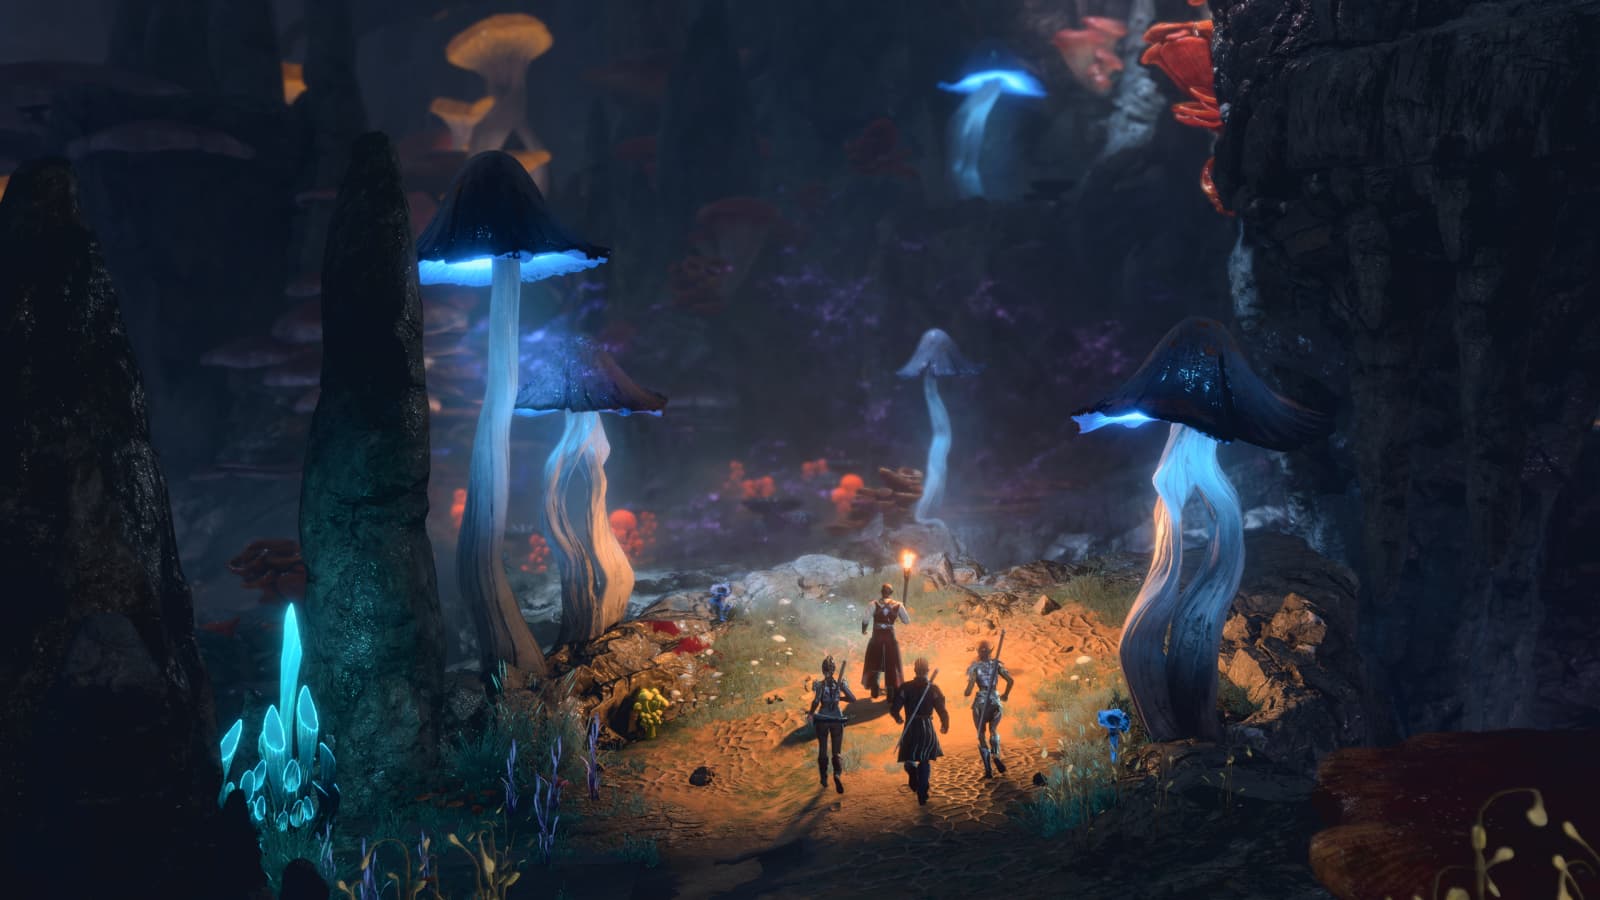
Make your way to the southwestern portion of the Underdark until you get to the beach area. Once you arrive, you are stopped by the Duergar. Either deceive them or battle them to gain access to their boat. Take the boat and watch the cutscene till you are stopped by Corsairs. Once again, either convince them to let you go or fight them to proceed.
After the boat successfully makes landfall, you are at the Grymforge.
Heading through the Grymforge
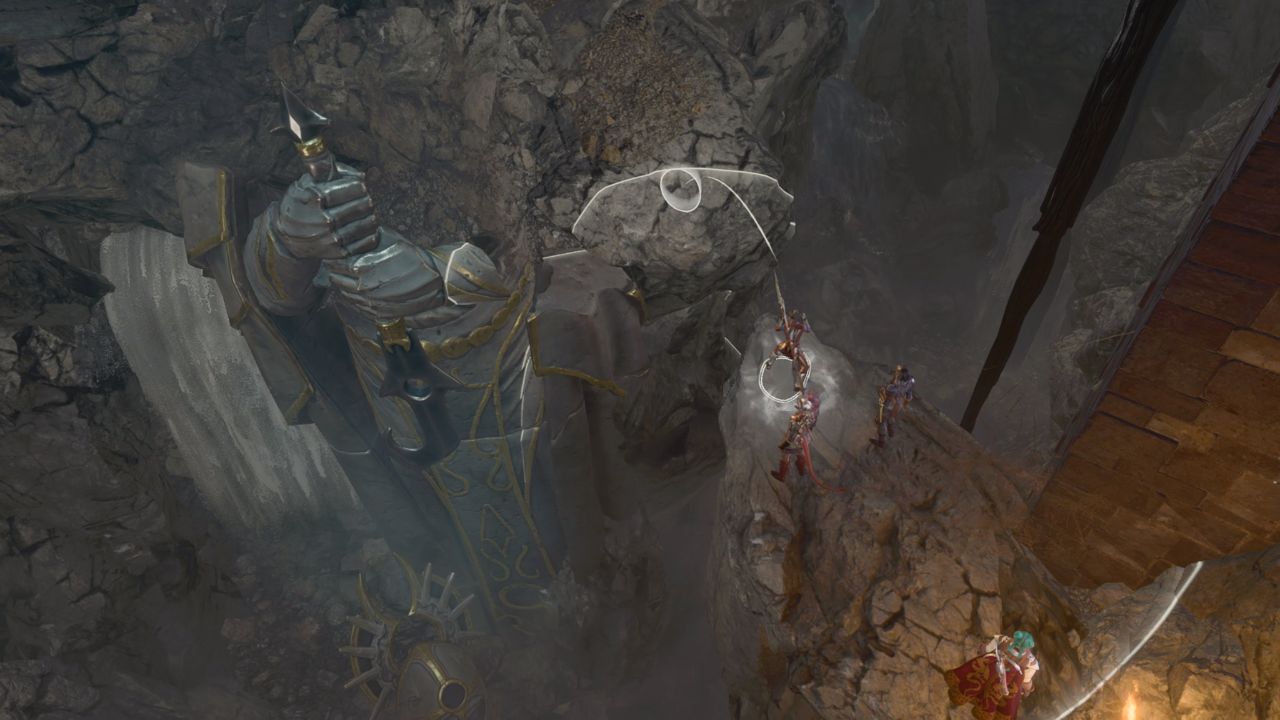
Once here, you are stopped by more Duergar. Convince them you are with the Absolute and none will bother you during your time here. Head off the boat and make your way south from your starting point. Keep traversing through the ruins of the forge till you encounter a roadblock in your way, which involves a group of Duergar and a rockslide.
The rockslide has trapped True Soul Nere, a servant of the Absolute who needs to be saved (or dealt with) to complete this event.
How to finish the Abandoned Refuge event in Baldur’s Gate 3
The next portion of this quest focuses on saving True Soul Nere before he perishes to the poisonous fumes in the room he is trapped in. Talk to Sergeant Thrinn to come up with a plan to blow away the rubble blocking the room so that you can get to True Soul Nere.
Getting to True Soul Nere
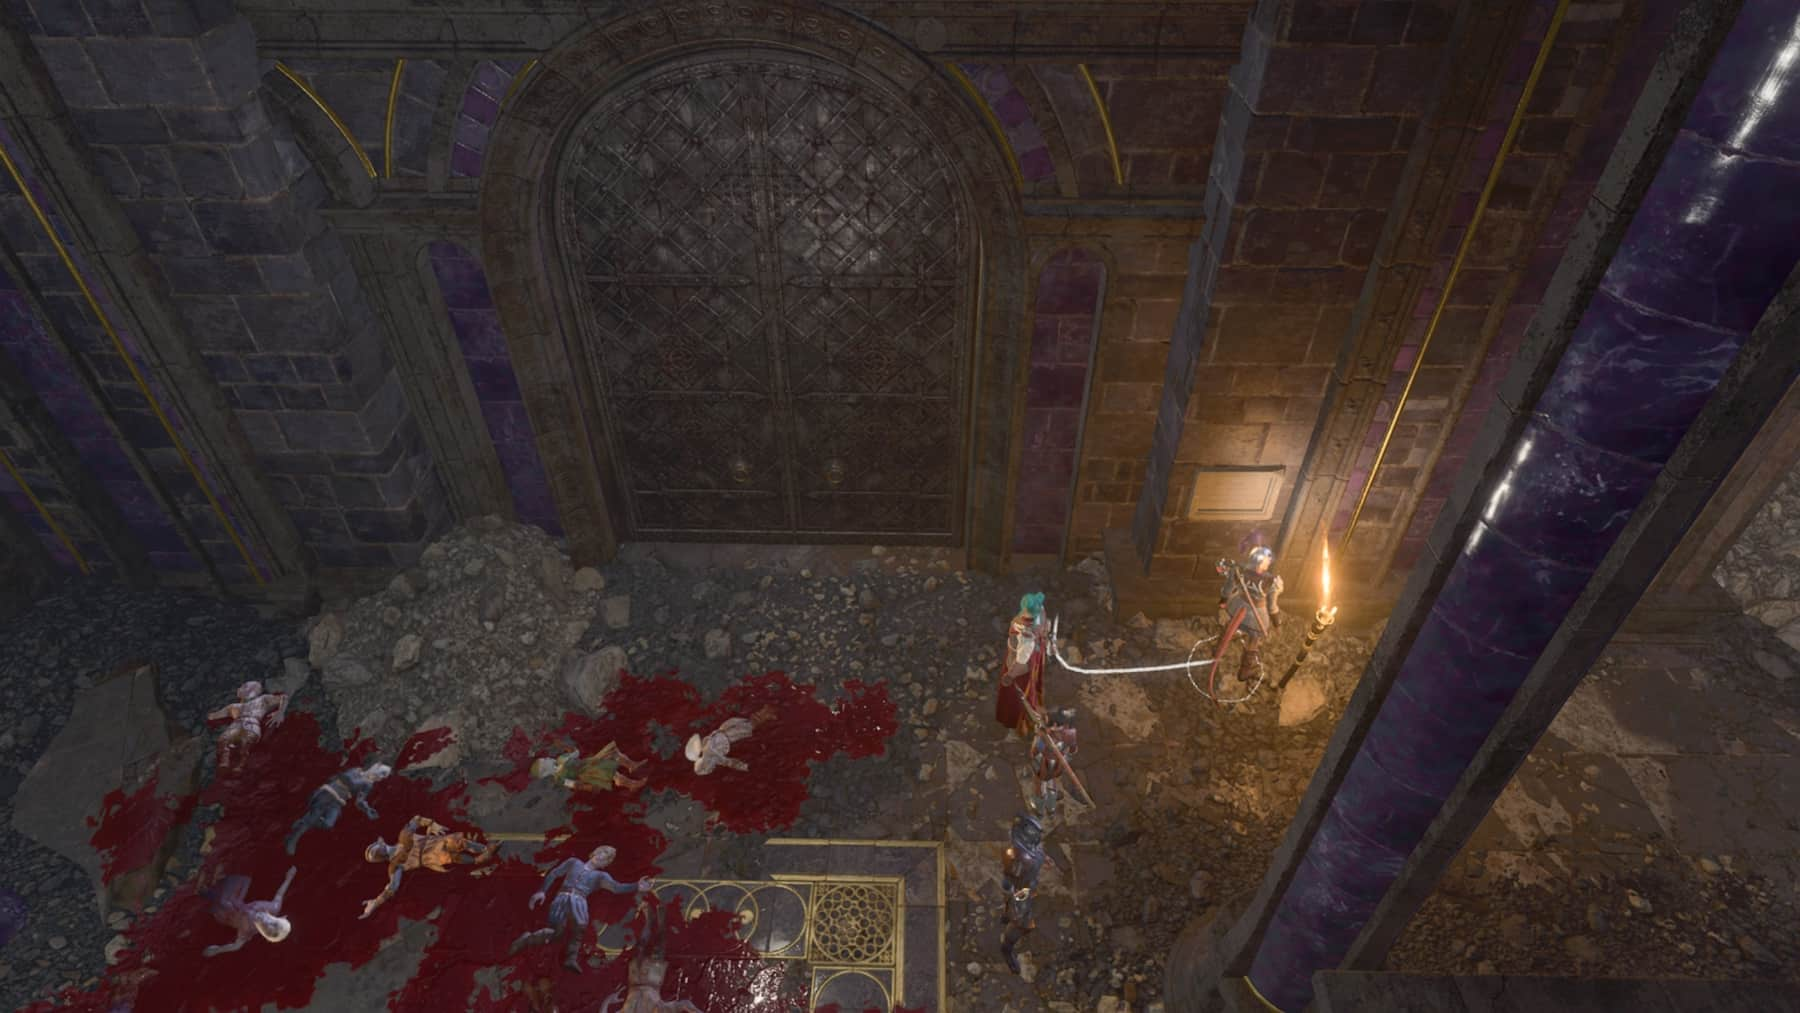
The straightforward option to do this involves finding Philomeen. The catch is that you have to explore the upper portions of the Grymforge to find her. After doing a fair bit of platforming, you find Philomeen in a room full of Runepowder explosives. Convince her you did not come to capture her and she gives you a Runepowder vial.
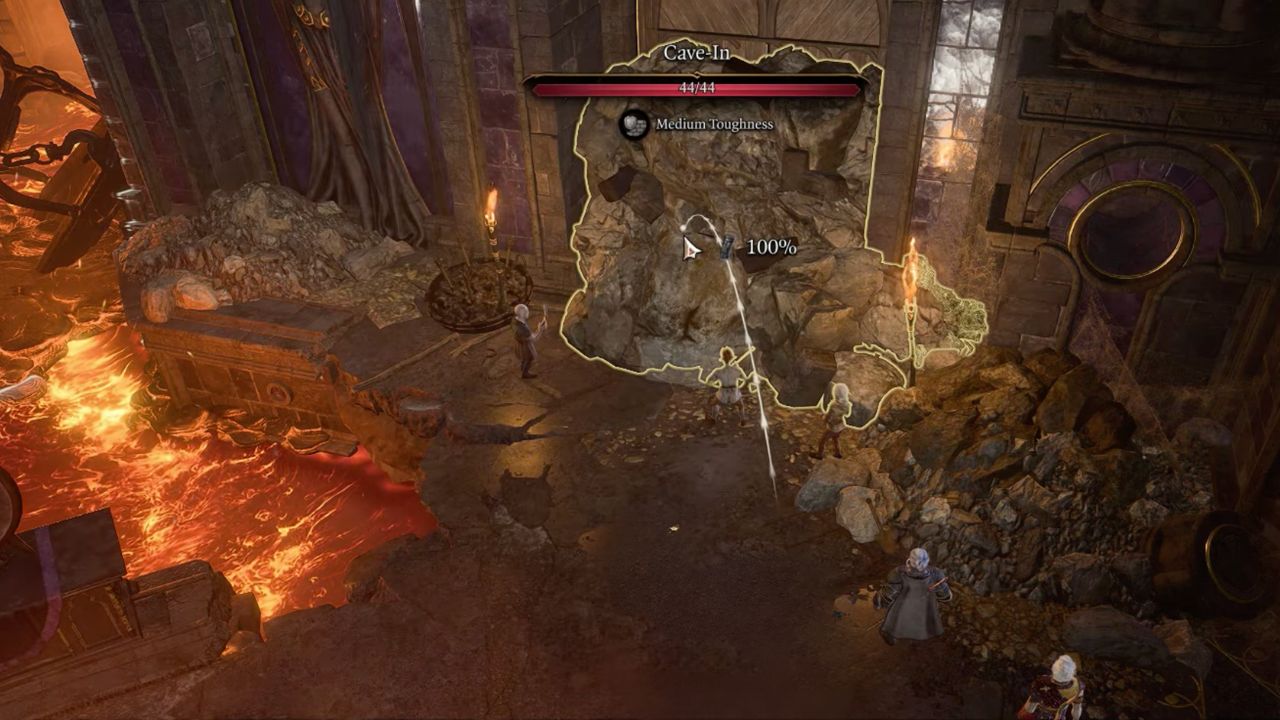
You can use this Runepowder vial to blow up the rocks blocking your way (make sure not to hit any Duergar). Alternatively, if you already have explosives, you can toss them atop the wall to achieve the same results. Regardless of how you do this, True Soul Nere will be freed.
From this point on, you must decide whether to side with Nere or turn against him to progress ahead.
Siding with True Soul Nere

Siding with Nere is definitely the easiest choice of the two, although most of your companions frown upon it. You then have to fight all the Duergar in the vicinity, but having True Soul Nere on your side makes this battle a lot easier. Prove your loyalty to the Absolute by clearing up all the Duergar, and True Soul Nere tells you how to safely head through the Underdark.
On the flip side, if you’re playing a good character and find Nere reprehensible, you can choose to fight him instead.
Siding against True Soul Nere
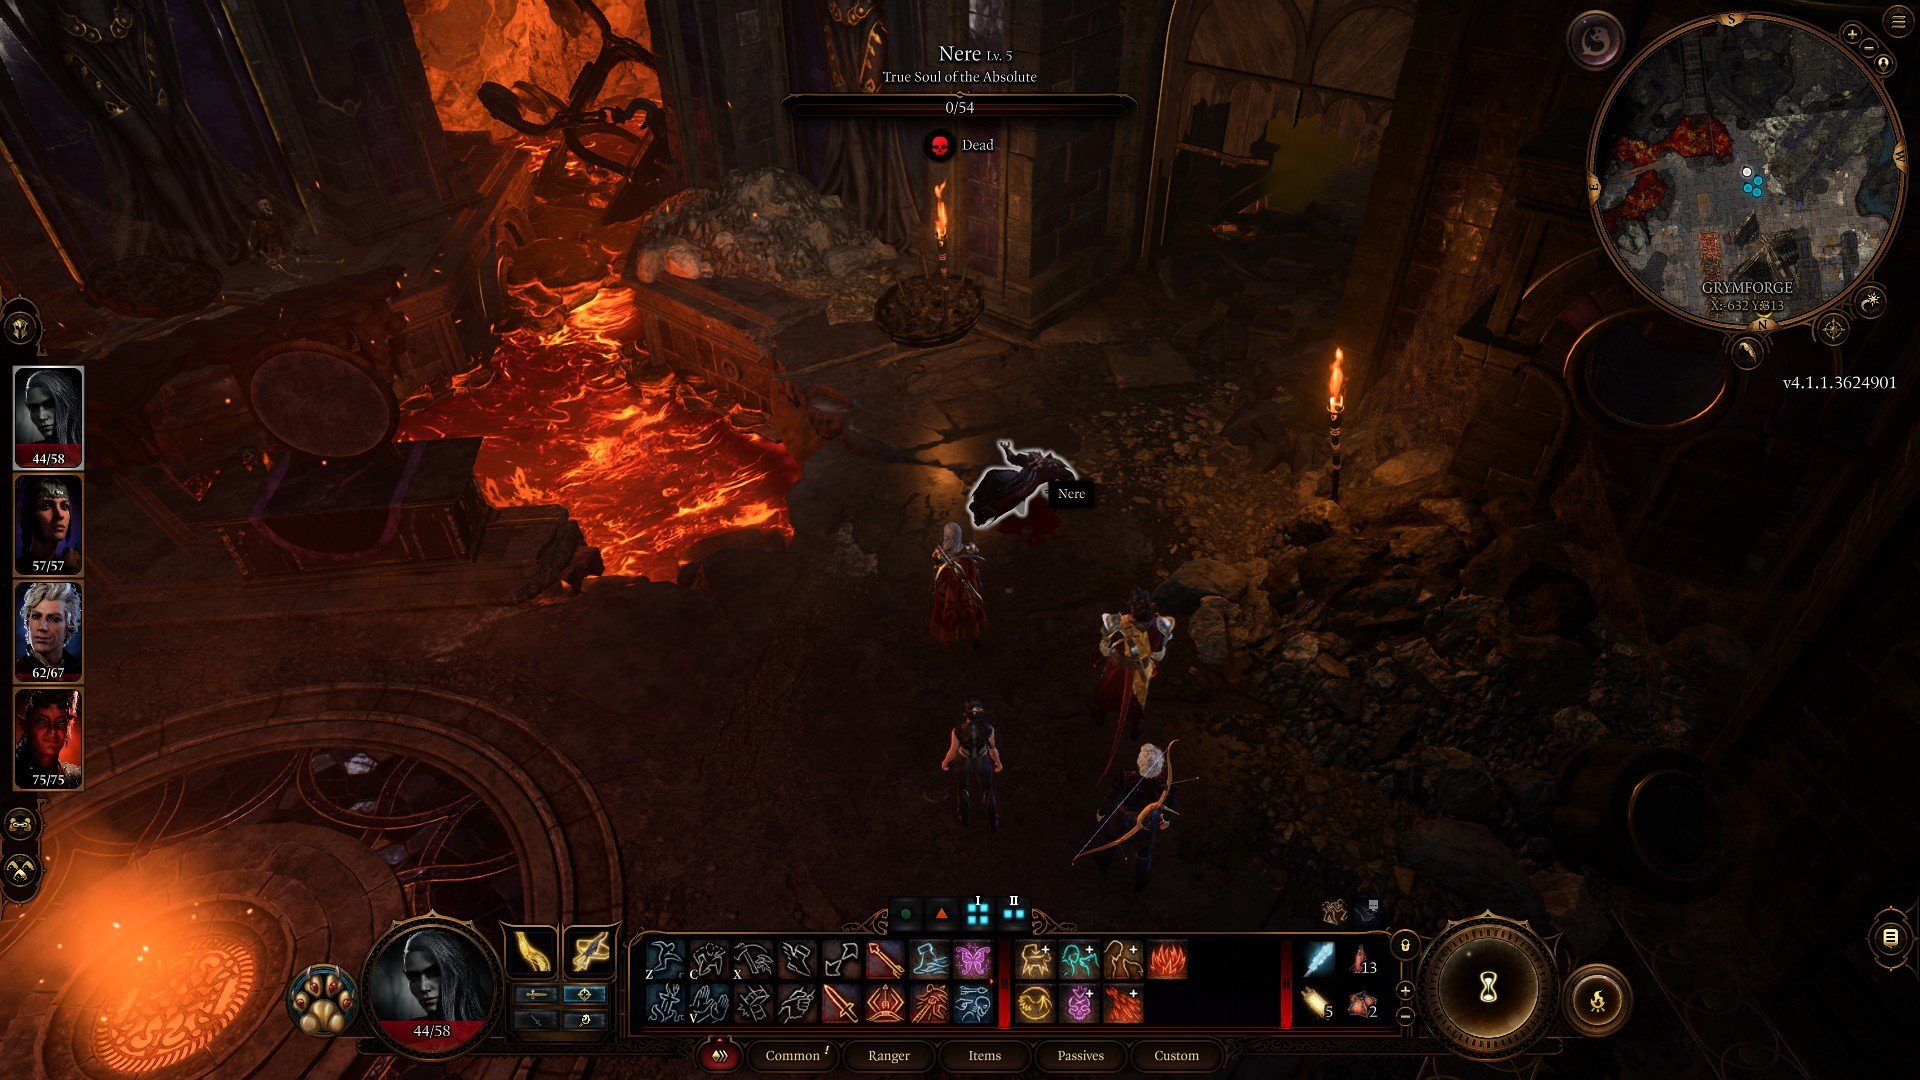
Siding against Nere is undoubtedly the more difficult option because not only do you have to fight Nere, but you also have to fight the Duergar who take his side. This means you have to go through the same fight while holding off Nere, which can be difficult for the unprepared. However, if you’re looking for a challenge and Nere’s head for the Myconids, this is the option to choose.
Regardless of your decision, the Abandoned Refuge event ends here, allowing you access to the remainder of the Grymforge with nothing else in the way.
Aftermath and access to the Adamantine Forge
You can save the rest of this section for later because of the difficulty of the upcoming boss fight. But, if you want your Adamantine weapon or armor, you have to head to the Adamantine Forge portion of this area, with a mould of your choosing. You can find these moulds scattered around the Grymforge as you explore the region, and there are several more near the Adamantine Forge itself.
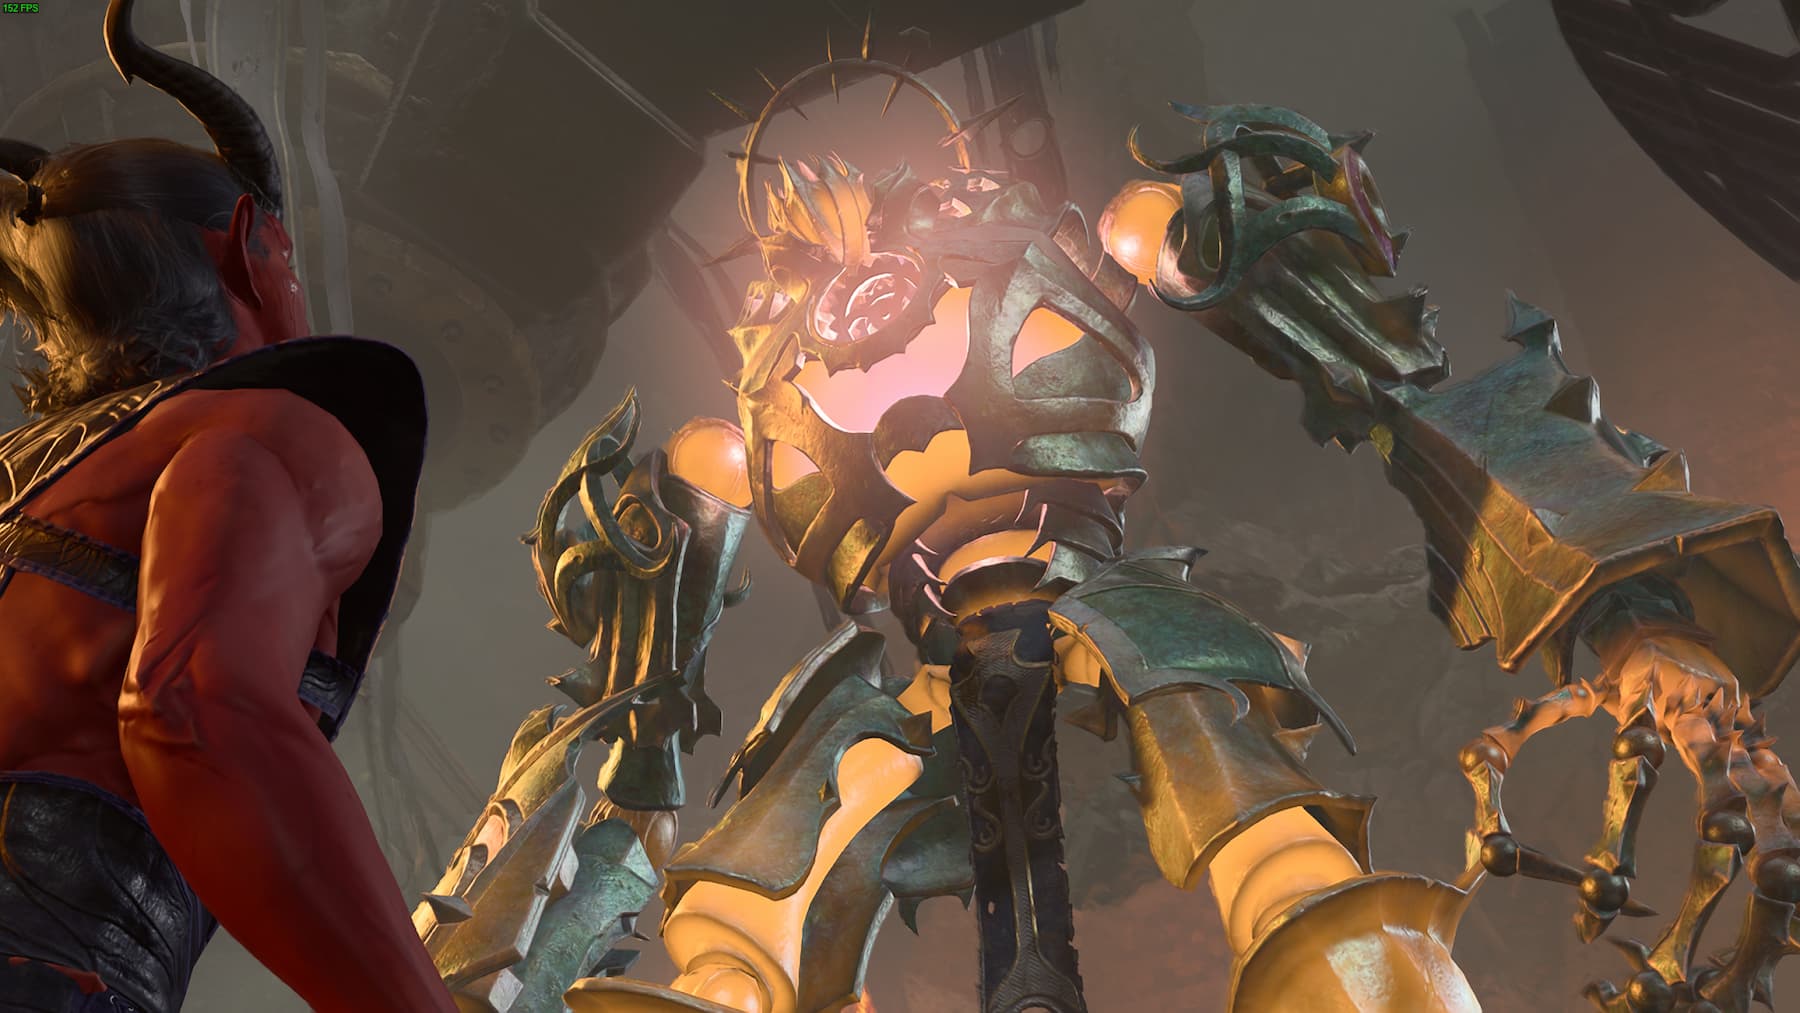
Once you acquire the mould and the materials to craft the Adamantine weapon or armor, put them in the Adamantine Forge and activate it. This triggers the master of the Grymforge, the massive golem construct Grym, to battle you. Defeating him takes some time, since you can only damage him when he’s in the lava, but you can use the Forge Hammer to make this battle easier.
Defeating Grym and creating your Adamantine weapon marks the end of the major content in the Grymforge, so make sure you’ve thoroughly explored the place before moving on to Act Two.
Others Asked
What choices does a player have when creating a character in Baldur's Gate 3?
Players can choose their character's race, class, subclass, abilities, proficiencies, and background when creating a character in Baldur's Gate 3.
What significant decision must players make in Act Two of Baldur's Gate 3?
Players must decide whether to save or kill the Nightsong.
What must players do to access the Adamantine Forge in Baldur's Gate 3?
Players must defeat the guardian of the Adamantine Forge, located in The Underdark as they journey towards Moonrise Tower, to access the forge and craft powerful items.








Published: Aug 27, 2024 03:30 am