
The Adamantine Forge is quite the unique location in Baldur’s Gate 3 and can be extremely rewarding for players to visit if they’re looking to upgrade their weapons and gear. One of the pitfalls that stop many players from being able to use the forge, though, is the giant construct enemy known as the Grym.
The Grym appears as soon as lava is released into the forge after you have descended down and added ore and a mould into the machine. If you click on the Grym and examine it, you will see that it has over 200 health and no weaknesses. It resists all damage, meaning that you and your party will not be able to damage it using your spells or attacks.
However, that’s only true in a certain scenario. Moreover, the Grym has one, glaring weakness that you need to exploit if you want to defeat it in in Baldur’s Gate 3.
Defeating the Grym in Baldur’s Gate 3
I personally spent more time than I care to admit trying to figure out how to beat the Grym. Luckily for you, you’re able to learn from my mistakes and defeat him with little to no issue. This will make your future trips to the Adamantine Forge much simpler.
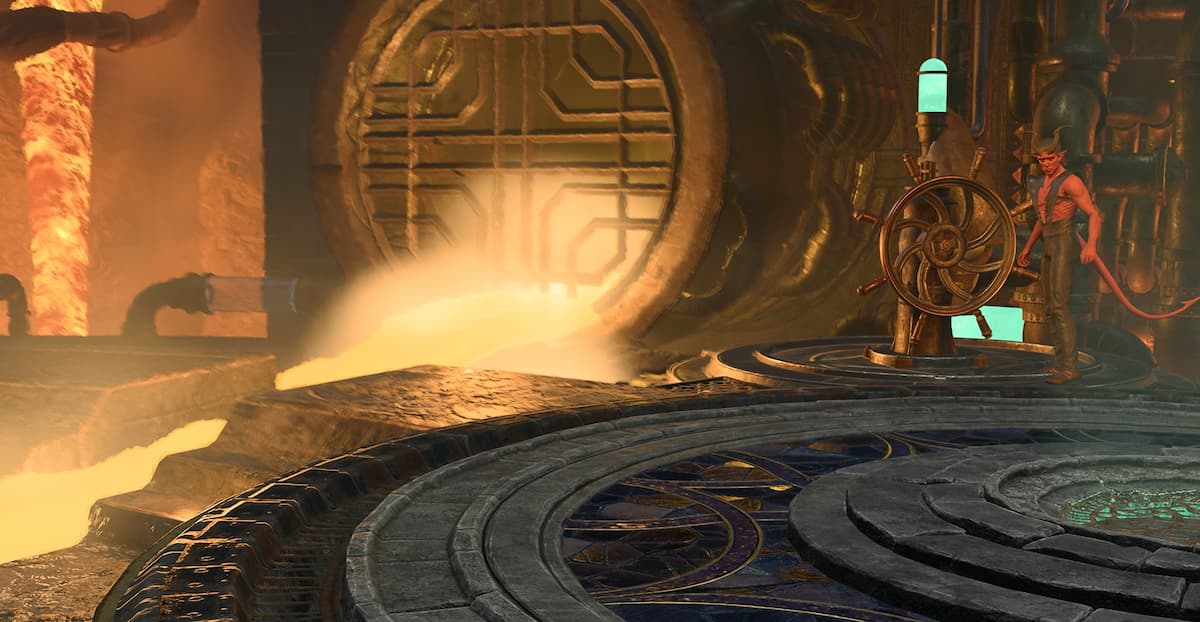
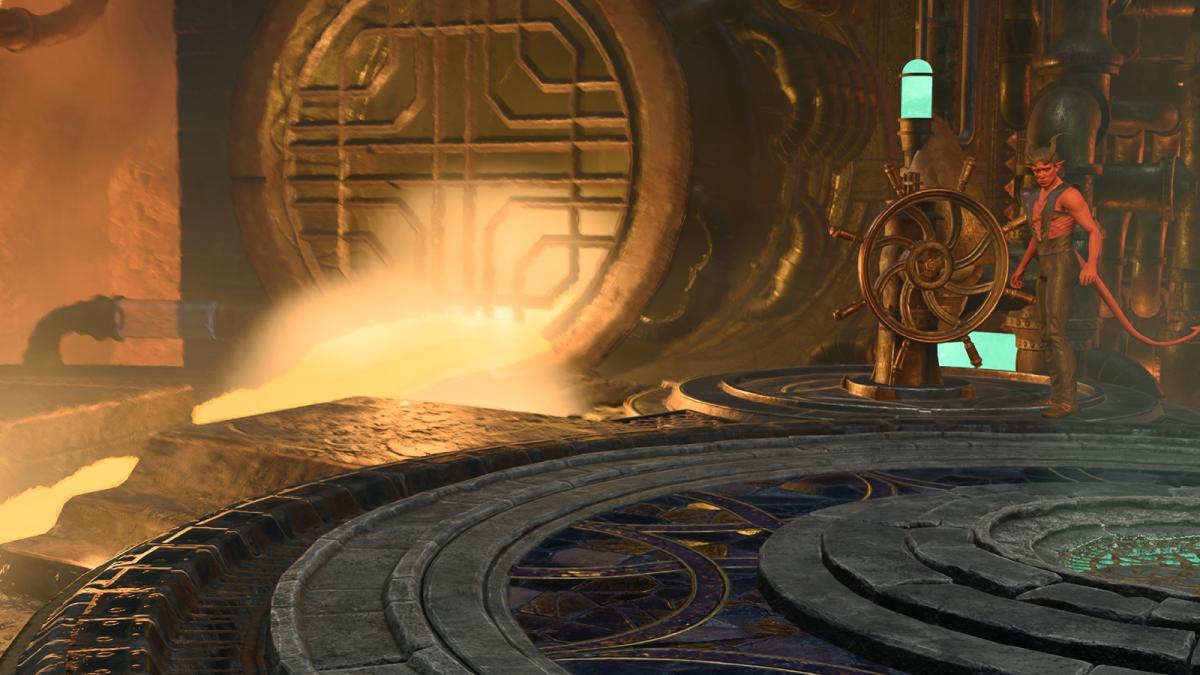
There is a specific setup that you will need to prepare if you want to damage the Grym. First, take one of your characters that knows Misty Step, Fly, or can jump far and place them on the mould ejection chamber, which is right next to the crucible in the middle of the area. Ideally, this is the character that goes first in the attack order. You also want to have one character right by the forge lever, which makes the platform go up and down and brings the hammer down on the crucible, and another character by the lava lever, which makes lava rush into the forge.

From here, have your character standing on the mould ejection chamber damage the Grym with their most accurate spell or attack. This attack needs to hit, as when it does, that character will become the Grym’s sole focus—it won’t target any other character until it is damaged by someone else. The point of this is to have the Grym make its way over to the character in the chamber and have it stand on or right near the crucible.
Related: Baldur’s Gate 3: How to romance Shadowheart in BG3
When this happens, you need to ensure that the Grym still has the “Superheated” status. You can check this by hovering over the enemy and looking at the top of the screen. The Grym is always superheated when the lava is on the platform. If your scenario lines up like this, then have your character standing next to the forge lever pull it, releasing the hammer on the crucible.
If the Grym is close enough to the crucible, the hammer will damage it for over 100 points and cause it to go prone. To get the Grym’s health to zero, you just have to repeat that process. At certain times during the fight, the lava will drain away. You can easily fix this by having your character near the lava lever pull it to release more of the fiery substance onto the platform.

When the Grym is defeated, you can retrieve your Adamantine gear from the mould chamber. Also, remember to loot the Grym’s body, as it holds the Grymskull Helm: a very rare helmet that grants players resistance to fire damage, the Hunter’s Mark spell, and makes the wearer immune to critical hits.
Others Asked
What is the Adamantine Forge used for in Baldur's Gate 3?
The Adamantine Forge is used to create powerful and unique weapons and armor in Baldur's Gate 3.
What must players do to access the Adamantine Forge in Baldur's Gate 3?
Players must defeat the guardian of the Adamantine Forge, located in The Underdark as they journey towards Moonrise Tower, to access the forge and craft powerful items.

How can players craft Adamantine weapons in Baldur's Gate 3?
Players need a specific weapon mould and one piece of Mithril Ore, which can be found in the Grymforge area, and then activate the Adamantium Forge to create Adamantine weapons.


Published: Aug 7, 2023 08:00 pm