
Despite offering a nearly endless supply of game-altering choices, Baldur’s Gate 3 doesn’t offer too many options when it comes to crafting gear. However, there are several notable items you can make from a specific location: the Adamantine Forge.
The Adamantine Forge appears as you walk through The Underdark, a notoriously dangerous area you’ll find as you embark on your journey to Moonrise Tower. After defeating the Adamantine Forge’s guardian, you’ll have a chance to begin crafting one of six powerful items that you can bring with you on your journey. Knowing the stats of these important items and how you can use them in your party is good. Here’s what you need to know about all Adamantine Forge items and how they work in BG3.
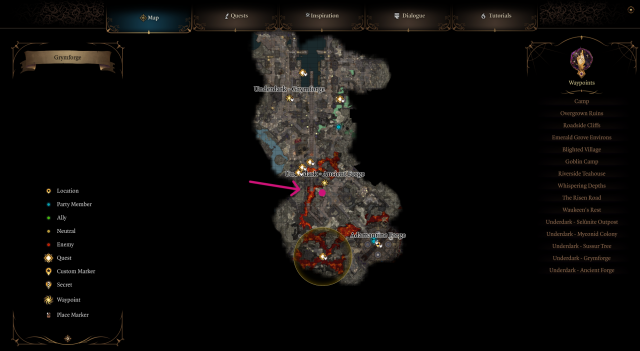
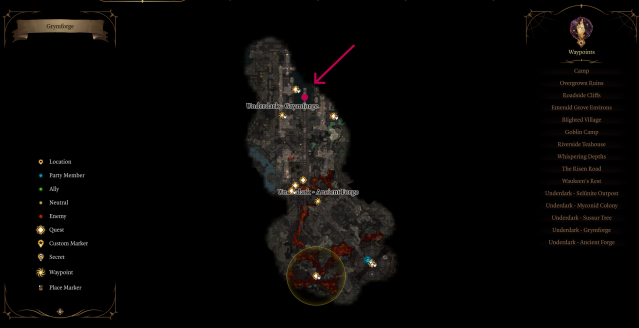
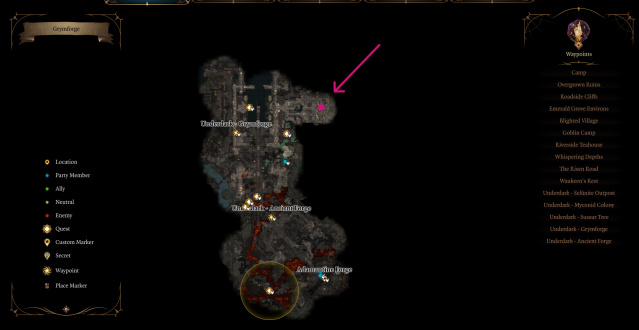
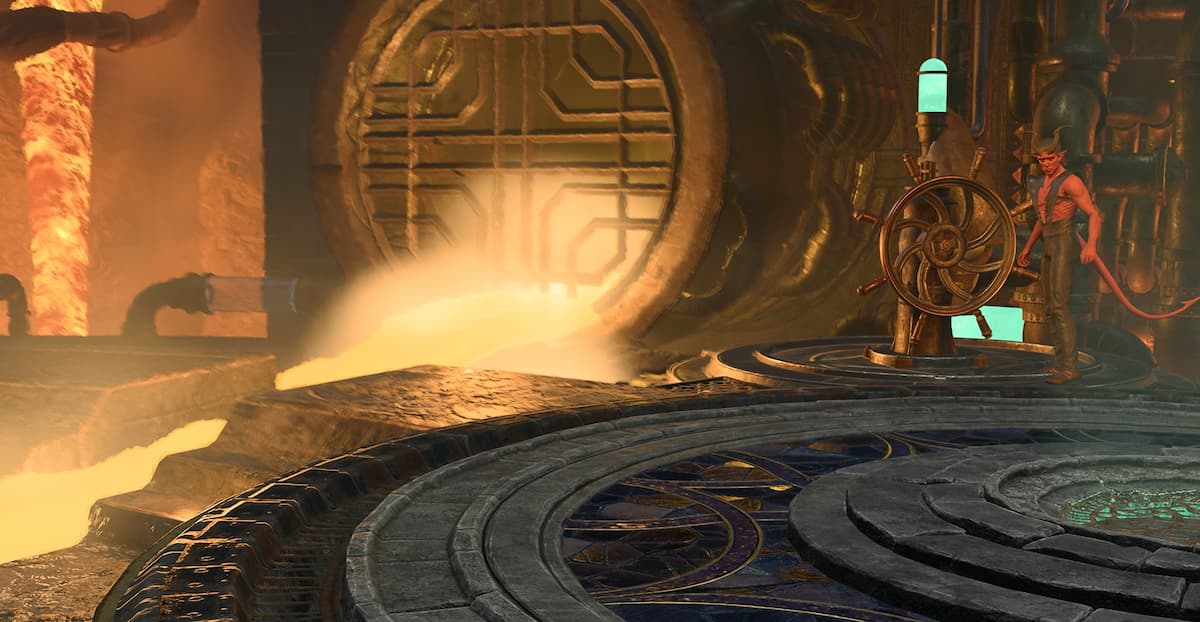
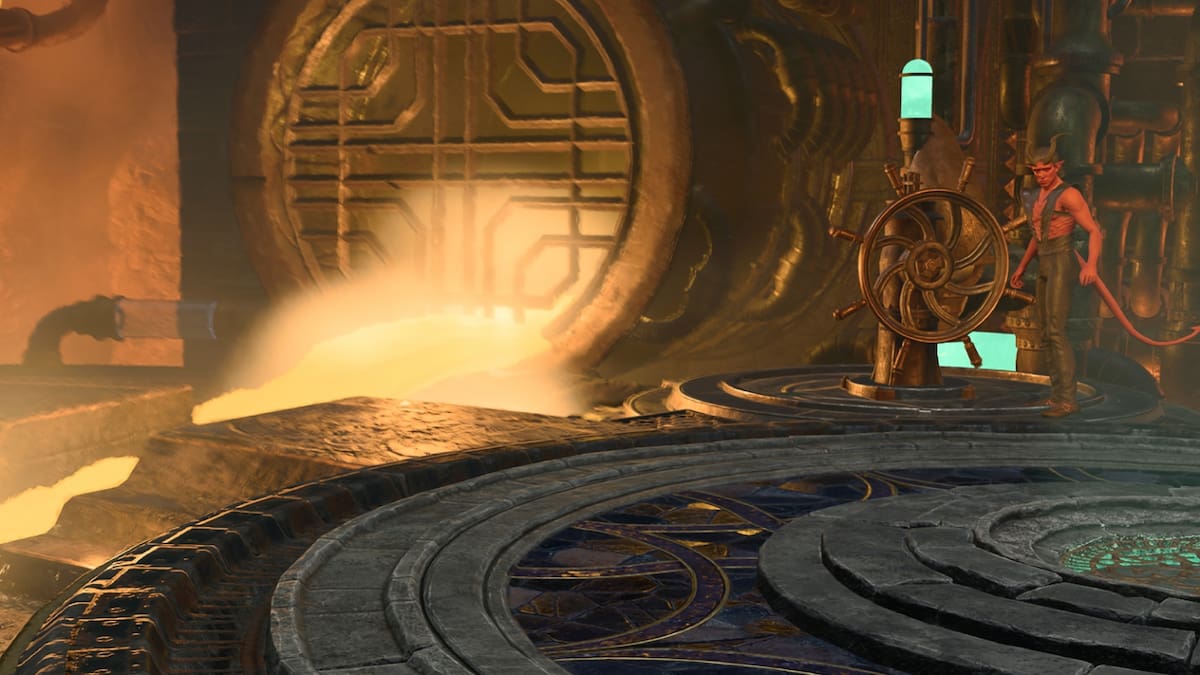
Where to find the Adamantine Forge in BG3
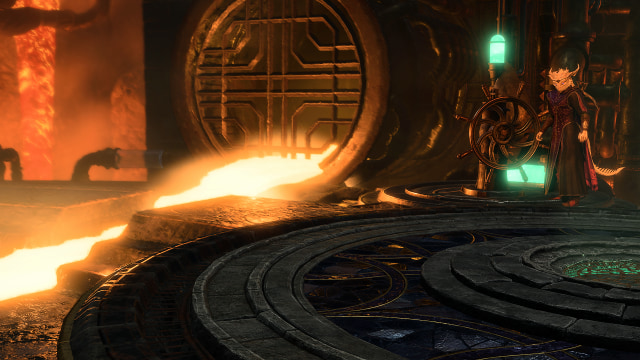
The Adamantine Forge is an optional quest line in BG3 that occurs toward the end of Act One as players prepare to enter the Cursed Shadow-Lands via the Underdark. The quest starts in Grymforge, an ancient city now inhabited by Duergar, and ends with the option to craft two Adamantine items in the forge beneath the city. There’s a good chance you’ll pass by this location as you explore the Underdark, and it’s a required location to reach Moonrise Tower.
While you can only craft two pieces of equipment, there are six options: Three armor pieces and three weapons.
Each piece has its own mould that you must find in the area surrounding the Adamantine Forge (we’ll cover where to find molds as part of each item description).
All Adamantine Mace stats in BG3
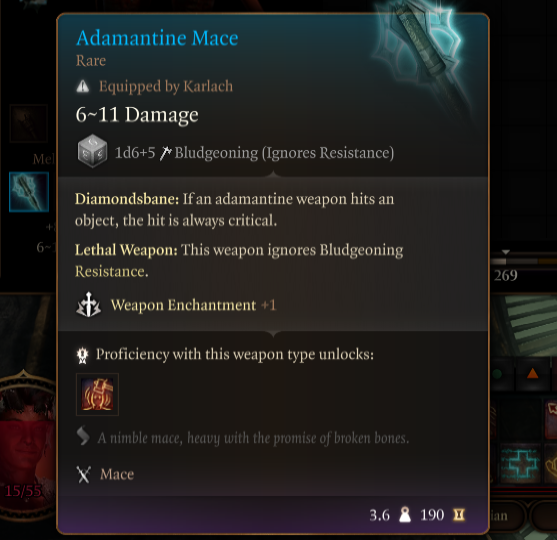
The Adamantine Mace is blunt weapon that comes with a plus-one Enchantment. It’s the heaviest of the three weapons you craft at the forge in BG3, but as an Adamantine weapon, it has Diamonsbane, where it lands a critical hit to any object. Given that all Adamantine Weapons also ignore Resistance, there isn’t a situational angle to justify choosing this weapon. This is not one of the weapons we recommend you use, but if you’d like to try them all out yourself, it’s not a bad idea, especially if you already have a character in your party with an excellent sword.
However, you might prefer the Blood of Lathandar mace over this one.
Adamantine Mace stats
- 1d6 +Modifier Bludgeoning Damage
- +1 to Attack and Damage Rolls
- Ignores Bludgeoning Resistance
- Automatic Critical Hits when attacking inanimate objects
You can find the mould for the Adamantine Mace on top of the stone tablet at coordinates (X: -609, Y: 284) at the Gyrmforge.
All Adamantine Longsword stats in BG3
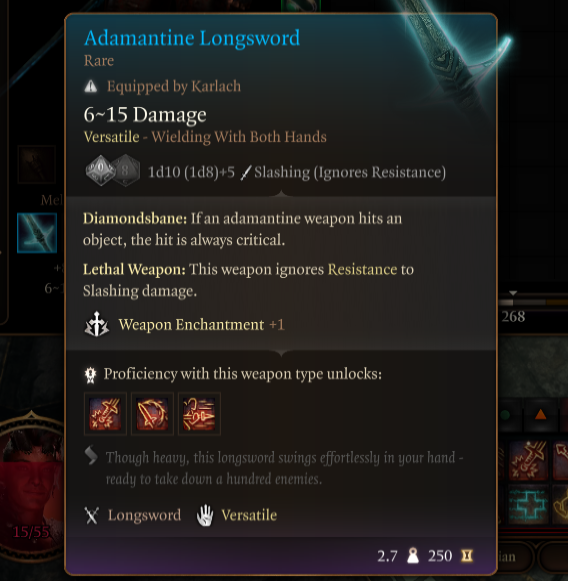
The Adamantine Longsword is the most versatile weapon choice and arguably the best in all but a select few unique circumstances. It has the Versatile Feature, which means you can wield it with either one or two hands, Longswords can be a solid choice of weapon for almost every class in BG3. This is our preferred weapon of choice when crafting items at the Adamantine Forge, especially if you have Karlach or Shadowheart in your party.
Adamantine Longsword stats
- 1d8 (equipped in one hand) or 1d10 (equipped in two hands) +Modifier Slashing Damage.
- +1 to Attack and Damage Rolls with this weapon.
- Ignores Slashing Damage Resistance.
- Automatic Critical Hits when attacking inanimate objects.
To find the mould for the Adamantine Longsword, you need to reach the metal catwalk suspended above Grymforge. You can do this in several ways; the easiest way is to jump onto it with any character wit high Strength, or if you have a spell/potion to enhance your jump. You can also find this mould in the Grymforge at coordinates (X: -625, Y: 410).
Adamantine Scimitar
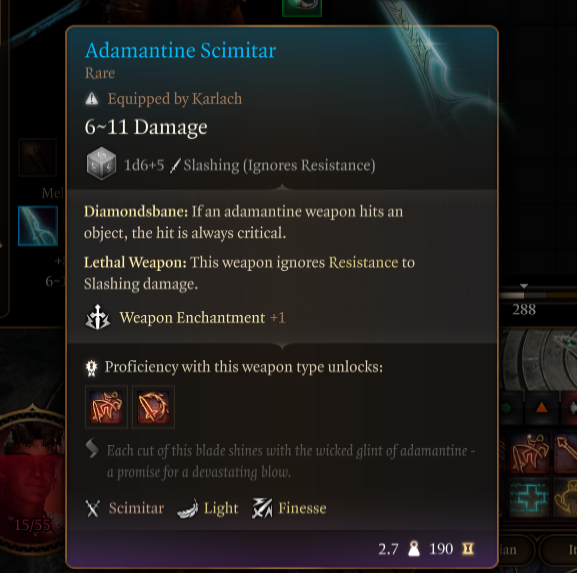
The third and final weapon you craft at the Adamantine Forge in BG3 is the Adamantine Scimitar. It’s a sword that comes with the Light Property and is an excellent choice if you want to use this in a character’s off-hand, making it ideal for Rogues, Fighters, or Monks who have two-handed fighting, and it uses a character’s Dexterity stat rather than Strength.
Adamantine Scimitar stats
- 1d6 +Modifier Slashing Damage
- +1 to Attack and Damage Rolls
- Ignores Slashing Resistance
- Automatic Critical Hits when attacking inanimate objects
- Light and Finesse Properties
Finding this mould is relatively easy. You should be able to track down this mould quickly. On your way to the Adamantine Forge, in the Gyrmforge region, it appears at coordinates (X: -607, Y: 322). It should appear next to the two levers on the sky platform.
Adamantine Shield
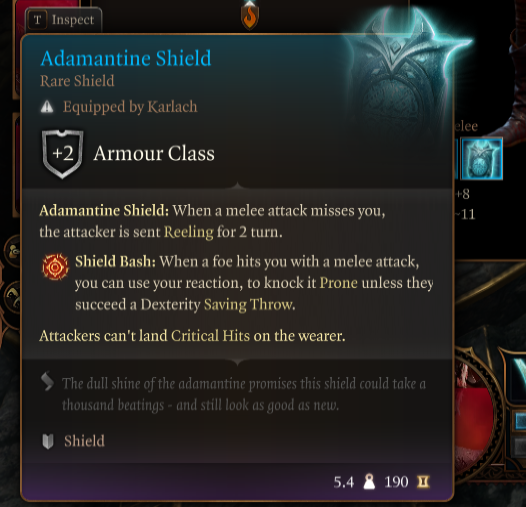
Moving on to defense and armor, we have the Adamantine Shield. For many standard parties in BG3, one character usually has a shield, making this a fantastic choice for your frontline party member. Not only does the shield offer an armor class (AC) boost, but if an enemy misses when they attempt to hit this shield, they receive a debuff, and the shield prevents Critical Hits from harming the wielder. There’s also an ability on the Adamantine Shield to knock an enemy prone.
Adamantine Shield stats
- +2 AC
- Reeling (-1 to Attackers Rolls for two after when they miss)
- Attacks cannot Critically Hit the wielder
- Shield Bash—Knock an enemy-prone
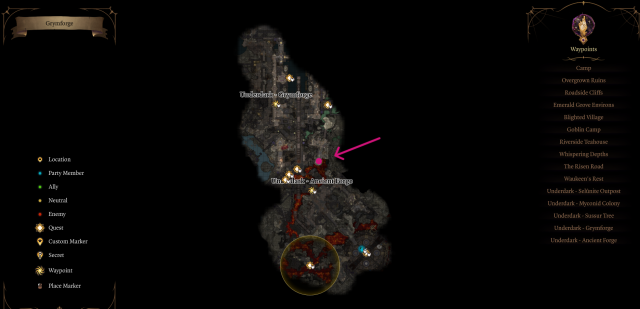
This might be the most inconvenient mould to acquire, but it is well worth the effort. Jump off the catwalk where the Longsword mould is before a locked iron door. You’ll need to pick the lock, but it is relatively easy with a DC of 12.
Once inside, head upstairs to the very back of the room. In its inventory, you can find a skeleton with the Adamantine Shield mould (x: -559, y: 410) at the Gyrmforge.
Adamantine Scale Mail
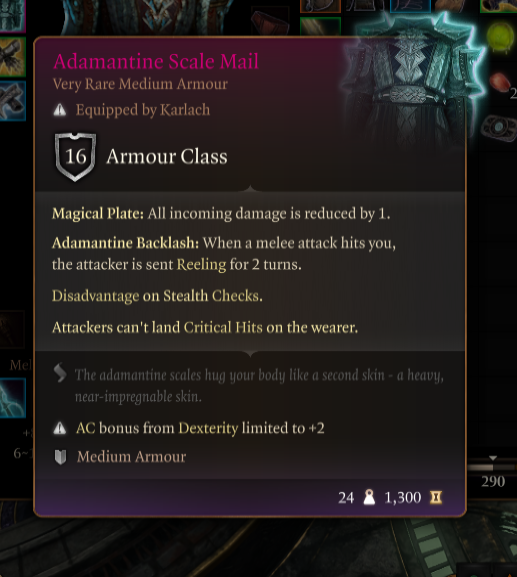
If you don’t want a heavy shield, you can craft the Adamantine Scale Mail. This is a Medium Armor, which opens this armor version to several other characters who might be unable to carry the heavier choices. This does restrict a character’s Dexterity to a plus two, and you want to keep that in mind before crafting this item at the Adamantine Forge in BG3.
Adamantine Scale Mail stats
- 16 AC
- Reeling (-1 to Attackers Rolls for two turns after they hit you)
- Attacks cannot Critically Hit the wielder
- Disadvantage on Stealth Checks
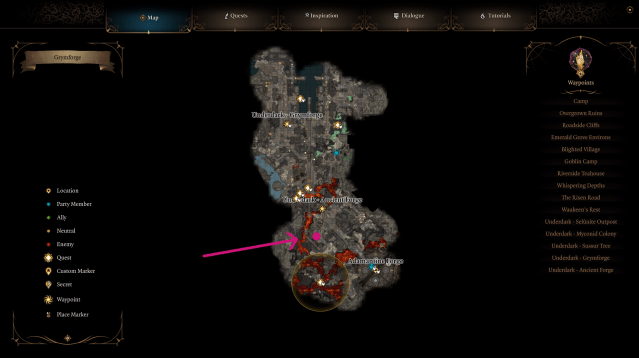
This mould is another easy find. Fast travel to the Adamantine Forge Waypoint and walk ever so slightly southwest. The mould is on the ground next to a group of skeletons (X: -621, Y: 260), and you should expect a brief encounter at this location.
Adamantine Splint Armor

This is a Heavy Armor option for Adamantine items, meaning it is stronger but isn’t as universal as Scale Mail. The Adamantine Splint Armor is preferred if you’re using a Fighter or Paladin in your party. If you pair this armor with the Adamantine Shield, you can make a character unkillable. Ultimately, it depends on your Armor Proficiency and personal preference. The one who wields this armor does not receive any AC bonus for Dexterity.
Adamantine Splint Armor stats
- 18 AC
- Reduces all incoming damage by 2.
- Reeling (-1 to Attackers Rolls for three turns after they hit you)
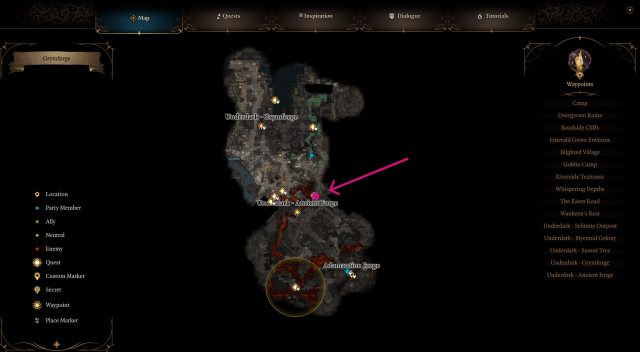
To get the mould for the Adamantine Splint Armor, fast travel to the Adamantine Forge Waypoint. Head east a very short distance and then slightly north, where you’ll see a staircase. The mould is on the left side of the stairs, sitting on the ground next to a skeleton (X: -597, Y: 309).
Every Adamantine Forge item in BG3, ranked

Although there are six Adamantine Forge items, the three best are the Adamantine Shield, Adamantine Scale Mail, and the Adamantine Splint Armor. We’ve ranked all six Adamantine Forge items as follows:
- Adamantine Splint Armor
- Adamantine Scale Mail
- Adamantine Shield
- Adamantine Longsword
- Adamantine Scimitar
- Adamantine Mace
If we had to choose the best Adamantine Forge item, it would be the Adamantine Splint Armor because the incoming damage is reduced by two, your attacker can’t critically hit you, and you can send your attacker reeling for a few rounds. Unfortunately, it can only be used by those proficient in heavy armor, such as Lae’zel, Shadowheart, or any characters with the Cleric, Fighter, and Paladin classes.
As you can only craft two Adamantine Forge items because Mithral Ore is valuable, and you have to defeat Grym, a formidable opponent, to gain access to the forge, you do have to choose your Adamantine Forge items wisely.
Others Asked
What must players do before they can reach the city of Baldur's Gate in the game?
Players must complete the first two acts of Baldur's Gate 3 before reaching the city of Baldur's Gate.

What is the Adamantine Forge used for in Baldur's Gate 3?
The Adamantine Forge is used to create powerful and unique weapons and armor in Baldur's Gate 3.
How many items can be crafted using the available Mithral Ore in Baldur's Gate 3?
With the available Mithral Ore, players can craft at most two items at the Adamantine Forge in Baldur's Gate 3.


Published: Oct 16, 2024 01:05 pm