Serving as the major boss within Ares Island, the Wyvern in Sonic Frontiers is a gigantic robot dragon that is capable of soaring in the skies through unknown means. Being one of the boss fights that requires Sonic to take on his Super Sonic form, the Wyvern is the toughest fight you will encounter at this point in Sonic Frontiers.
You will spot the Wyvern gliding high above the desert in Ares Island, and in most circumstances, you will not be able to toggle the boss fight with it. To battle the Wyvern, you need to collect all the Chaos Emeralds, reveal the route to the Wyvern’s area, as well as help Knuckles out.
Finding every Chaos Emerald is essential for this battle, as you won’t be able to stand a chance against the Wyvern in Sonic’s normal form. At this point, the only requirement that’s probably left for you to complete is finding the very last Chaos Emerald, which will allow you to go into Super Sonic mode to do some sort of damage to the Wyvern.
Obtaining the final Chaos Emerald
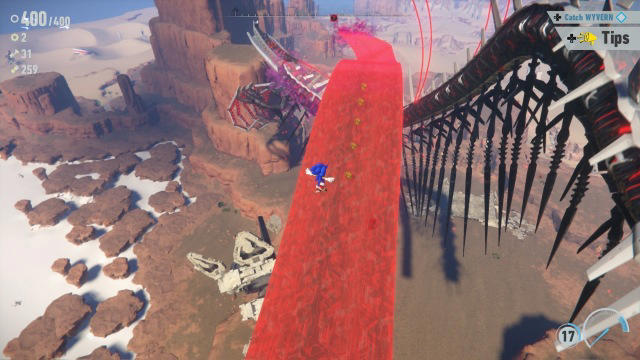
You will need to make your way through the tunnel created by Sonic and Knuckles during the crane mini-game to get into a vast desert arena. Here, you’ll watch a cutscene and see the gigantic Wyvern flying above Ares Island. You will also learn another piece of crucial information: the final Chaos Emerald is strapped to the Wyvern’s back.
When the cutscene ends, make your way toward the massive tower in front of you. You will notice an obstacle course of sorts at the base of this tower. Here is where you’ll want to start climbing the tower, beginning with the springs present at the base, then passing over a rail to further climb a glowing wall, continuing to boost yourself through an array of different obstacles.
When you’ve reached the peak of the tower, you will notice a tiny platform sticking out from the very top. Stand on it and wait until the Wyvern flies near you, which is when a small cutscene will begin to play. You should notice a homing attack symbol appear when the Wyvern soars above Sonic’s head, which is when you should perform the attack, cueing another cutscene.
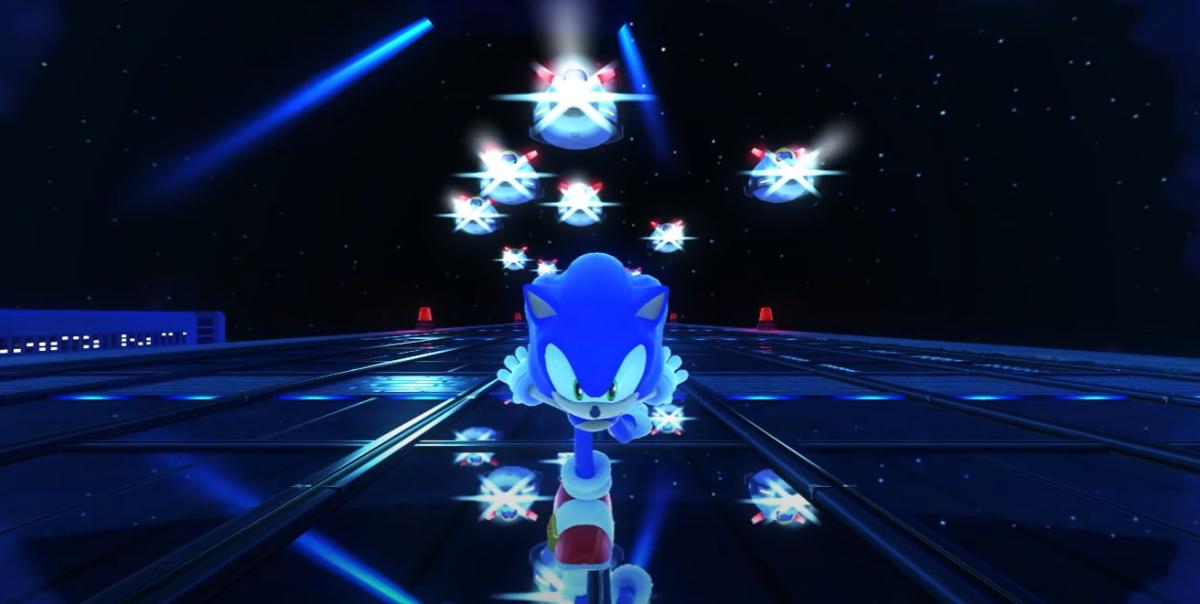
Once the cutscene ends, you will be soaring in the sky along with the Wyvern. It will now shoot out red lightning strikes from its mouth, which you will need to sprint down on. It will also keep shooting tiny lightning orbs as you are sprinting, which you will either need to dodge to the left or to the right.
Use your homing attack on the spinning lightning rods in the sky when the lightning strike cuts off to make your way to the next one. Continue using the same tactics until you reach the end of the lightning strikes.
At this point, Sonic will step down onto the Wyvern’s back, where you will find the final Chaos Emerald resting in a vault on its head. Head towards the vault to open it and add the emerald to your collection, transforming into Super Sonic.
Wyvern boss fight: phase one
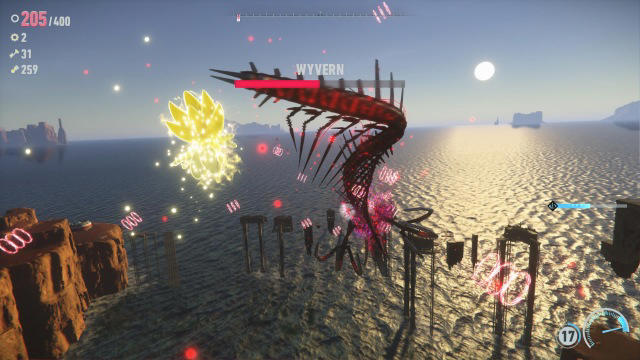
Keep in mind that since you are in Super Sonic form, you are essentially on a time limit. Yes, you can finally damage the Wyvern while taking no damage from the Wyvern in return, but you are essentially on a timer, with Sonic’s rings gradually depleting over time. If and when your rings hit zero, it’s game over for the blue blur. But the good news is that in this fight, it is possible to actually regenerate your rings, unlike the Giganto fight.
During the first phase, you need to parry the missiles that the Wyvern shoots at you. Press and hold L1+L2 on PlayStation, or L+R on Xbox. Remember, unlike parrying in every other game, timing is not required in Sonic Frontiers. Simply press and hold these buttons and wait for the missile to reach you, after which Sonic will throw the missile back, opening up the opportunity for a combo attack.
When close to the Wyvern, it will attack with its best move. When you see it spinning, parry to stun the Wyvern, proceeding to unload a barrage of attacks onto it.
After recovering from its stun, it will regain composure and start setting up for another attack. Parry this as well, opening up the opportunity for a special attack. Press Triangle+Circle / Y+B to have Sonic fling the Wyvern into nearby boulders.
Wyvern boss fight: phase two
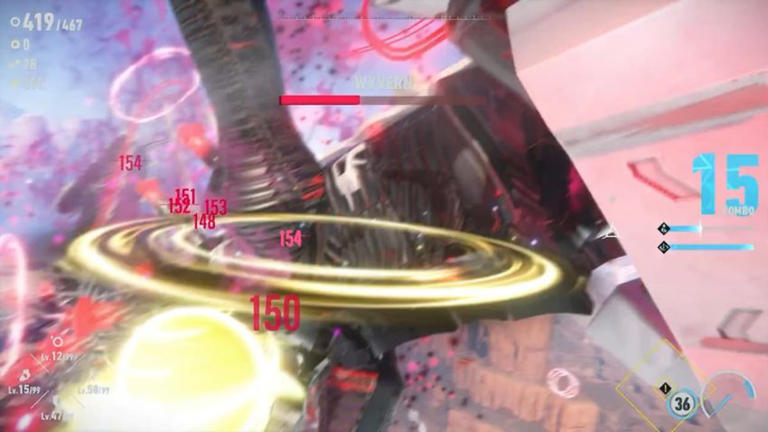
Continue with the above tactics until the Wyvern is about half health, which is when phase two of the fight begins. The Wyvern shows off multiple lightning coils and begins showering the area with red lasers, similar to the second phase Giganto fight.
The battle tactics in this phase almost remain the same as the first phase, except you will now have to be more cautious of the deadly red lasers flying at you throughout the fight and carefully dodge them before you make a move.
Another key difference in this phase of the fight is that the Wyvern will now be able to tank your first parry and attack a second time, which means that you will need to parry twice. Once you’ve parried once, let go of the parry buttons and then press them down once more. Successfully performing two parries will stun the Wyvern.
Once you deplete the Wyvern’s health some more, a final QTE sequence will be initiated where it starts firing rockets at you. You should now notice a large red circle in the background, with an expanding white circle inside it. When the white circle aligns with the red one, press the input button to launch the rockets back at the Wyvern.
Thrash the Wyvern with attacks before another QTE takes place. Repeat the process and then mash Square / X when prompted.
Proceed to get through the third QTE with the same process to defeat the Wyvern once and for all.



Published: Nov 15, 2022 06:34 am