
The only thing more satisfying than slashing and dashing your way through a level in Ghostrunner 2 is painlessly grabbing every hidden item along the way—and boy, do I have a guide for you.
This article will walk you through exactly how to find every Memory Shard and hidden collectible item in Behind the Curtain, the fifth level of Ghostrunner 2.
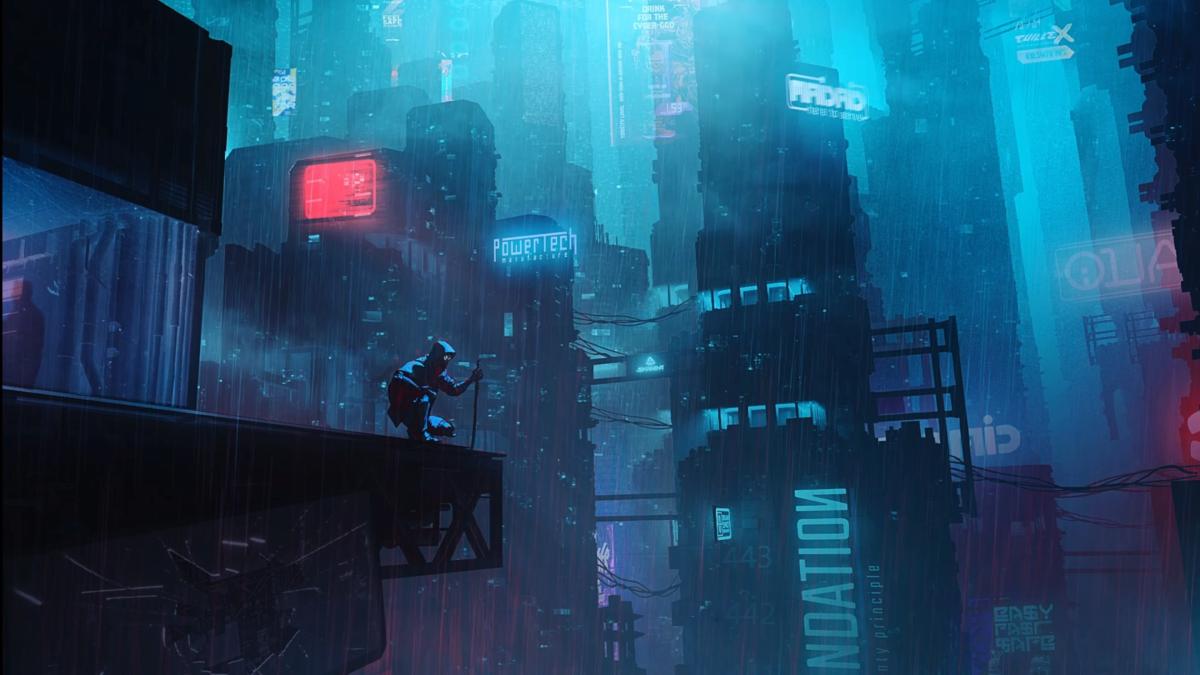
Ghostrunner 2: All collectible items in level five—Behind the Curtain
Behind the Curtain is packed with collectible items—there are 13 hidden throughout. Here’s a breakdown of the number of collectibles by type:
| Memory Shards | Nine |
| Swords | Two |
| Artifacts | One |
| Audio Logs | One |
There’s no Level Challenge Terminal, and in this level, what you see is what you get. Read on for a breakdown of how to find each collectible item in Ghostrunner 2‘s Behind the Curtain level.
Ghostrunner 2: All Memory Shard locations in Behind the Curtain
There are nine of these bad boys to grab throughout the level, but they aren’t too difficult to reach. Generally speaking, this is always the case—Artifacts, Swords, and Audio Logs sometimes require some real problem solving, but it seems the developers wanted players to find every Memory Shard without having to rack their brains too much.
Memory Shard one
The first Memory Shard is almost impossible to miss. When Connor is explaining his failed attempts to negotiate with The Church, you’ll enter a large open area with a statue. The first Memory Shard is on the right, and doesn’t require any special movement to get. Just walk up and snag it.
Memory Shard two
The second Shard is easy to spot, and only slightly tricky to reach. In an early section of the level, you’ll need to continuously hack walls as you’re running to keep yourself from plummeting to your death. While you’re doing this, there are various gap-jammer points to help out.
Memory Shard is clearly visible on a platform above one of these gap-jammer points. Just ensure you’re directly underneath the point when you activate it, so that you propel yourself upward instead of forward.
Memory Shard three
Immediately after the previous section, with poles that like to play peek-a-boo and make you jump, you’ll reach a junction. The right path leads to the rest of the level, and the left path leads to Memory Shard three, just waiting to be picked up.
Memory Shard four
The fourth Memory Shard in Behind the Curtain is a total freebee. You’ll reach a point where you ride a giant cement slide down to a new area, and the fourth Memory Shard is literally smack dab in the center. It’s harder to avoid this Shard than collect it.
Memory Shard five
This is one of the few Memory Shards that’s actually hidden and needs clever thinking to find. It’s not totally obscure, like some Artifacts are, but it’s easily missable. When you’re entering the open section that starts with a gap-jam to a raised platform, your mini-map will reveal a Shard to your right, inside the wall.
To enter the wall, gap-jam up to the platform and turn around. You’ll see a crack in the wall—dash through to reach Memory Shard five.
Memory Shard six
The hardest thing about getting the sixth Memory Shard in Behind the Curtain is the unhinged death slide section just before it. If you survive, you’ll be rewarded with the sixth Memory Shard, and it’s impossible to miss so long as you’re continuing forward.
Memory Shard seven
Later in Behind the Curtain, you’ll need to wall run across zigzagging platforms to cross a gap. If you’re paying attention to your minimap (always pay attention to your minimap), you’ll see that there’s a Memory Shard above this section.
To reach it, first complete the wall running gauntlet, then turn around. From this side, you’ll see a gap-jam point leading directly to the platform where the Memory Shard is stashed.
Memory Shard eight
The penultimate Memory Shard in Behind the Curtain is awarded freely, and it’s close to the end of the level. When Zoe says you’re approaching the source of the signal, you’ll see the Memory Shard at the base of the long bridge spanning the big open room.
Memory Shard nine
The last Shard is under that same bridge where you found the eighth Shard. As you’re crossing the bridge, carefully look over the left side. You’ll see an air vent below. You need to jump directly in line with this air vent, otherwise you’ll fall to your death.
The air vent doesn’t actually take you to the Memory Shard, rather, you’ll use it to get back to the bridge after snagging it. The Shard itself is on a hidden platform directly underneath the bridge. As long as you’re aligned with the air vent when you drop down, you can dash to the platform while falling.
Ghostrunner 2: All Sword locations in Behind the Curtain
There are only two Swords hidden in the level, but they’re both doozies to grab. I won’t lie, they took me more than a few seconds to figure out. The second is particularly tricky, as it was (so far) the only hidden collectible I found that wasn’t highlighted on the minimap.
Sword one: The Internal Static
Remember that miserable part of the level where you have to use Shadow to block beams in mid air on either side of a door, then quickly use Shurikens to unlock it? Well, good news—it just got even worse!
The exact same principles needed to unlock the door also allow you to reach this sword, which is locked at the back of this same room. The order matters, though.
Use the left switch first, then race back to the sword at the back of the room. The left switch lowered the first of two barriers, behind which is a terminal that turns off a taser field. Now, when you go back, you can enter through the taser field instead of the left side barrier.
Once the taser field is down, return to the door to use the right switch. Enter through where the taser field used to be, and you’ll now be able to reach the sword.
To make it in time, you must active the switches one at a time using the above method. If you try to unlock both at once, you won’t have time to reach the sword before the locks re-engage.
Sword two: The Electric Dream
This is the only collectible I discovered that the minimap didn’t help with. This sword is far enough away from the main path that your minimap doesn’t show the icon.
The path itself is actually in the next open room after the double-locked door where you got the first hidden Sword. After you unlock the door, you’ll reach a hallway area that requires you to get past two shielded foes by destroying an orb behind them.
As soon as you’re past the bridge orb section, turn right. You won’t see a minimap marker, but the path to The Electric Dream is clearly visible.
As for solving the puzzle, simply drop a Shadow on the beam at the start like I did in the video, and you’re good to go. It looks more complicated than it really is.
Ghostrunner 2: All Artifact locations in Behind the Curtain
There is only one Artifact in Behind the Curtain, and getting it is easy, but you need the Shadow skill. You can see the Artifact locked behind a wall before you get Shadow, so don’t waste your time trying to unlock the wall as soon as you find it.
Artifact one: Mask of the Arcane Sacrificer
The first time I played this level, I spent about 15 minutes trying to reach the Artifact by standing on the beam and using Sensory Boost combined with the time slowing Ultimate. Don’t be like me. You need the Shadow skill to reach this Artifact, and you’ll get the skill in two minutes if you continue forward.
The path leading to the Shadow skill also takes you back to this exact point. The whole setup feels like a bit of a troll.
Ghostrunner 2: All Audio Log locations in Behind the Curtain
There’s only one Audio Log in this level, and collecting it is as simple as completing a Ninja Warrior course.
Audio Log one: Blessing
In the section just before you unlock Shadow, Kira remarks, “unless you can split yourself in two, we’ll need to find another way.” When you turn right instead of going forward, she questions where Jack is going, who responds with, “might as well explore a little while I’m here.”
He’s right: If you explore, you’ll find the only Audio Log in Behind the Curtain. It’s easy to see and not particularly difficult to reach. Simply complete the half-circle wall-running gauntlet of disappearing platforms, and you’re all set.
Truthfully, the gauntlet looks harder than it is. Just trust yourself, get a good start, and don’t slow down. You should be able to cruise straight through.
Ghostrunner 2: Behind the Curtain collectible summary

In total, we found:
- Nine Memory Shards (all on the map, there’s no Level Challenge)
- Two Swords
- The Internal Static
- The Electric Dream
- One Artifact
- Mask of the Arcane Sacrificer
- One Audio Log
- Blessing
If you see that you’re missing any of these collectibles upon completing the level, check the mission summary screen from the Level Select menu to find out which one you still need, then refer back to this guide.
Happy hunting!


Published: Oct 26, 2023 05:26 am