In Cyberpunk 2077, even the smallest gig picked up on a side street tends to have a gripping and thought-provoking narrative. In Phantom Liberty, it feels like the game’s writers were trying to one up themselves; the newly added gigs are all phenomenal.
Spy in the Jungle is a totally optional gig in Phantom Liberty, but its so well developed and choice dependent that you can almost forget it isn’t a main mission. Like any job that lets you choose the ending, it’s a pretty difficult gig—complete with suspense boss fights, conspiracies, and a trip the “the jungle.”
How to start Spy in the Jungle in Cyberpunk 2077 Phantom Liberty
Starting Spy in the Jungle is simple, but you will need to have progressed the main story of Phantom Liberty to a certain point. Before you can start this gig, you’ll need to have completed The Damned, the quest where V meets Alex at the Moth and works alongside Reed to virtually locate Songbird.
After The Damned has been completed, Spy in the Jungle can be started and finished at any time. To start the gig, all you have to do is head to the southernmost portion of Dogtown, where you’ll see a green gig icon on your map.
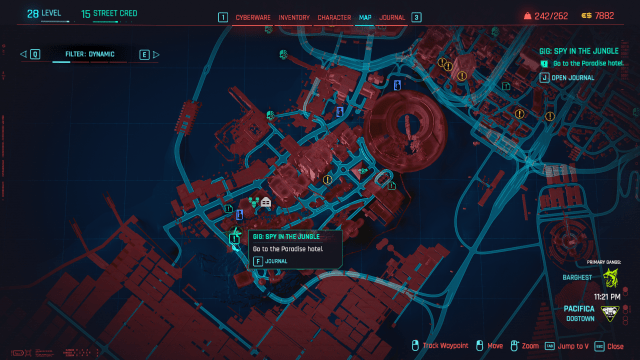
Once you’re in the correct vicinity to start the gig, Mr. Hands will call V and offer a job to help two Brazilian secret agents. Begin tracking Spy in the Jungle from your journal, and you’ll officially have begun this thrilling gig.
Cyberpunk 2077: Spy in the Jungle walkthrough
The objectives in Spy in the jungle aren’t very difficult other than one boss fight and one confusing elevator map marker. Rather, the difficulty in this mission comes from the many different endings V can personally decide on, each of which offers a totally different reward. In other words, your decisions greatly affect the ending of this gig. All of that will be covered at the bottom of this guide.
Go to room 203 and speak to the agents
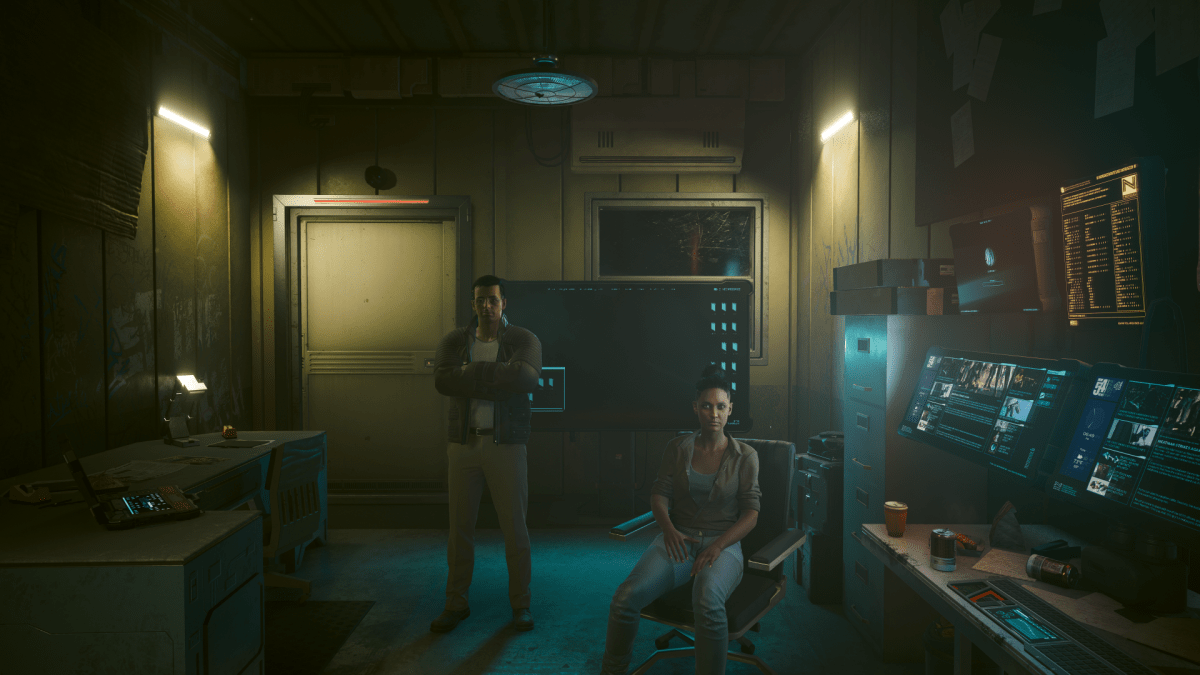
The first thing on the agenda in this quest is to find out just what the hell you were hired for. You’ll receive coordinates to go to room 203 of a rundown hotel in Dogtown, and inside, you’ll find the people who hired you: agents Ana and Steven.
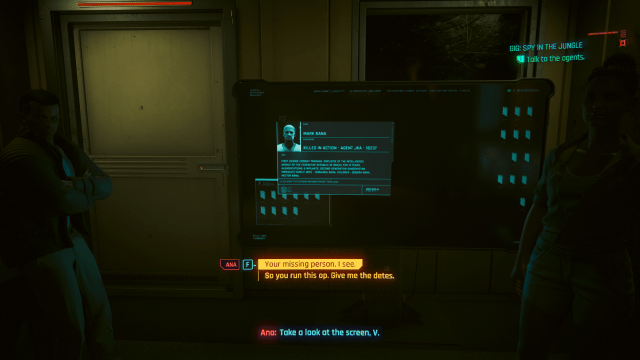
The overview of the mission is pretty straightforward. A few years back, agent Mark Bana went missing in Dogtown after leaving a foreboding message in which it sounded like he was on death’s door. He wasn’t seen or heard from again, until very recently.
A few days ago, Bana’s biomonitor starting pinging in Dogtown, despite it being offline for years. Steven and Ana brought this information to Brazilian Secret Service, who said it wasn’t enough evidence to warrant a search for Bana. As such, they’re taking matters into their own hands and hiring a merc—you—to search for Bana.
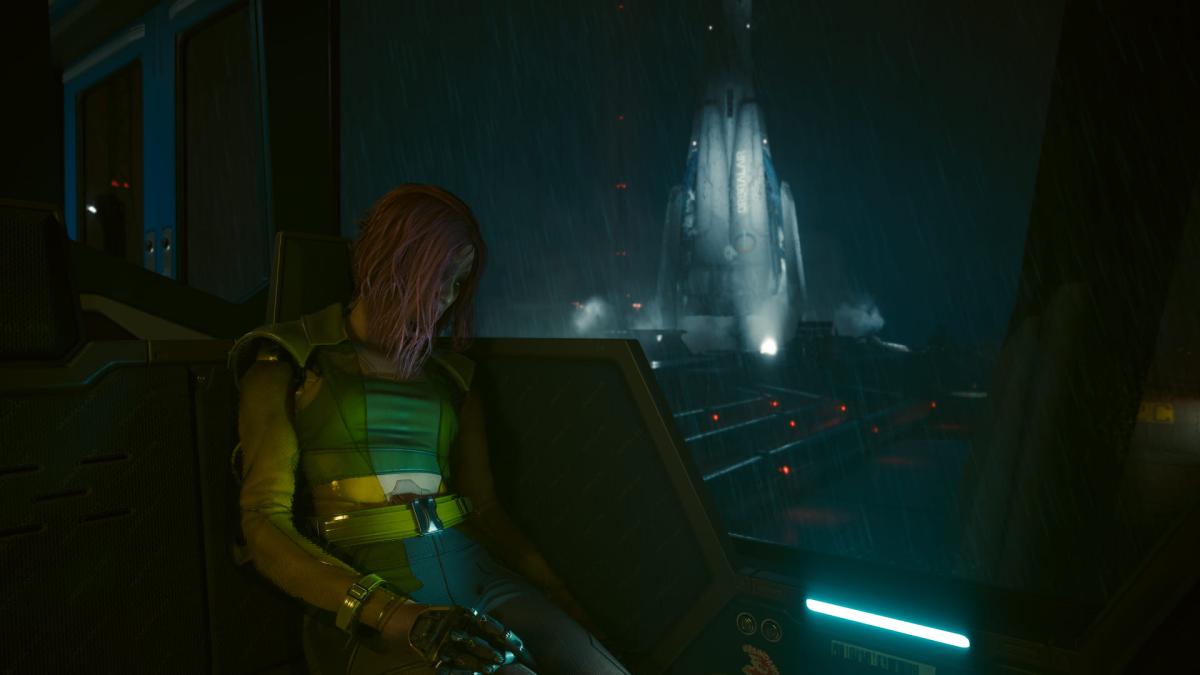
Go to Organitopia
The agents will explain that Bana’s biometer is pinging from the old natural history museum in Terra Cognita. Can you guess what portion of the museum?
Head outside, and your mission tracker will lead you to the side of a huge building that you apparently are supposed to travel halfway up. It’s a little confusing.
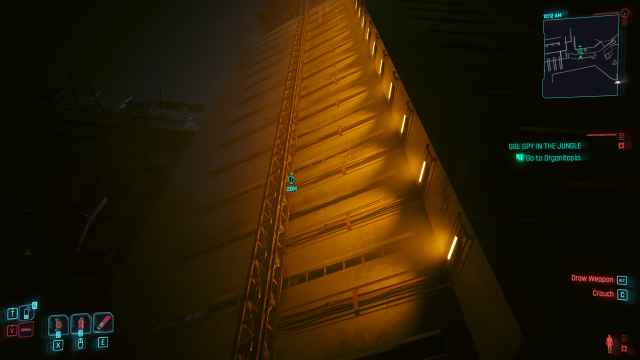
Don’t worry, it’s not a bug—just a wonky tracker. At the base of this building, there is a non-assuming and easy-to-miss elevator platform. Walk up to the base of the building, and you’ll see on a screen that you’re currently on level two, Terrace. Select level three, Terra Cognita, and you’ll be on your way.
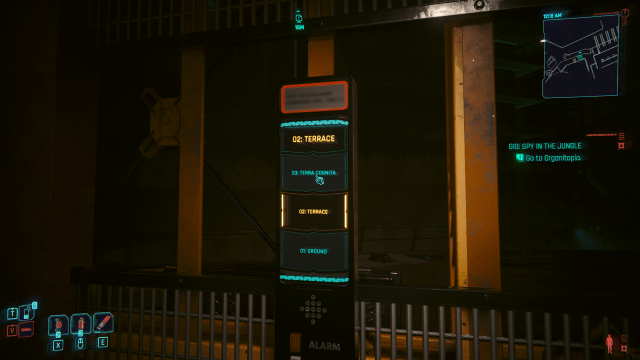
You’ll rise up right past the floating random mission marker while you’re on this elevator to Terra Cognita, but once you’re at the top, the tracker will update and make sense again.
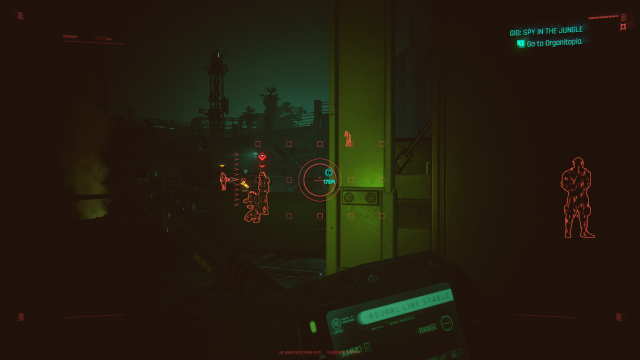
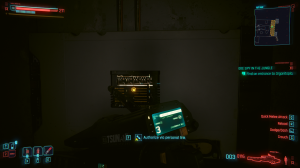
At the top of the elevator, there is a handful of Scavs that you have to deal with. This can be done quietly or with tons of explosions; it’s totally your choice and there are no benefits or drawbacks either way.
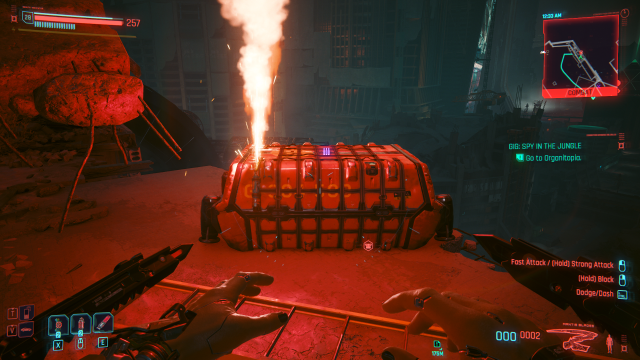
While dealing with these Scavs, you’ll notice a flare on the left part of the rooftop. This flare marks the location of a container that contains a Tier Four Power SMG and a Carrying Capacity Shard that permanently increases the weight you can carry by two. Make sure you don’t pass this by!
Deal with the Scavs and continue forward towards the museum. Once you arrive at Organitopia, you’ll need to find a way in.
Find a way into the museum
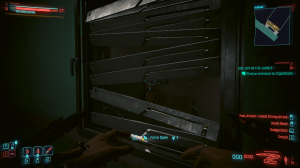
You’ll be led to a hole in a cement wall. On the right, there is an inaccessible door. This is the door we need to get through, and only one extra step is needed. Turn left, and walk just past the hole you entered from.
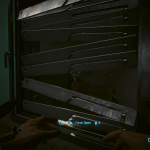
You’ll see an old window with faulty shutters that can be forced open even if you’ve put no points into Body. Open the window, enter, and jack into the control panel on the right. Once you connect to the panel, Mark Bana, your missing person, will contact you.
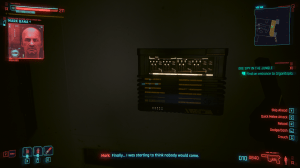
After Bana contacts you, that door that was previously inaccessible will now be unlocked, and you can continue into the museum.
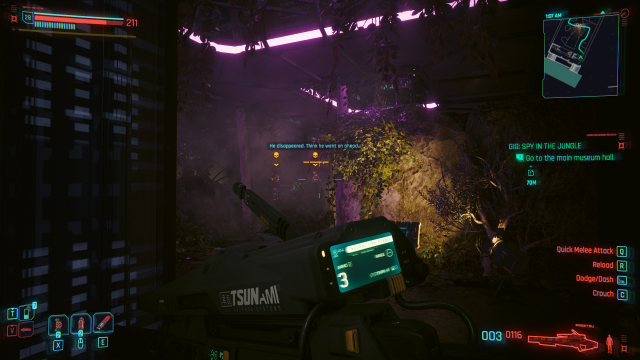
Go to the main museum hall
Once you’re through the door, you’ll see why the mission is called what it is. Bana’s biomonitor is apparently coming from the jungle section of the museum, and it looks absolutely awesome in there. Yes, its a neon jungle.
In this first room, there are more Scavs that you’ll have to kill, this time with yellow skull bosses, but still nothing too difficult. That comes later.
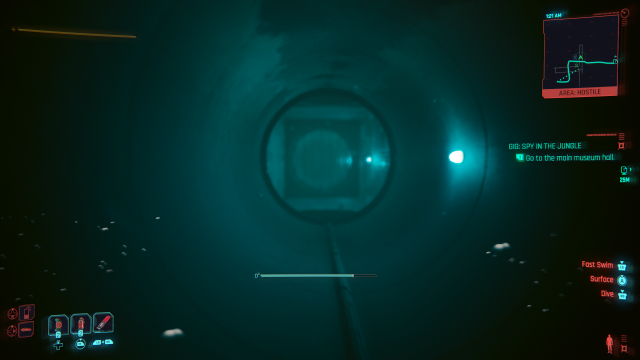
In this room, there is a pool of water in the center. If you enter this pool and swim down, you’ll be led through an underwater pipe that leads to an otherwise inaccessible room with tons of tier four loot. Just keep an eye on your lung capacity.
At the end of this first jungle room, Bana will contact you again to say that the next room is where you’ll find him.
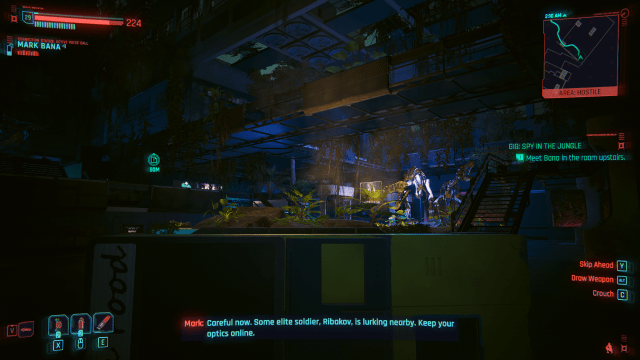
Meet Bana in the room upstairs
As you enter this next room, which looks like Cyberpunk’s version of Night at the Museum, Bana will warn you that Ribakov, an elite Russian operative, is lurking somewhere nearby. We interpreted this as “stay low,” but it doesn’t actually matter. Ribakov will attack you no matter what, but only when you try to open the door to meet Bana.
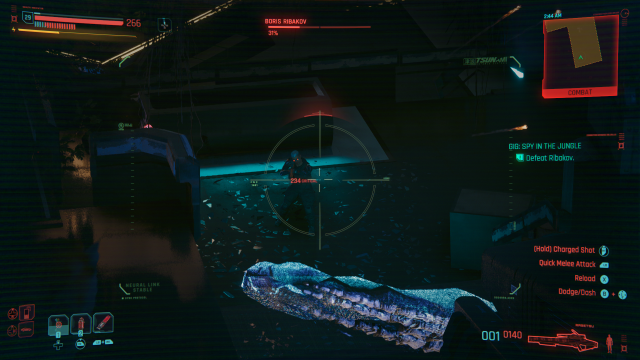
How to defeat Ribakov
We think this character was based on The Predator. Fighting him certainly feels like fighting The Predator.
Ribakov will constantly disappear into the jungle and attack from a new angle, snipe you right in the dome, use camouflage, and even create holographic mirror images. The fight is actually a little bit difficult, which I feel doesn’t happen that often in Cyberpunk 2077.
There’s no special gimmick or secret to this fight—just make sure you don’t die! Killing the holographic duplicates as soon as possible is very important, and then all disappear after receiving any damage.
About halfway through the fight, Ribakov will spawn four attack drones, which also should be focused down as quick as possible to avoid getting overwhelmed.
Once you’ve defeated Ribakov, you’ll be able to loot a tier four Iconic Smart SMG from his body called Pizdets. Smart SMGs are a pretty niche weapon; most likely, you know whether this is something you’re interested in.
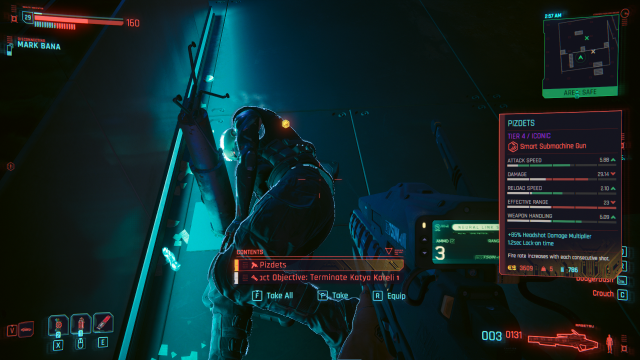
Also on Ribakov’s body, you’ll find a log of his most recent assignment, which is to track down and terminate somebody named Katya Karelina in the Organitopia Museum, who took part in an interrogation that “never happened.” What a weird coincidence!
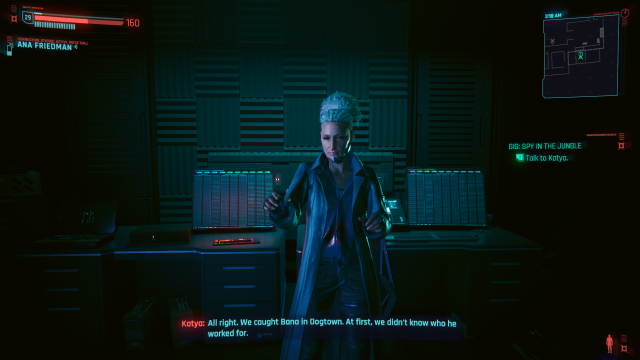
Meet Bana in the room upstairs/confront Katya
After you’ve disposed of Ribakov, head up the stairs into the room where Bana is waiting. Inside, you’ll find… Katya! Wait, who?
If you read the log on Ribakov’s body, you’ll recognize this name as the woman he was sent here to kill. If not, don’t worry—Katya will explain everything.
It turns out, Bana is indeed dead, and Katya was impersonating him to try to get operatives to come and rescue her from Ribakov. Looks like it worked. It goes deeper, though. Katya is actually one of the Russian operatives responsible for Bana’s death—and it turns out the Brazilian government knew about it the entire time. This is why they didn’t think the biomonitor was “sufficient evidence” and wouldn’t send agents.
Anyway, the brunt of the work in Spy of the Jungle is now finished—from here, V just has some decisions to make.
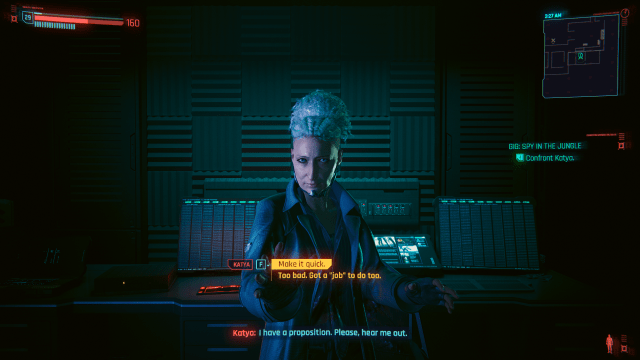
Should you kill or spare Katya in Spy in the Jungle?
Once Katya has been confronted, Ana will say you have a new mission: “kill that bitch.” It’s up to you to to kill Katya or simply take the biomonitor and let her leave, but you should absolutely let Katya survive.
There is no added quest reward for killing Katya.
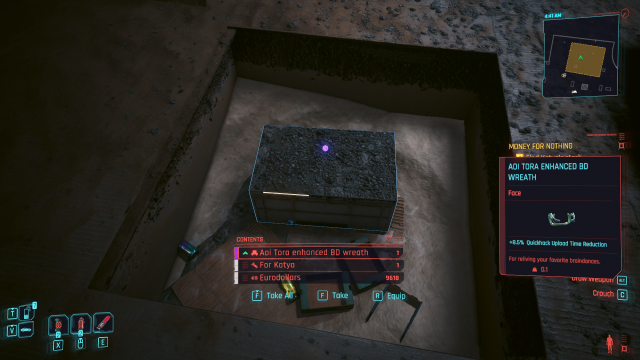
If you spare her life, she will give you coordinates to Katya’s Stash, which gives:
- A tier four BD Wreath that increases quickhack speed by 8.5 percent.
- 9,618 eddies.
There are also no consequences for sparing Katya. Letting the woman live is a total win-win.
Should you give the biomonitor to Ana or destroy it in Spy in the Jungle?
After you’ve decided Katya’s fate, it’s time to head back to Ana and Steven. Along the way, Steven will call and beg V to not give the biomonitor to Ana. Steven wasn’t in on the cover-up like the rest of the agency, but now that he knows about it, he thinks kicking the hornets nest will just get them both killed.
Ana, on the other hand, is furious and wants to expose everything by going to the media. Now, V has another choice to make.
- If you give Ana the biomonitor, you will receive 6,000 eddies.
- If you destroy the biomonitor, you will only receive 4,000 eddies.
There are no observed consequences for either decision, but Steven assures V that Ana will end up being killed for exposing the cover-up. Ana assures V she couldn’t care less if it costs her life because it is the right thing to do. If Ana is killed, V never learns about it.
Personally, we suggest giving the biomonitor to Ana. Not only will you net more cash from doing so, but you’ll also get to help stick it to man and hold a corrupt government accountable for their actions.


Published: Oct 12, 2023 05:37 pm