Baldur’s Gate 3 brings back the classic Dungeons & Dragons style of gameplay and storytelling from the past. This also involves turn-based battling which can be relaxing to most players since you get time to plan your next move.
The aspect of thinking many steps ahead can, however, be a daunting proposition for other players, leading to some stressful situations, and Baldur’s Gate 3 has quite a few of those.
Most of these situations involve a battle with high stakes that usually involves a set time limit. The lack of turns adds weight to the battle and makes an already challenging fight even more difficult.
As such, we have compiled a list of the most stressful situations in Baldur’s Gate 3 that spans through the entirety of the game.
Eight most stressful situations in Baldur’s Gate 3
Since act one is mostly straightforward, we will be sticking to difficult situations in act two and three instead. The entries mentioned here are listed in chronological order of when we encountered them in the game, so your experiences may differ.
The Grymforge conclusion
When you’re on your way to the Shadow-cursed Lands through the Underdark, you might make a quick trip down south to the Grymforge. This optional area gives you access to an ancient forge that can create unique Adamantine weapons and armor that might be useful on your playthrough. Towards the end, you run into True Soul Nere and his soldiers.
While this battle can be surprisingly difficult if you turn against him, the actual challenge lies ahead. After resolving the Nere situation, you go deeper into the Grymforge and craft your Adamantine gear. But before it is successfully forged, the massive Adamantine golem Grym emerges from the depths of the forge, and he is aggressive.
The boss battle here can be extremely difficult if you are unprepared. Grym has a massive health pool of over 200 HP and is immune to most forms of damage. Defeating him involves making him walk in the lava so he becomes Superheated, then destroying him with bludgeoning damage. To make it easier, you can lure him to the giant hammer and use it to take out half of his health in one hit.
Related: Baldur’s Gate 3: All Adamantine Forge items in BG3
The prospect of lava and a giant Golem stalking you through it makes this fight extremely stressful if you come here under-leveled. For best results, we recommend a party of at least level seven.
Standoff at the Last Light Inn
When you finally make it through the Underdark or the Mountain Pass, you enter the Shadow-cursed Lands. The region here is infested by the Shadow curse and will drain your health as you pass through it without a source of light. The first safe haven you find in these lands is the Last Light Inn, an area protected by the light of Selune in a protective bubble.
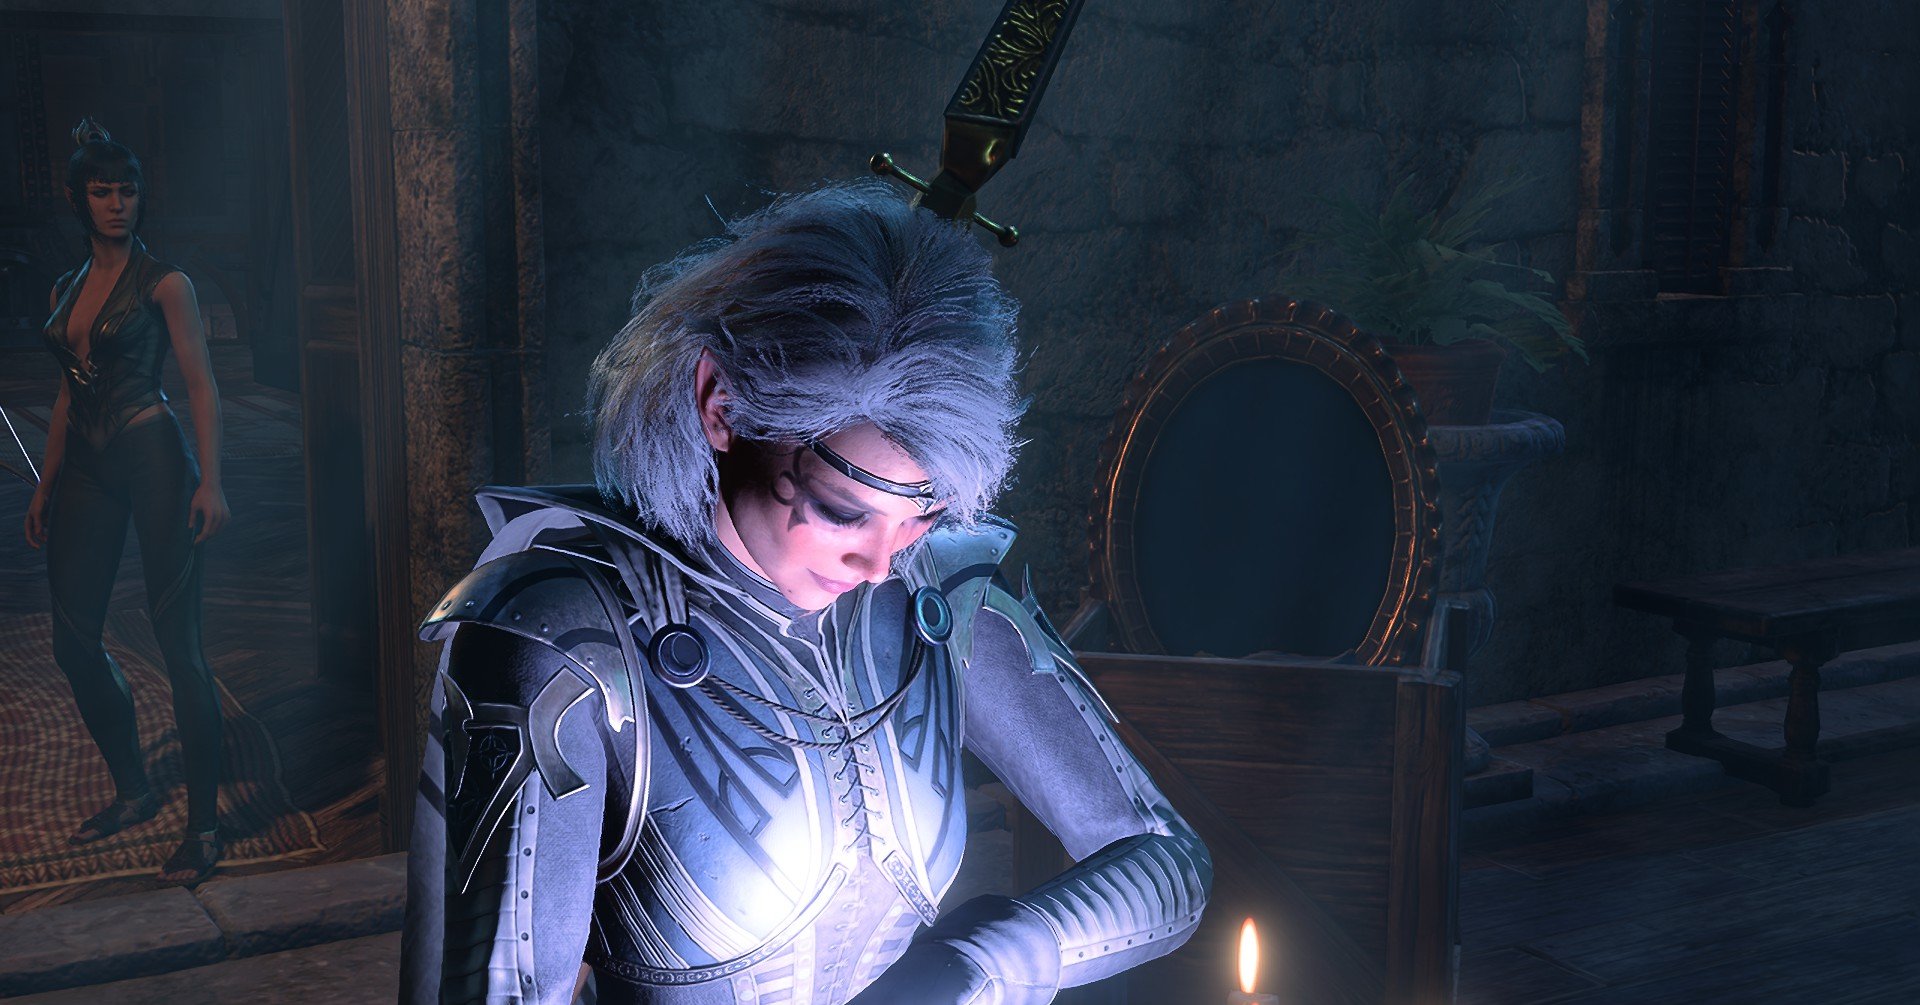
When you head deeper into this area, you learn that the bubble is held up by Isobel, a priestess of the goddess Selune. This bubble keeps the Shadow curse-infested creatures from invading the Last Light Inn and if Isobel were to fall, the protection fades away as well. And that’s just what might happen after you first talk to her.
Related: Baldur’s Gate 3: How to find the Last Light Inn in BG3
Flaming Fist Marcus, a soldier of Ketheric Thorm invades the inn with his soldiers to kidnap Isobel and take her back to her father. Following this, a battle ensues between the Harpers and the forces of Marcus. This battle can be stressful because Marcus’ forces will all target Isobel and if she dies here, the protective bubble shatters.
What happens next is an invasion from the Shadow curse-infested creatures which can quickly get out of hand if you aren’t careful.
Assault on the Moonrise Towers
You have completed everything that the Shadow-cursed Lands has to offer, including the deadly Gauntlet of Shar, and resolved the whole Nightsong situation, so what’s next? Now that you have passed the point of no return, it’s time to gather your forces and assault the Moonrise Towers to take down Ketheric Thorm once and for all.
This act two finale quest is quite a rollercoaster, taking you through the entirety of the Moonrise Towers, battling and defeating every Thorm supporter on your way through. Finally, you get to the top and fight the undying man himself. After a surprisingly quick battle, Ketheric Thorm retreats when you’re assaulted by a giant Mind Flayer appendage.
Related: Baldur’s Gate 3: How to reach the Moonrise Towers in BG3
Following this, you break into the Mind Flayer colony, taking out all the Mind Flayers you come across and saving their captives. Fight your way through and rest up at the end because you’re in for one final battle. The last battle here involves fighting off Ketheric Thorm, now fully realized as the Chosen of Myrkul and this battle is tougher than the last encounter you had with him.
Defeating him here ends act two and this stressful situation. Onwards to act three.
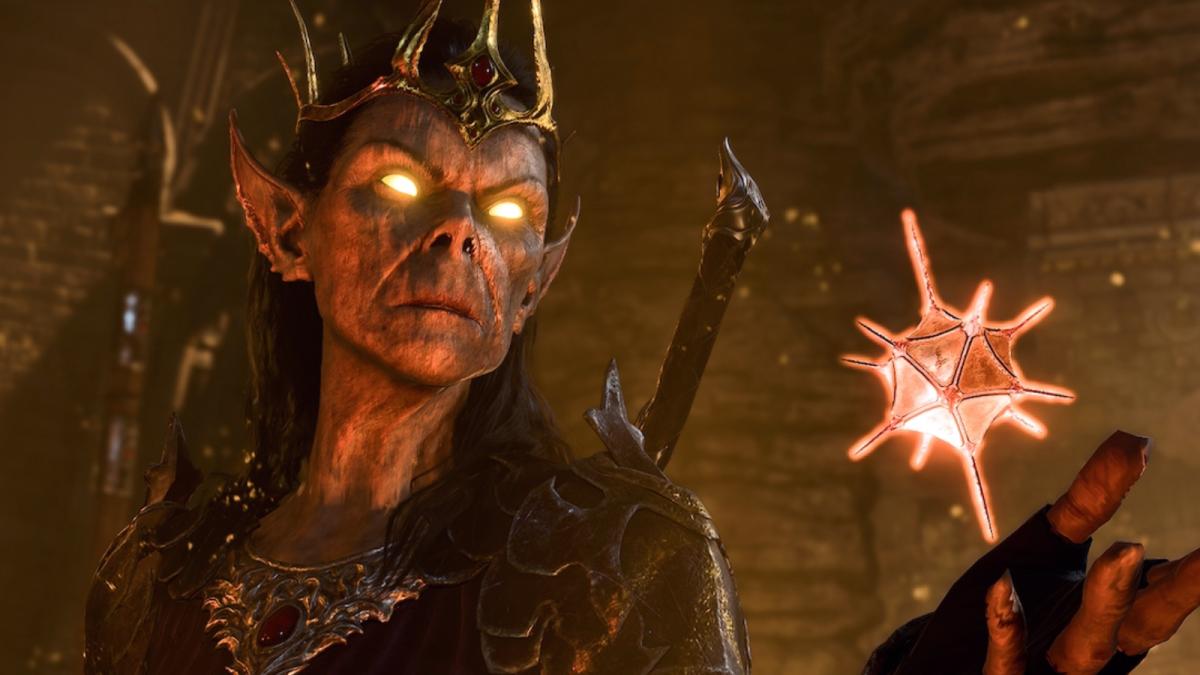
Cazador Szarr’s ascension
The hateful Vampire Lord Cazador Szarr has been a thorn in Astarion’s side from the start of the game. After 200 years of servitude, Astarion finally realizes his revenge when your party makes it to the Szarr mansion just in time for Cazador’s ascension ceremony. Finding your way through the mansion will lead to the depths where you fight Cazador in a climactic battle.
Defeating him here can be challenging because you also have to fight off his legions of enemies and save Astarion from Cazador’s clutches before he dies. Neutralizing the other vampires which serve as his sources of energy will greatly weaken him and make him easier to defeat. Once you do beat him, Cazador will retreat to his sarcophagus to slumber and recover.
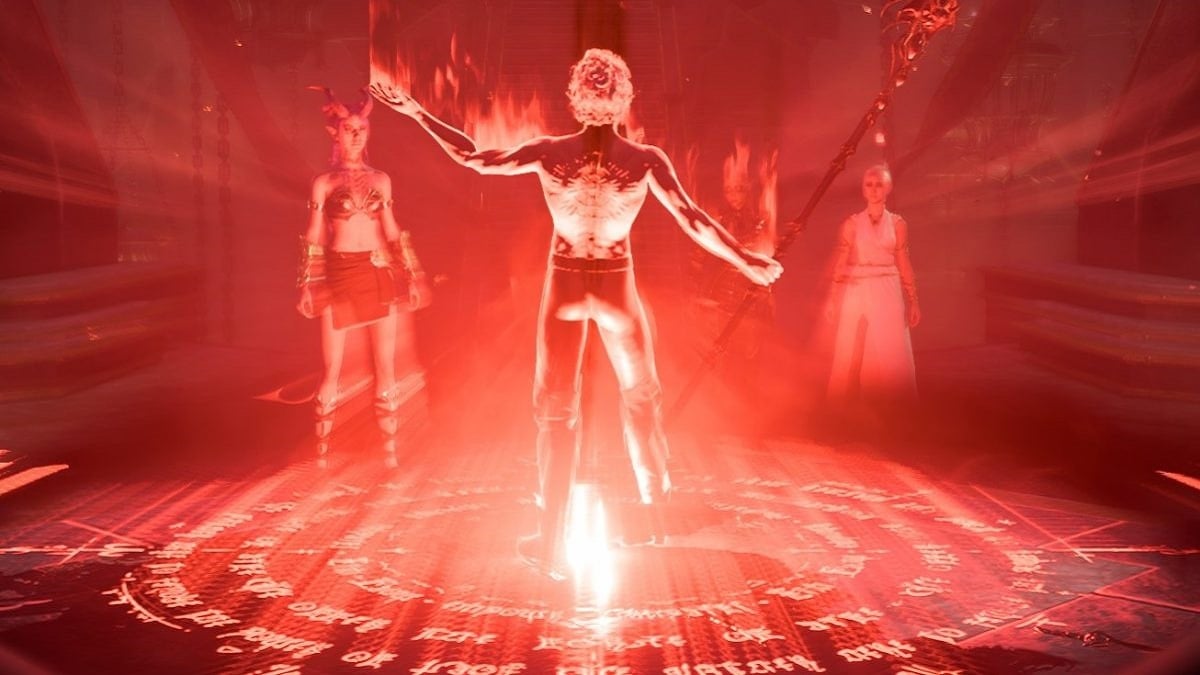
This is where Astarion can choose to kill him and become a Vampire Ascendant himself, but that choice falls on your conscience. Whatever you do choose, there is no denying that the entire Szarr mansion run is stressful from the beginning to the end when it comes to battling or making decisions.
The Iron Throne rescue operation
When the time comes to collect the three Netherstones, drastic steps have to be taken. Enver Gortash is protected by his Steel Watch and has a bunch of prisoners hostage to ensure a smooth operation, so obviously, we are going to disrupt that. The first course of action is to break into his underwater prison, the Iron Throne, and rescue the prisoners there.
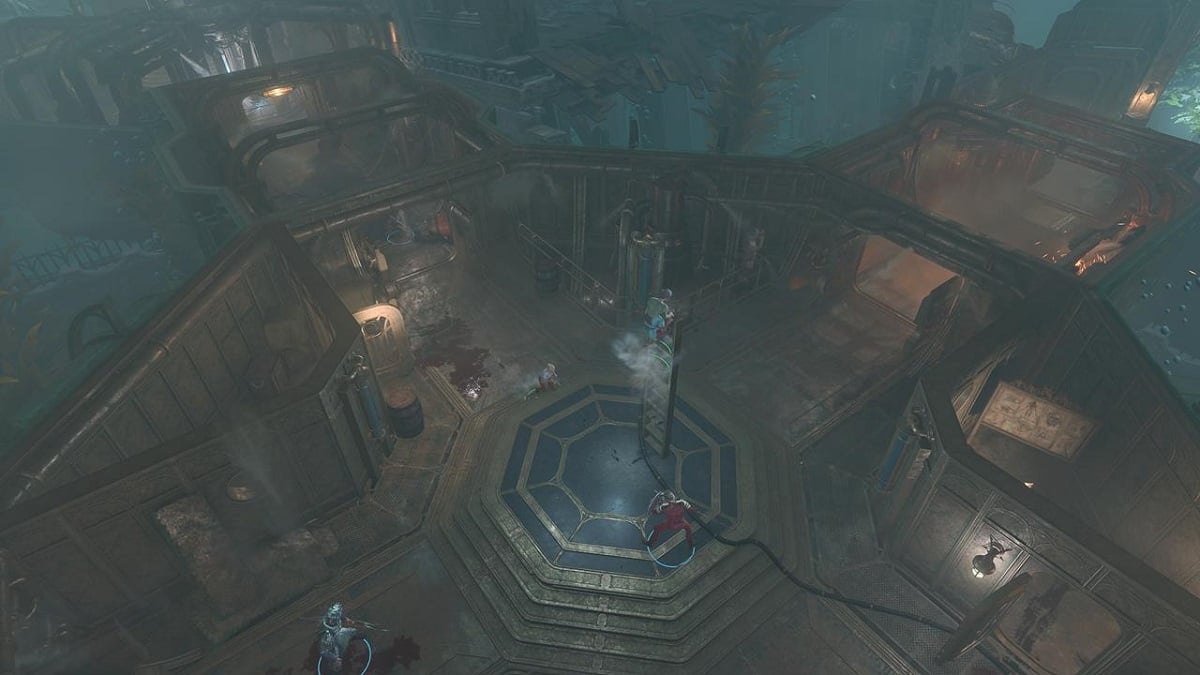
There are a lot of people to rescue in this prison, including the captive Gondians and Wyll’s father, Grand Duke Ravengard. What makes this situation so stressful is that you get anywhere from five to eight turns, depending on your difficulty level, to break out as many people as possible from the prison before it sinks.
In addition to that, you will be constantly attacked by enemies that threaten both you and the escapees. Planning several steps ahead is a must in this one.
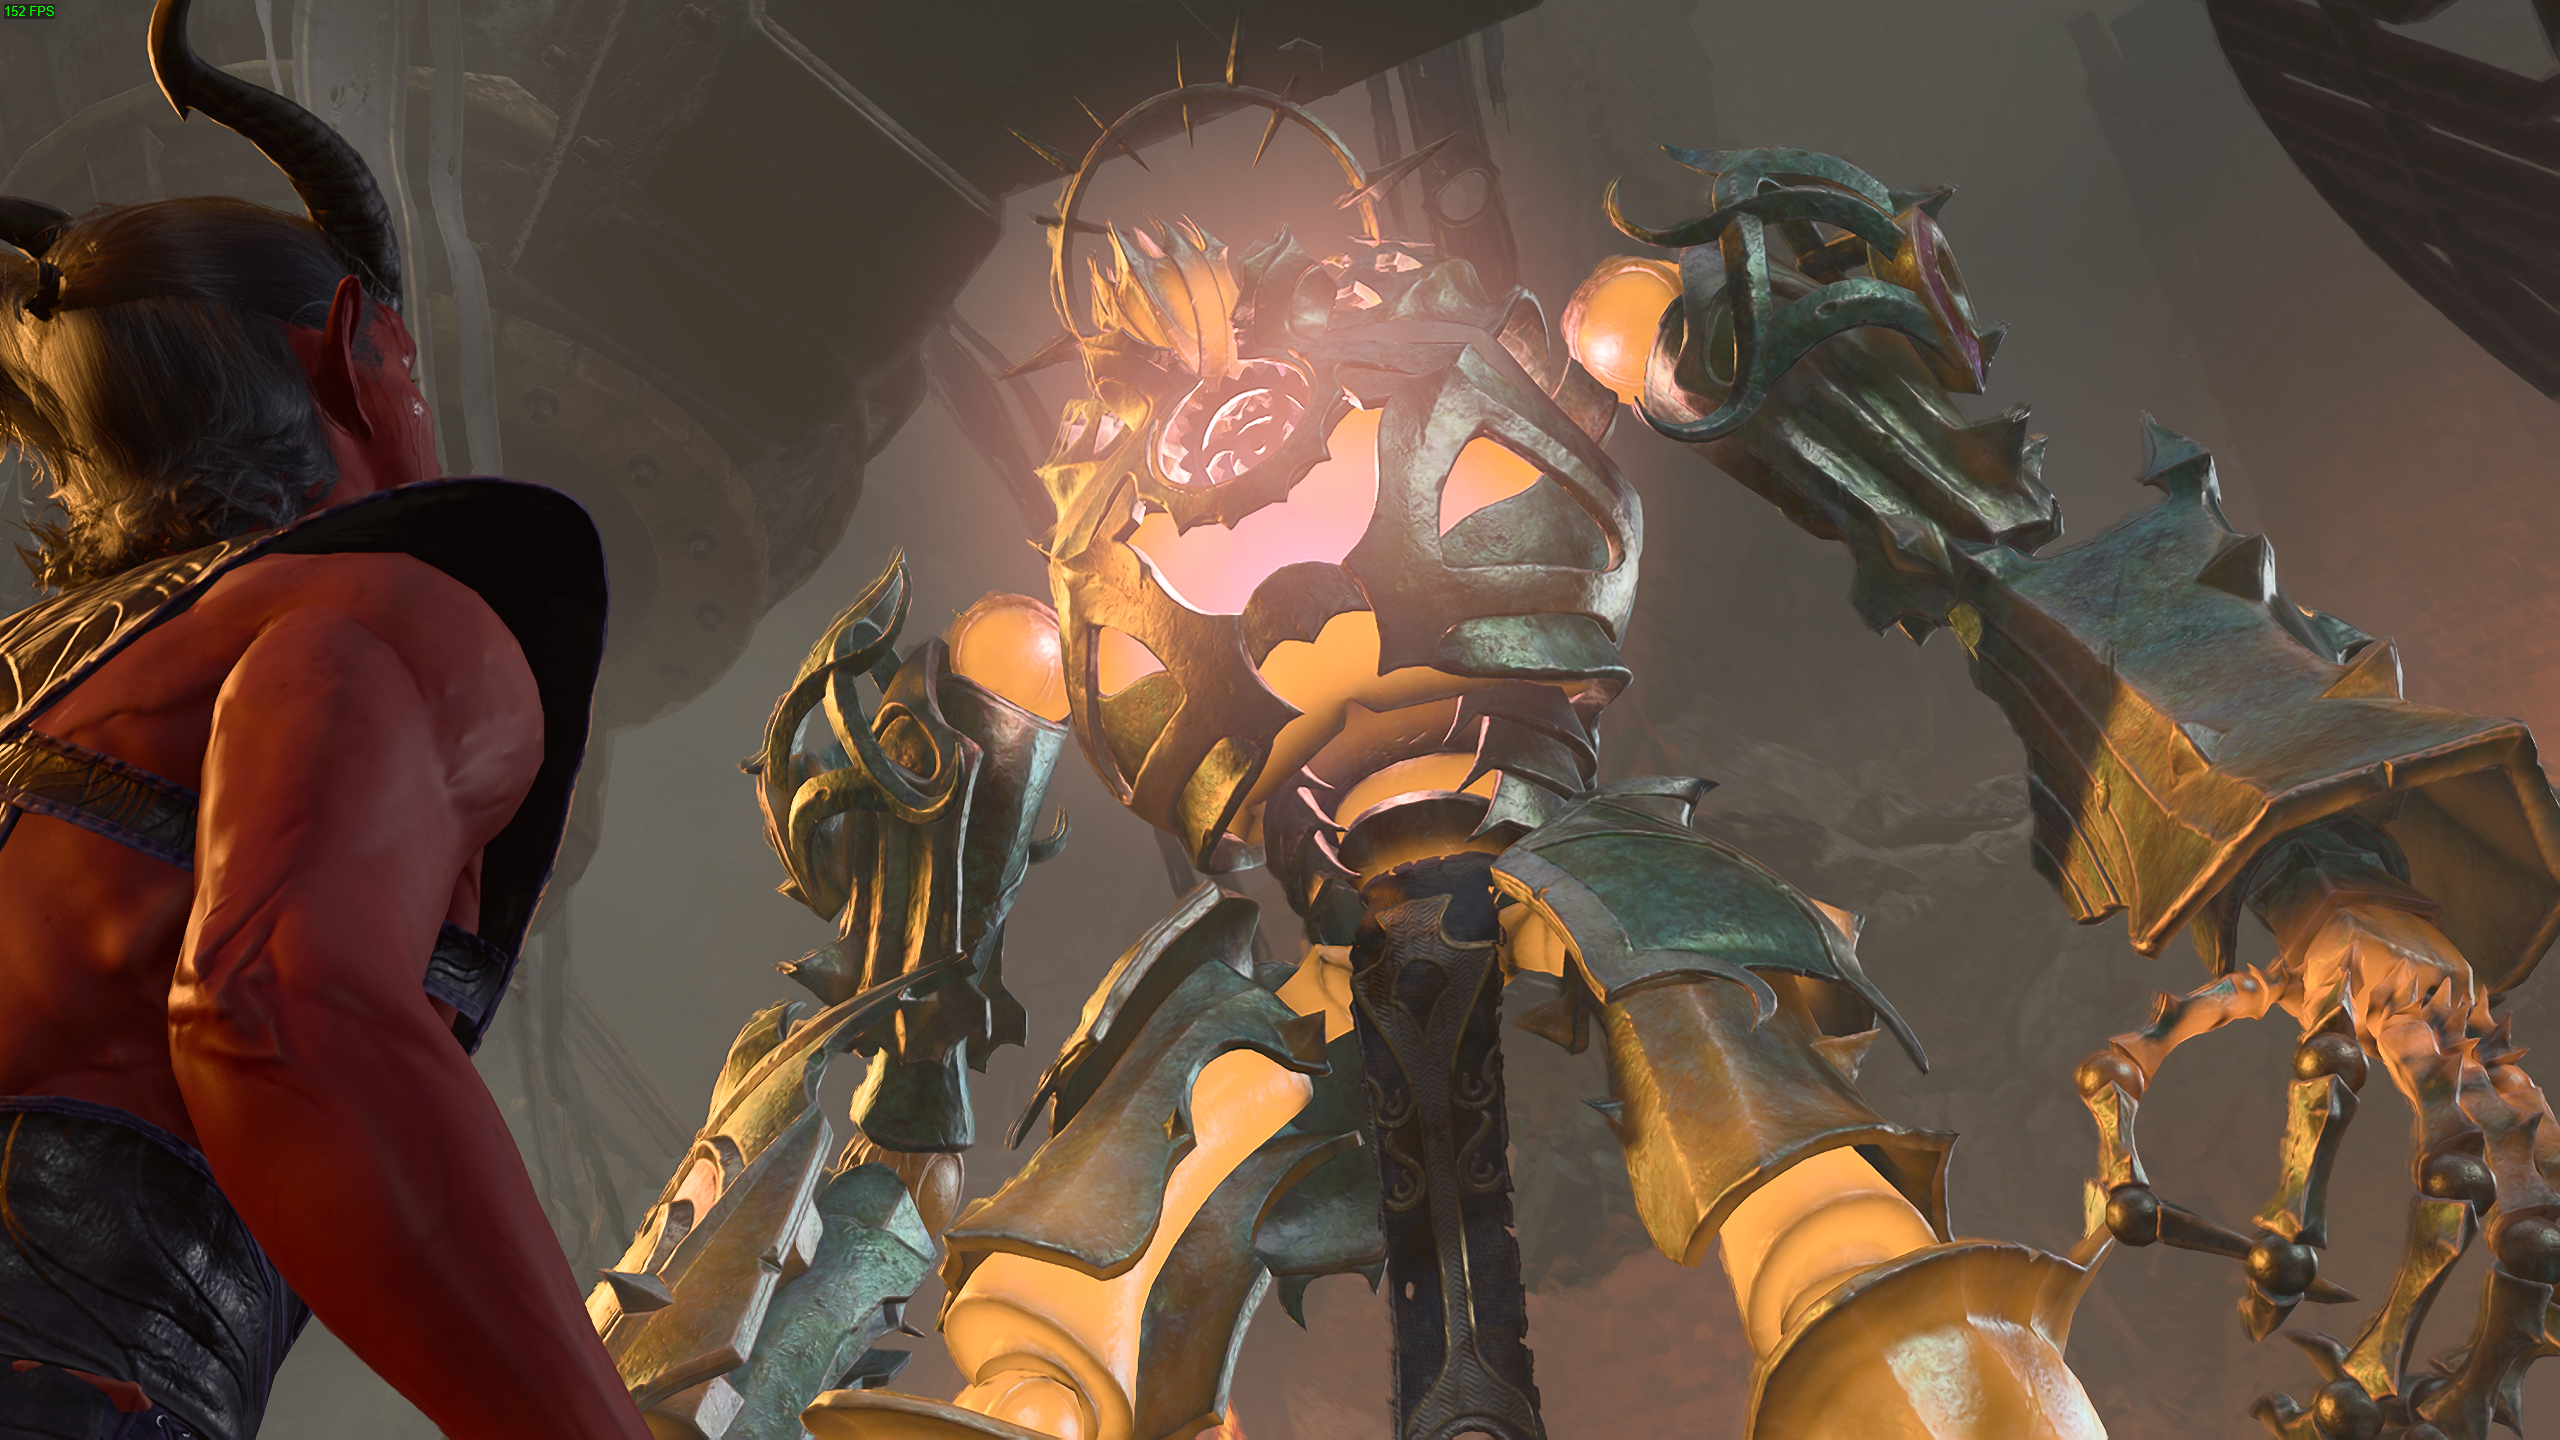
Destruction of the Steel Watch
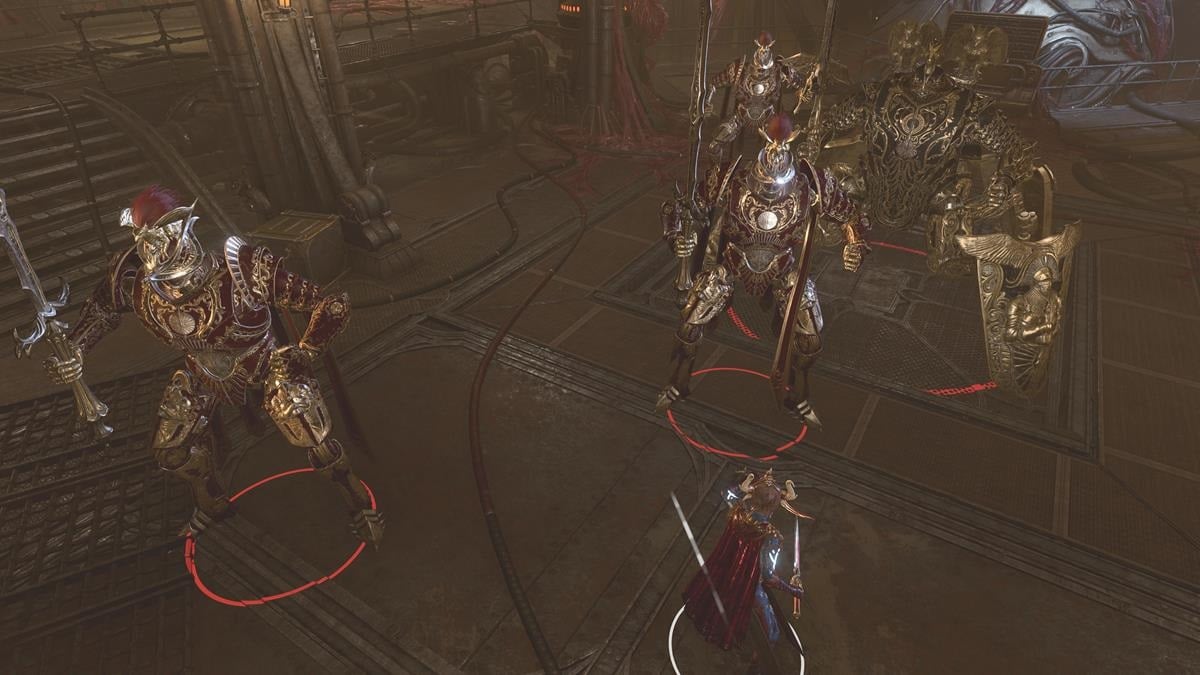
Now that we rescued the captives from the Iron Throne, our next course of action is destroying Gortash’s Steel Watch. This involves breaking into the factory with the help of our new allies and making our way to the bottom of the production facilities. After a series of tough battles, we make our way to the control center and the heart of the Steel Watch.
Related: Baldur’s Gate 3: How to Complete Disable the Steel Watch in BG3
The final battle here is quite stressful because not only do you have to contend with three Steel Watchers at once, but you also have to take out the Steel Watcher Titan itself. The battle here is long and we recommend taking out the Watchers one by one while your tank distracts the Titan. Take your time with this one and don’t be afraid of reloading if things don’t go your way.
After you take down the last of the Steel Watch, destroy the foundry and an easy path to Gortash opens up.
Raphael’s last stand
Before we head to the final battle, we make one last stop at the House of Hope and confront the devil himself. Breaking into Raphael’s lair to steal the Orphic Hammer is quite a task but a necessary one to gain a powerful ally later down the road. When you get here, successfully tricking his residents and stealing the Orphic Hammer completes the easy part of this quest.

The hard part comes later when Raphael makes his way back, and he is not happy. Getting to the entrance of the House of Hope after dodging giant fireballs and saving Hope herself is quite stressful, but what comes next is even more so. Raphael shows up, bringing his allies to battle with him. The man himself possesses a whopping 666 health, so prepare for a long battle.
Related: Baldur’s Gate 3: How to complete the House of Hope in BG3
Destroying the pillars around Raphael while defeating the rest of his demons is the key to winning this. If you successfully convince Yurgir to join your side, you will have a much easier time as well. Take your time and be patient with this fight because it is widely considered to be the hardest boss battle in the game.
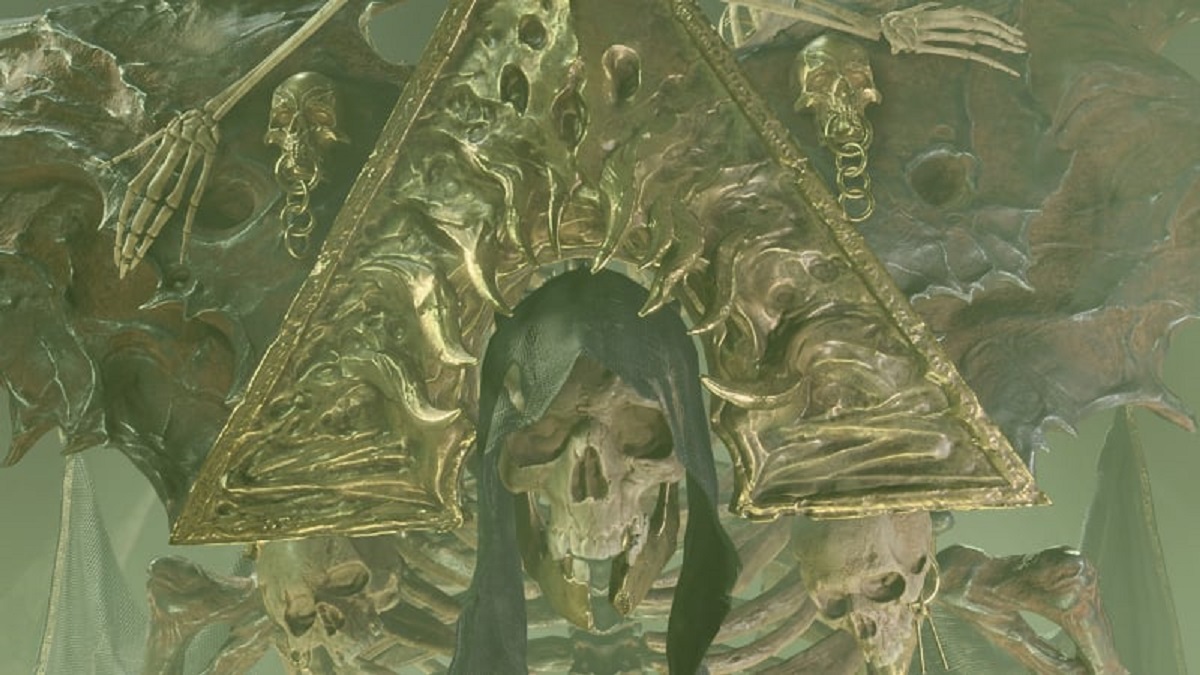
The Netherbrain’s Mind Flayer apocalypse
Now that you have all three Netherstones and have bested the devil himself, it is time to save the world from the Elder Brain. After your first encounter with the leader of the Mind Flayers, it will use the Netherstones to ascend and turn into the Netherbrain. This is where your allies come to help because it is a long trudge to get to the Netherbrain itself.
After braving through several skirmishes and a stressful climb to the top, you finally come face to face with the Mind Flayers’ strongest forces. Defeat them, and the giant Red Dragon, with your party while one member slips through the portal to destroy the Netherbrain itself. Once the entity is downed, you can then choose to destroy the Mind Flayer scourge or do something entirely different.
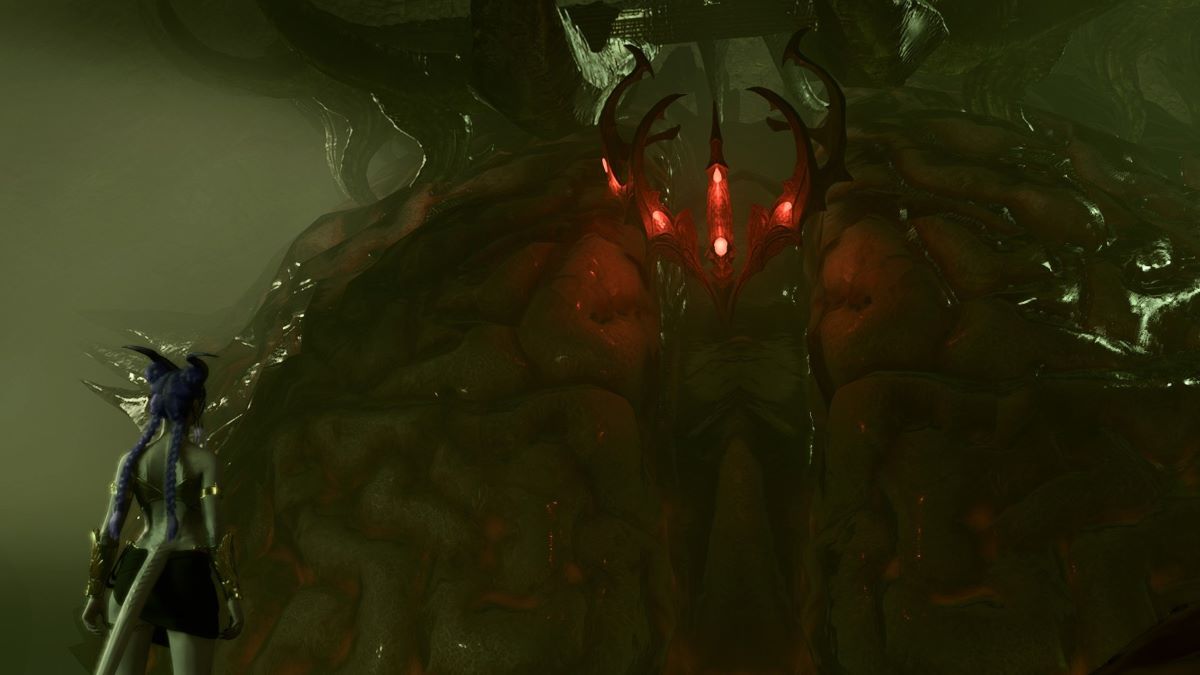
If the stress from all these battles has driven you to violence, or you’re simply playing an evil character, you can choose to assimilate the Netherbrain and take over the world yourself. How you choose to end your playthrough of Baldur’s Gate 3 is up to you since it was quite a ride getting to this point.
Related: Baldur’s Gate 3: How to Recruit Allies for the Final Battle in BG3
Others Asked
What makes Honor mode in Baldur's Gate 3 particularly challenging?
Honor mode makes enemies stronger, gives them more health, introduces new Legendary Actions for boss fights, limits players to a single save file, and forces players to start over if the entire party is wiped out.
What is one of the main issues players face with Baldur's Gate 3?
Players face an issue where they are unable to save their progress in Baldur's Gate 3.

What aspect of Baldur's Gate 3 do players find particularly challenging?
Avoiding romance with companions is particularly challenging for players in Baldur's Gate 3.


Published: Aug 25, 2023 04:15 am