Baldur’s Gate 3 allows for character progression through levels and equipment. When it comes to gear, be it powerful weapons, armor, or accessories, most of them can be acquired through completing a variety of questlines. While some are granted as quest rewards, others can be acquired amid the quests by making a quick detour.
As such, we have compiled a list of the quests that grant you the best rewards by the time you complete them.
These quests are ranked in ascending order based on the quality of rewards you get towards the end of the quest line and span across all three BG3 acts.
5) Find the Githyanki Creche
Starting in the tail end of the first act, when you’re making your way to the Shadow-cursed Lands, you have to choose the Mountain Pass or the Underdark to get there. If you go from the Mountain Pass, you can continue Lae’zel’s companion quest and go to Creche Y’llek in the northern section of the area which you can access via a rope lift.
Once you make it down there, you’ll get to what used to be Rosymorn Monastery. The Creche is located at the bottom but before you get there, you can quickly detour to solve a little puzzle in the monastery area.
The puzzle will have you return three weapons to the right pedestals to grant you the Dawnmaster’s Crest. Take it down with you and progress the Creche quest.
Related: Baldur’s Gate 3: How to get the Blood of Lathander in BG3
When the time comes to meet Vlaakith, make a quick stop to the west and turn the statues towards the west and the east appropriately to open up a path to a secret underground chamber. This is where you will find the Blood of Lathander.
Disable the traps and place the Dawnmaster’s Crest to acquire a powerful weapon (for a Cleric or Shadowheart) that can be used till the endgame.
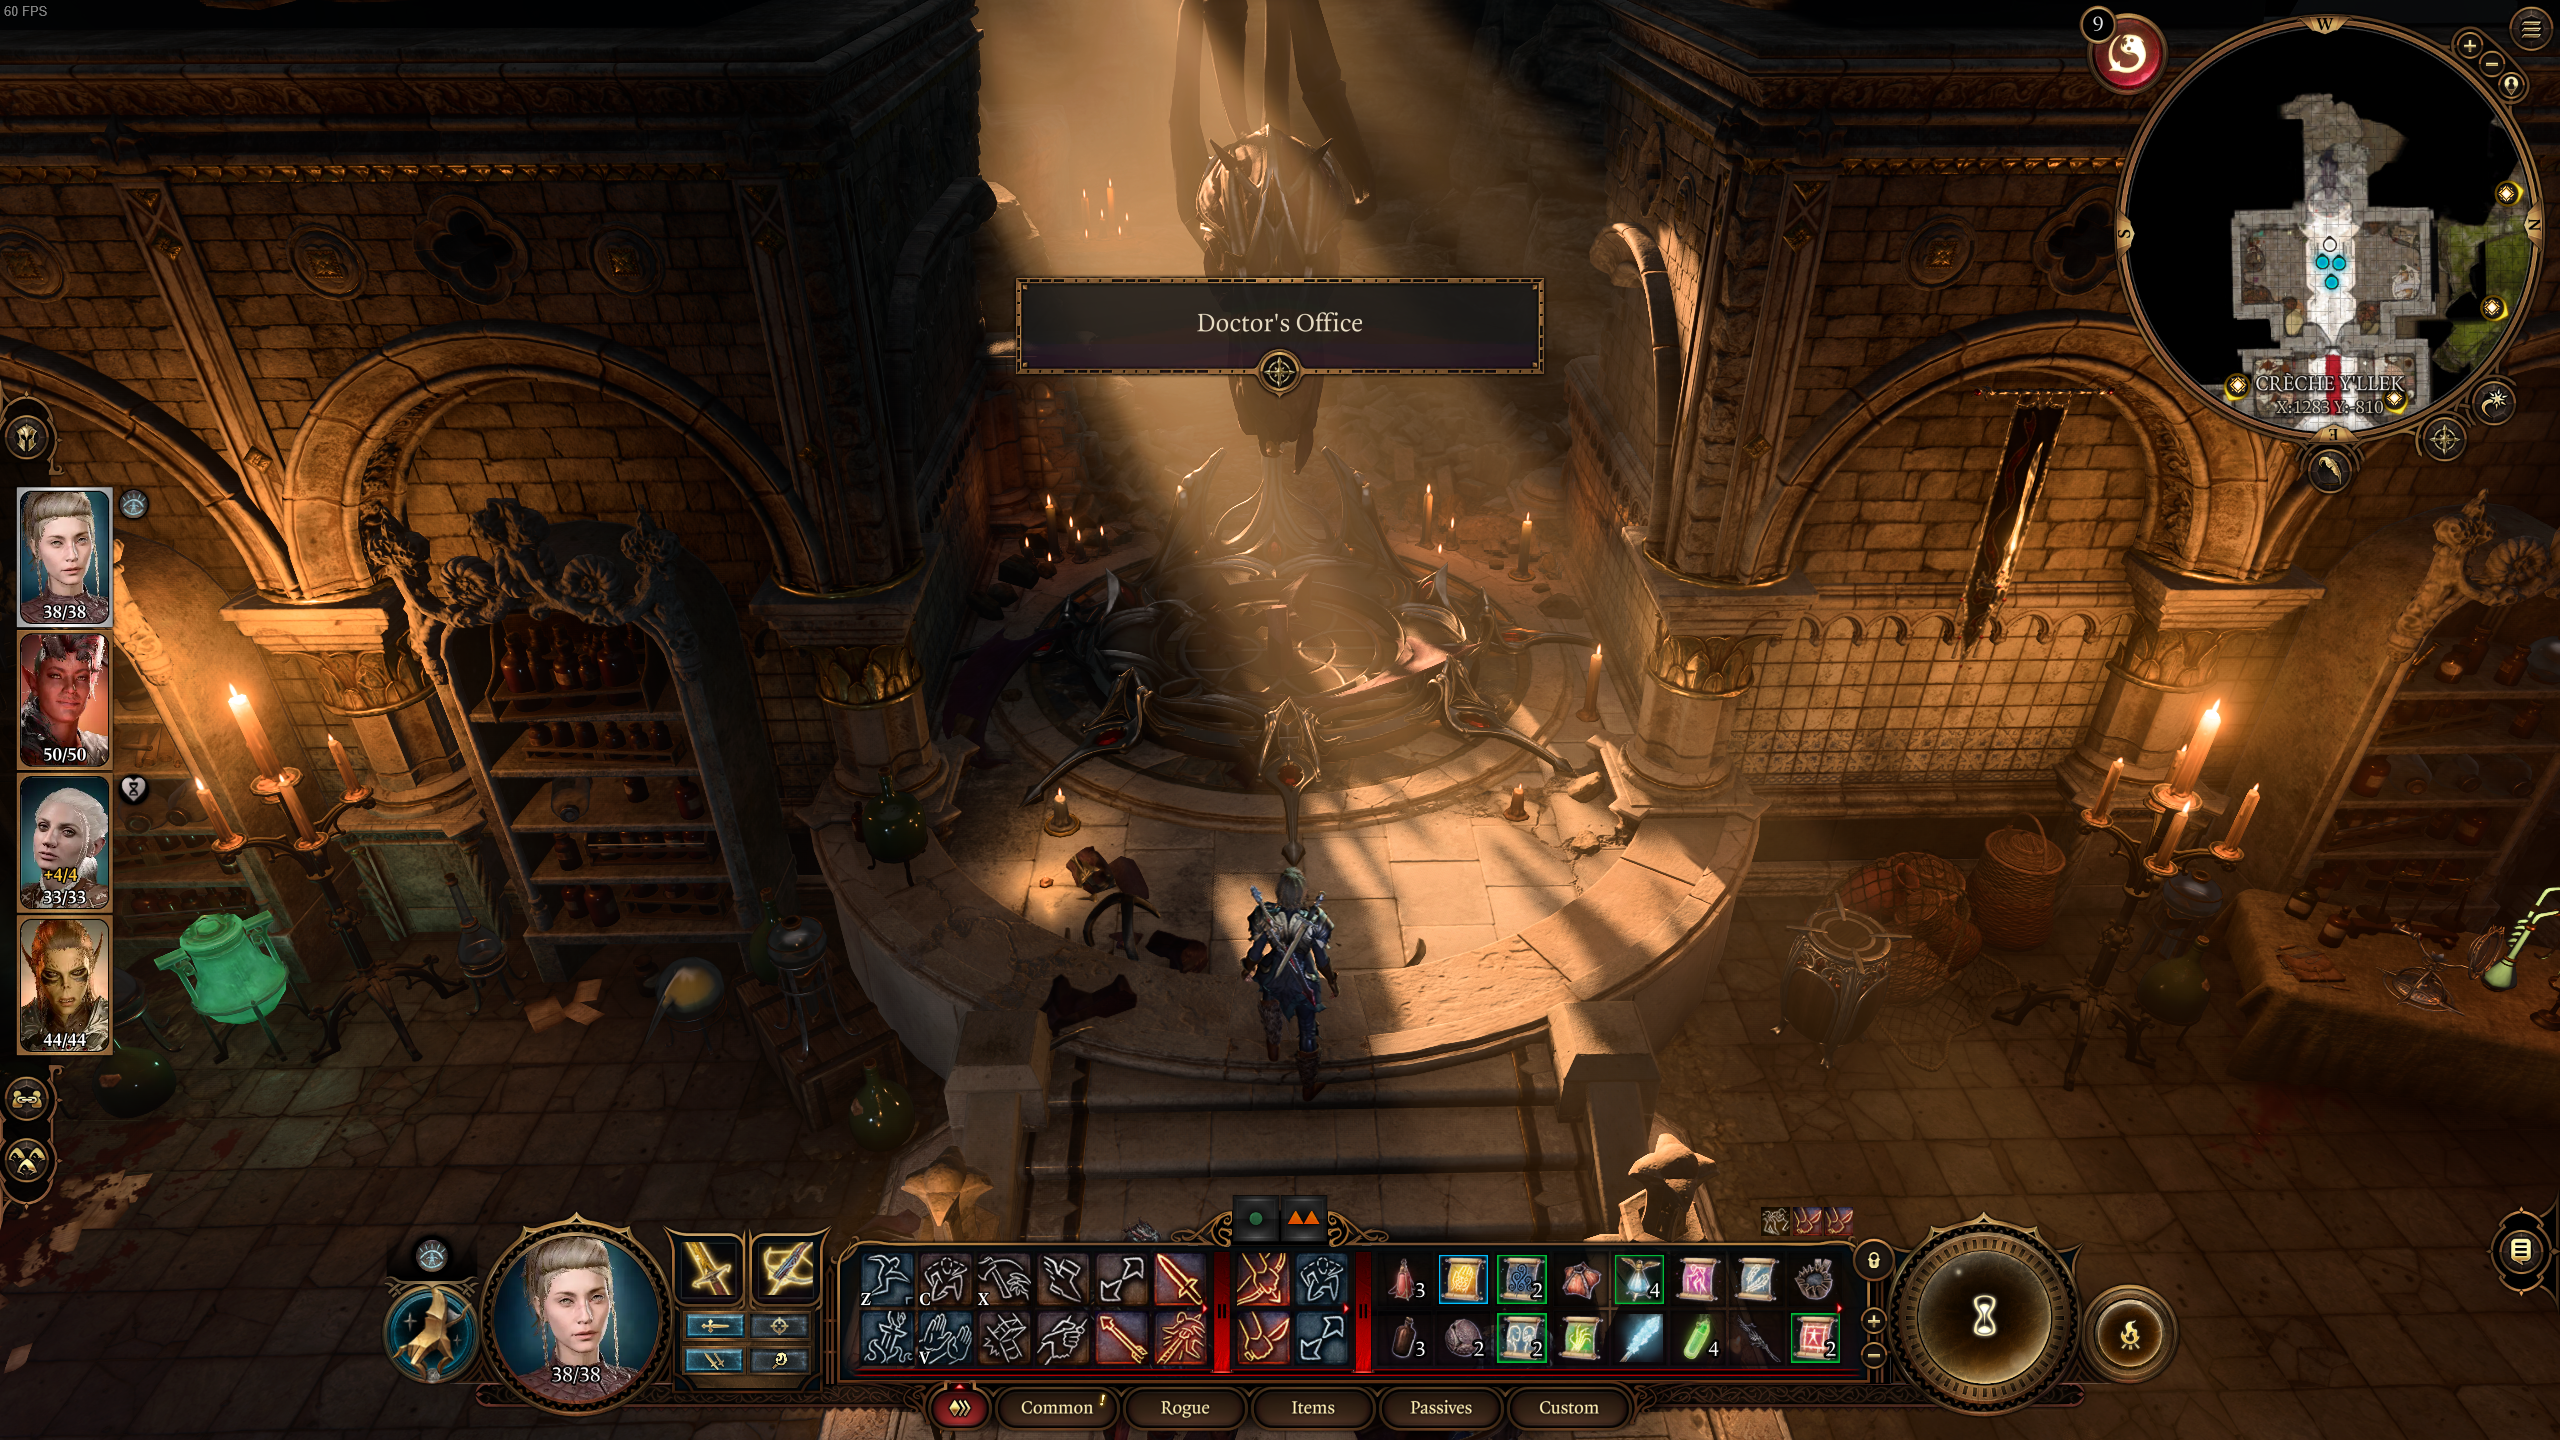
After this, complete the quest as usual and wipe out the entirety of the Githyanki Creche to gain access to an abundance of rare items along the way. Make sure to stop by the Zaith’isk in the doctor’s office to grab three additional Mind Flayer parasites as well as extra loot from the dormitories. You can make a quick buck by selling a lot of items you don’t need early into the game.
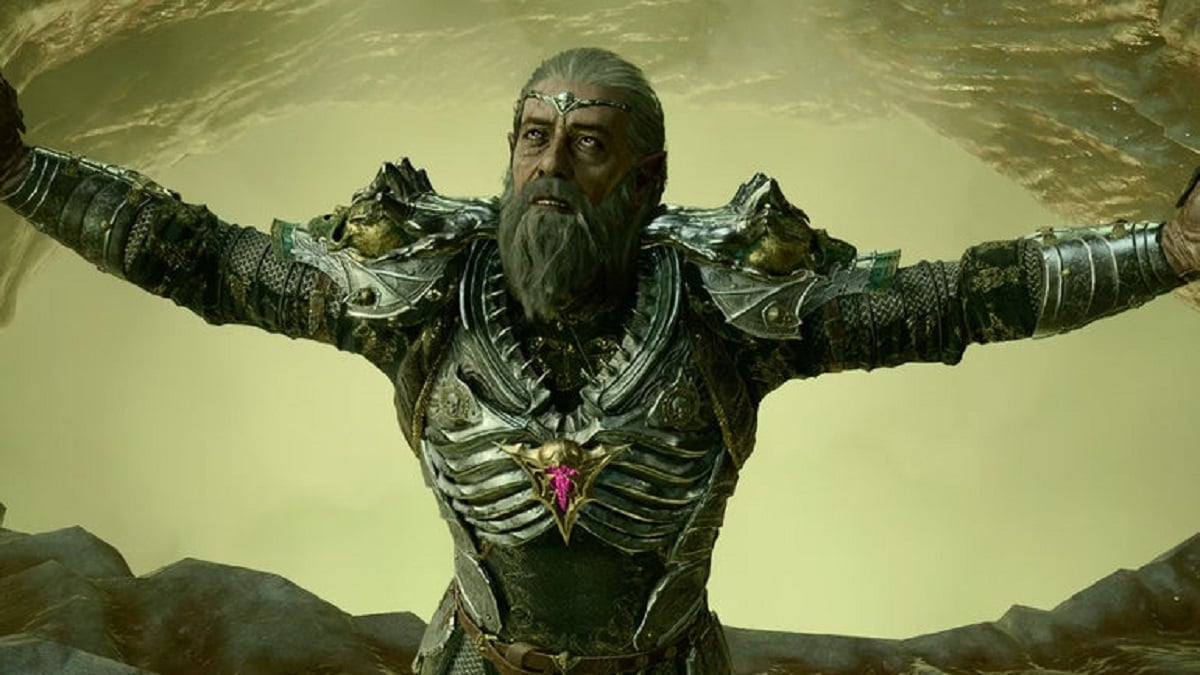
4) Defeat Ketheric Thorm
The final quest of the second act takes you through the entirety of Moonrise Towers, all the way to the top, and through a Mind Flayer colony. Going through this quest gives you some interesting rewards if you stick it out through the end.
If you save the Nightsong and side with Isobel in the Last Light Inn, you will have quite an army at your disposal when you assault Moonrise Towers.
Make your way through the lower levels of the building, taking out everyone in your way with the help of your new army. When you reach the top, you will fight Ketheric Thorm in the first of two battles against him. The Nightsong will show up to help you, making this fight much easier. Taking him down will prompt him to escape down into the Mind Flayer colony so chase after him.
While his minions will give you decent loot, the real prize is down in the colony. For bonus points, save Mizora down here and she will eventually give you the Infernal Rapier if you bargain with her in the next act. The weapon is a powerful one that scales well with your spellcasting, making it perfect for Wyll or other Warlock characters.
Defeating Ketheric Thorm for the second time in the depths of the Mind Flayer colony, this time in his Disciple of Myrkul form yields great rewards too. Not only do you gain his Netherstone, but you also get Ketheric’s Warhammer, Ketheric’s Shield, and his Reaper’s Embrace armor that grants the wearer access to the Howl of the Dead cantrip.
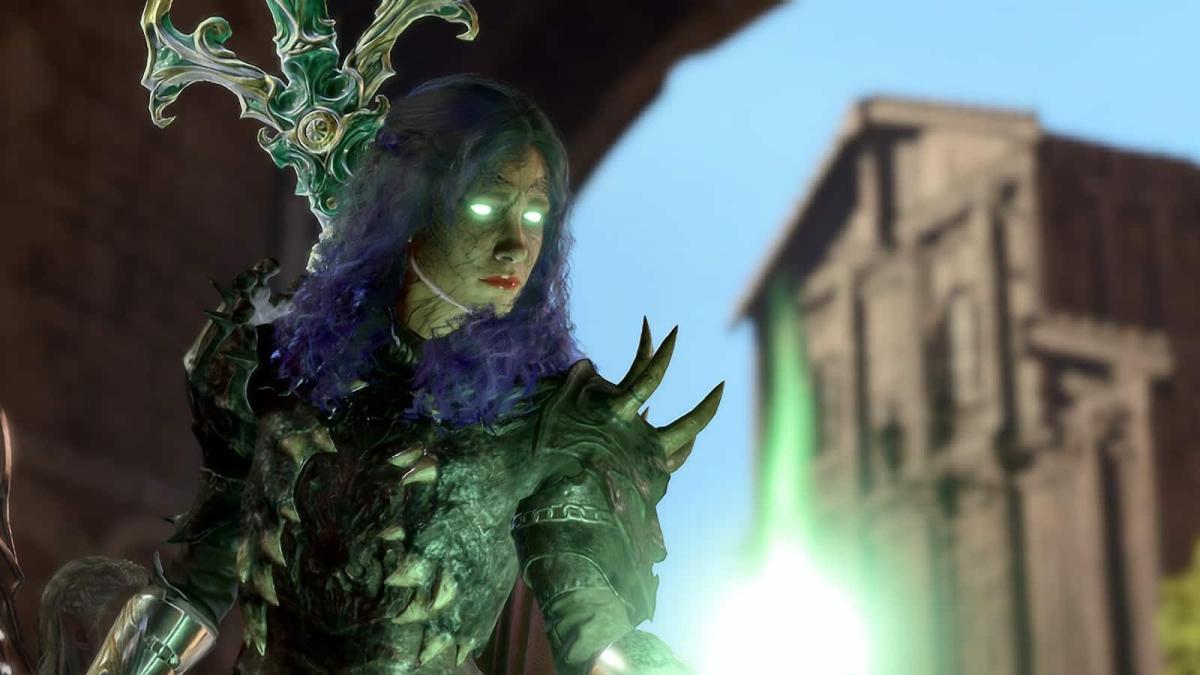
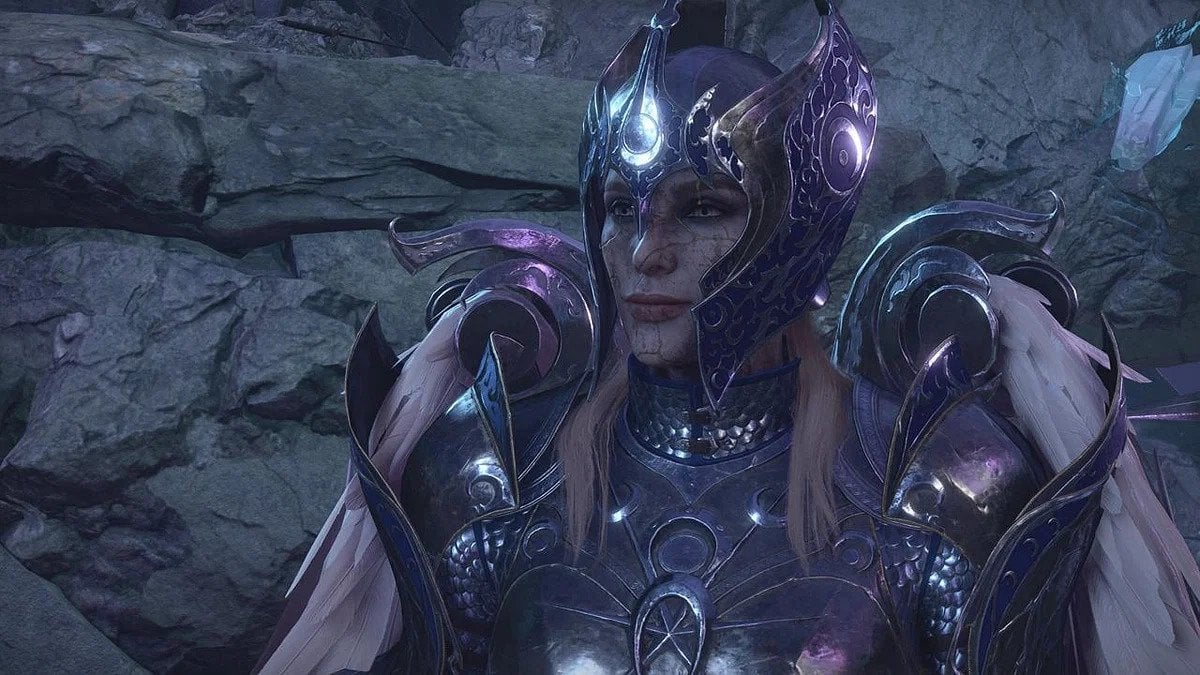
3) Find the Nightsong
This quest has to be completed before getting to Ketheric Thorm. When you get to the Thorm Mausoleum, you will meet Raphael who tells you to kill a certain hellspawn named Yurgir down in the depths of the Gauntlet of Shar. Since the Gauntlet is within the Thorm Mausoleum, you now have two things to take care of on your trip there.
The first is to get rid of Yurgir. You can either persuade him to kill off his minions and himself or choose to battle them. Either way, once Yurgir falls, you can grab his Hellfire Hand Crossbow that gives the wielder Scorching Ray Shot. The weapon also makes every shot burn the target if the wielder is hiding or invisible when firing.
Related: Baldur’s Gate 3: How to find the Nightsong in BG3
From this point on, continue into the Gauntlet of Shar and find the Nightsong in the depths of the dungeon. Here, you will have to fight off the Necromancer Balthazar and his minions before you get to the Nightsong. The drops from this battle aren’t that great but talking to the Nightsong will grant you better rewards, especially if picked up the Spear of Night earlier.
If you opt to kill the Nightsong, the weapon will turn into Shar’s Spear of Evening. If you choose to free the Nightsong, you will instead be granted a blessed version of the weapon called Selune’s Spear of Night.
The latter choice is most definitely the best outcome because the spear gives you Darkvision by default as well as Moonbeam, a powerful spell that launches the power of moonlight on your enemies.
2) Get Orin’s Netherstone

This one is a long and involved quest in the third act where you have to kill Orin the Red, the Chosen One of Bhaal.
This shape-shifting enemy makes her appearance at the end of the second act and is a wielder of one of the three Netherstones needed to confront the Elder Brain. The quest begins when you get to Wyrm’s Rock and learn of the murder in the Open Hand Temple.
The quest quickly escalates to the point where you have to investigate the Bhaalist Murder Tribunal and make your way through the underground Bhaalist Crypt. When you get down here, you run into Sarevok, the main antagonist of the original Baldur’s Gate. Complete the trial here and you will be taken to the inner sanctum.
Related: Baldur’s Gate 3: Where to find and how to rescue Orin’s Victim in BG3
When you’re here, you can choose to ally with the Bhaalists but if you fight them instead, you gain Sarevok’s Horned Helmet and the powerful Sword of Chaos. This one is perfect for Karlach or a Ranger character since it deals bonus Necrotic damage and steals a percentage of the damage dealt as health. Then proceed to the main Temple of Bhaal.
This is the final part of the quest where you kill Orin and save her victim. Doing so will put you in a difficult battle against Orin, in her slayer form, and her cultists who buff her. Defeat her to gain Bloodthirst and Crimson Mischief, two powerful weapons for characters like Astarion or a Ranger character that can dual wield.
1) Disable the Steel Watch
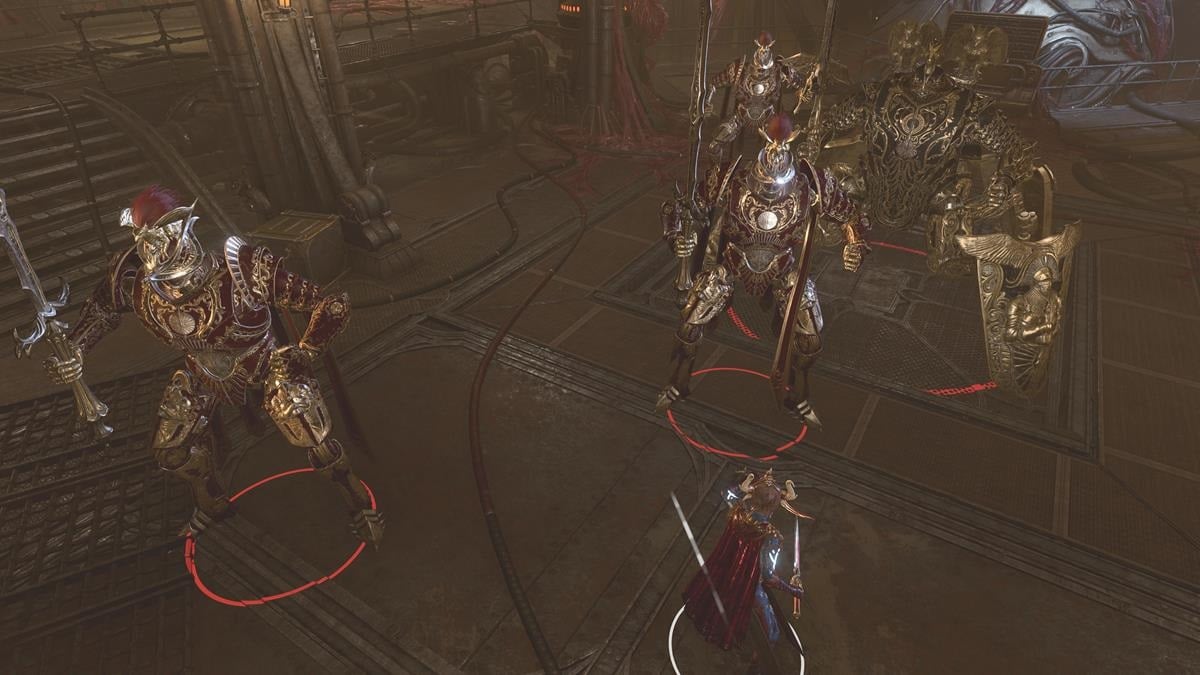
The final quest here will take you through the entirety of the Steel Watch Foundry in an attempt to destroy it and weaken Enver Gortash. Going through the factory is difficult enough with the Steel Watchers impeding your progress, which is why we recommend doing this after you have freed the Gondians and Grand Duke Ravengard from the Iron Throne first.
After completing these quests, take out the Steel Watchers guarding the factory, then march in. Defeat the supervisors and the Watchers inside, then head deeper into the foundry to fight even more enemies. Once you get to the bottom, the biggest challenge awaits you in the form of three Steel Watchers and the Steel Watcher Titan.
Related: Baldur’s Gate 3: How to Complete Disable the Steel Watch in BG3
Taking out the Titan will give you access to the most powerful bow: the Gontr Mael. This legendary weapon not only deals high damage but also has a chance to cast Guiding Bolt on the target that it hits.
It also provides the Celestial Haste ability which is great when you’re in a pinch. In addition, the Gontr Mael also glows by default, lighting up dark areas as you traverse them.
Because of how late into the story you get the Gontr Mael, it will become one of the best weapons you can use in the final battle.
While there are many more rewarding quests in the game, these quests grant you the most appropriate rewards for they actually take place in Baldur’s Gate 3. We are confident that at least one character in your party can use the gear mentioned above if you have a well-rounded companion setup as you progress through the game.
Others Asked
What area becomes a major questing location in Act Three of Baldur's Gate 3?
The city of Baldur's Gate becomes a major questing area in Act Three of Baldur's Gate 3.

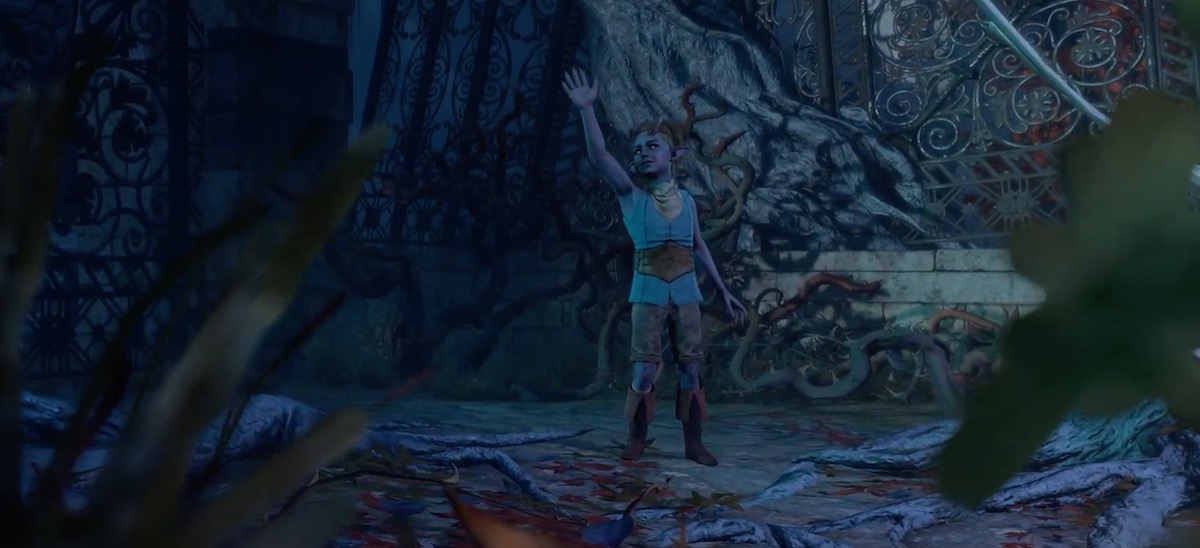
What is the main reward for completing Arabella's quest in Baldur's Gate 3?
The main reward for helping find Arabella's parents is the Shadowblade Ring, which allows the wearer to cast the second-level spell Shadow Blade.
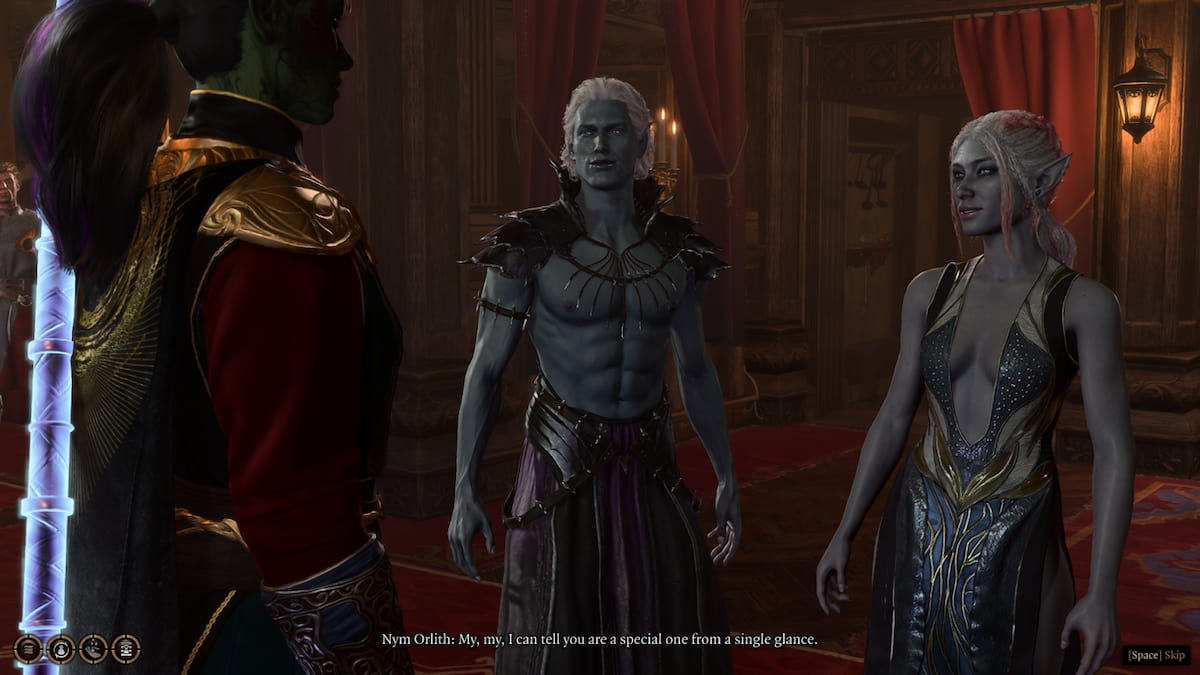
What are the different rewards you can receive from quests in Baldur's Gate 3?
In Baldur's Gate 3, quest rewards can include a pile of gold, a fancy weapon, or even a pair of Drow twins, among other possibilities.


Published: Sep 8, 2023 12:37 am