The boss fights that you encounter in Armored Core 6 are going to push you and your mech to the limit, but that just makes the taste of victory oh so sweet. Now get in the robot, 621, and get after them all.
Be warned: there will be spoilers up ahead!
All Chapter One bosses in AC6
AH12 HC Helicopter
At the end of the very first mission, “Illegal Entry,” you’ll be tasked with taking on an armored chopper equipped with several miniguns peppering you with bullets. It’s a tough fight foreshadowing a brutally difficult campaign.
Dafeng Student Pilot
The next big fight you’ll encounter is in the mission “Destroy the Tester AC.” A student of Dafeng is piloting a prototype AC. With the combat experience you’ve gained , this fight shouldn’t give you much trouble.
Index Durham
In the mission, “Attack the Dam Complex,” you’ll come across a strong AC at the very end who will try to defend against your assault. He holds a shield to help stifle blows and will fire missiles your way that you’ll need to consistently avoid. However, with the help of the Red Guns, you should be able to overwhelm him pretty easily.
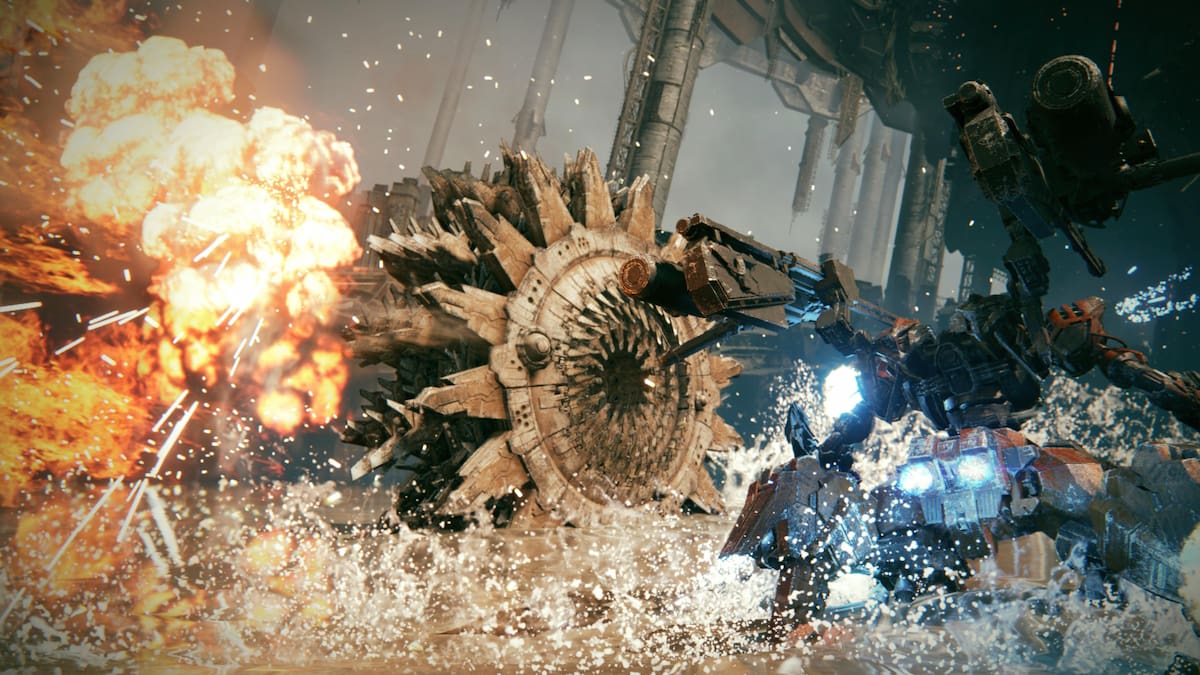
EB-309 Strider
The mission “Destroy the Weaponized Mining Ship” is essentially one prolonged boss battle. Strider is a giant walking vessel that shoots powerful lasers at you from afar with its massive eye. With some clever platforming, you’ll be able to board the ship and destroy the eye to take this behemoth down.
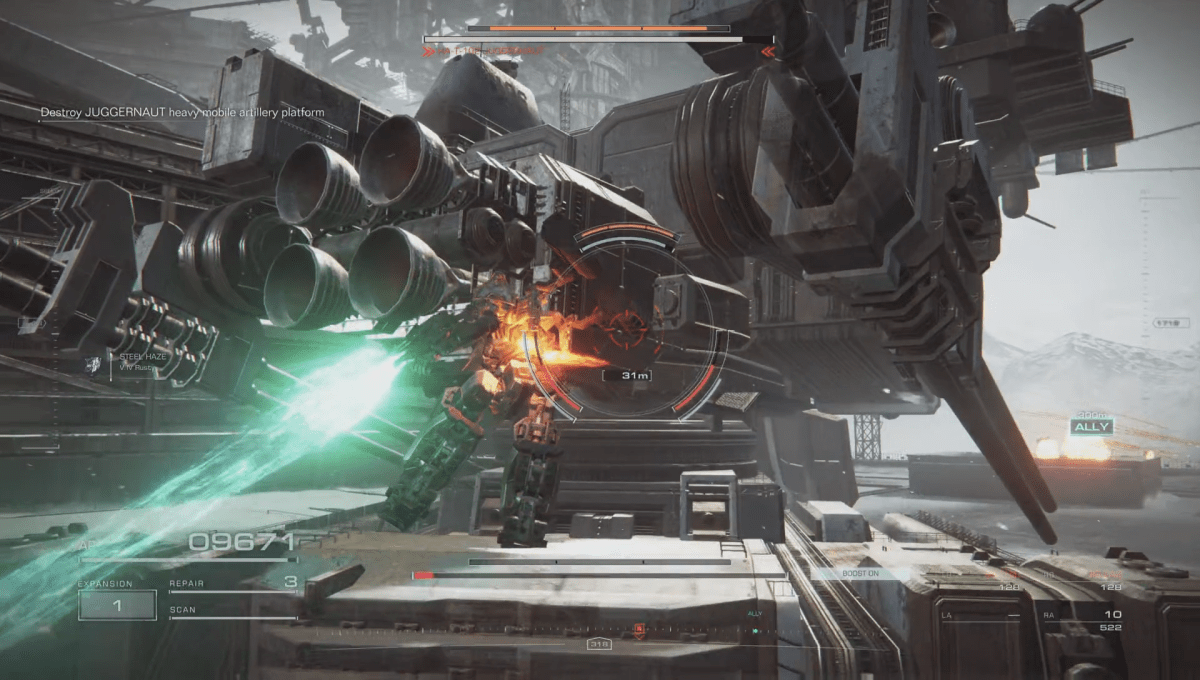
HA-T-102 Juggernaut
The eighth mission, “Operation Wallclimber,” can be seen as a checkpoint in chapter one. Juggernaut is a rolling tank that will charge its way around the combat area while firing explosives towards the ground. It also has thick plating on the front side, so you’ll need to fly over and attack it from the back to deal damage.
Little Ziyi
In the middle of the mission, “Retrieve Combat Logs,” Little Ziyi will interrupt your timed search for the logs in order to take her out. Fortunately, she is very easy to combat and shouldn’t take you long, but she might be tricky to pin down due to her speed.
Sulla
On the last mission of chapter one, “Attack the Watchpoint,” Sulla will engage you in combat while hurling insults directed at Handler Walter. He’ll be flying circles around you and firing all kinds of projectiles that quickly whittle down your health and stagger you. Locking him down and never letting him out of your sights is key in order to best him.
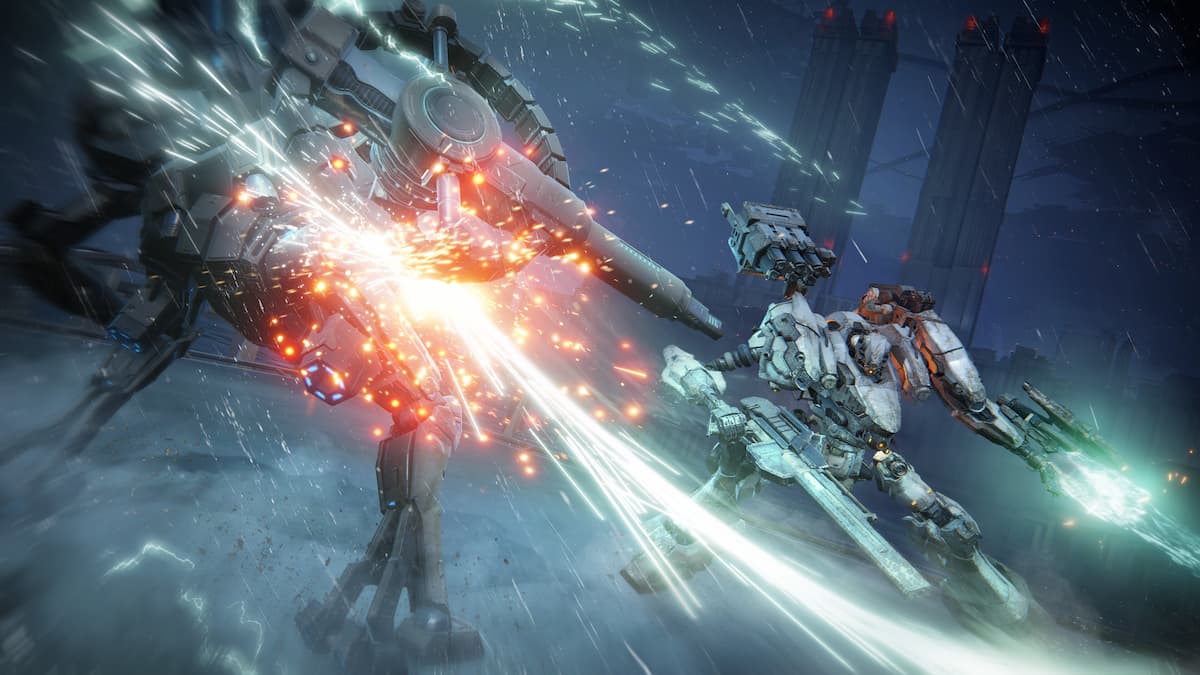
AA P07 Balteus
Right after the Sulla fight, you’ll get to refill your ammo and reach a checkpoint before fighting one of the hardest bosses in the game. Balteus has a regenerative shield that you’ll need to destroy before you can damage it. At half health, it’ll bust out flamethrowers that cover half of the stage. If you can overcome this, you’ll be ready to take on the chapter two.
All Chapter Two bosses in AC6
Nosaac
In the first mission of chapter two, “Infiltrate Grid 086,” there is a secret treasure chest you can find if you take an alternative path. If you enter a pipe that doesn’t have any lava in it, you’ll come across the chest at a dead end. Nosaac will come up from behind, believing they have the drop you, but they have no idea just how wrong they are.
“Invincible” Rummy
The first mission of chapter two, “Infiltrate Grid 086,” will feature everyone’s favorite character from the Arena. Invincible is put in quotations for a reason. Just avoid his chainsaw arm and you’ll be golden.
EC-0804 Smart Cleaner
At the end of the first mission of chapter two, “Infiltrate Grid 086,” Carla will send her autonomous janitor after you. It uses flaming hot steam rollers in order to swat at you, so it’s best to boost or fly out of the way when it takes a swing.
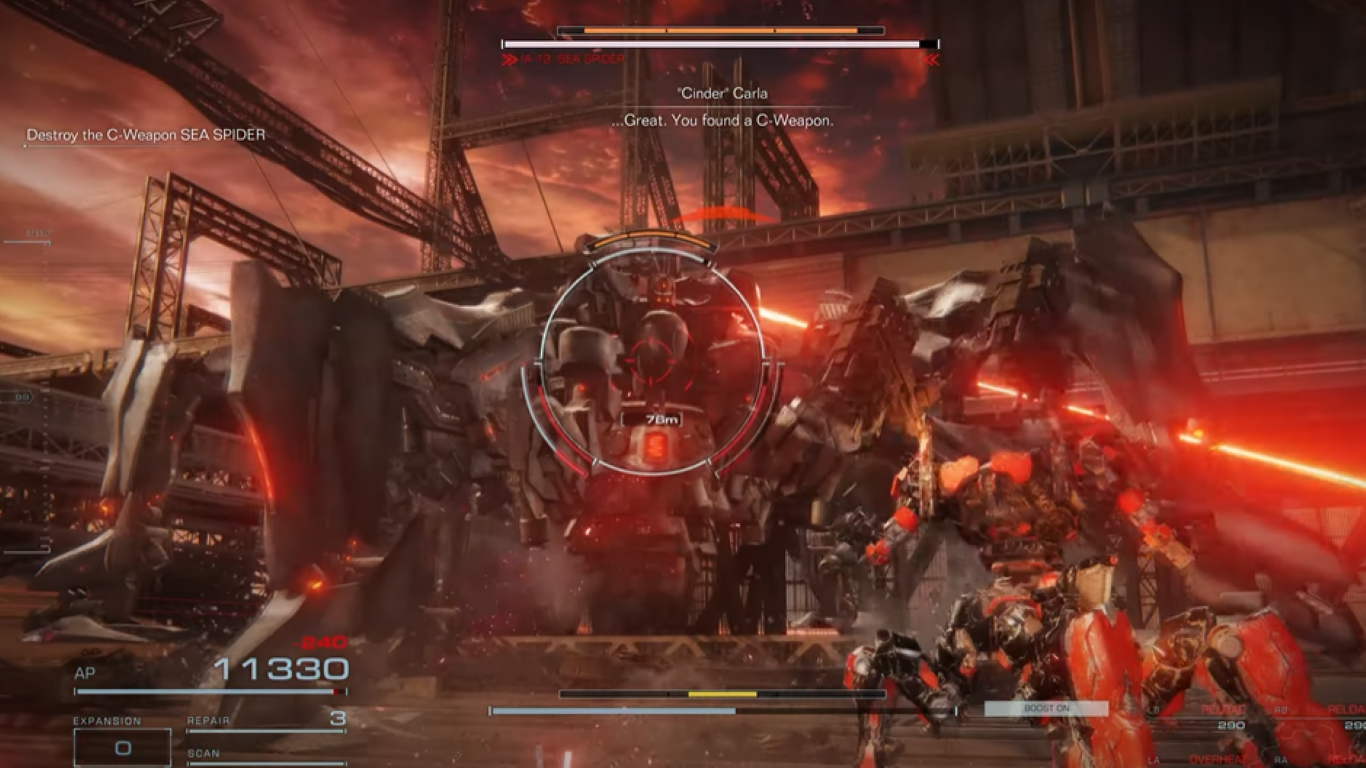
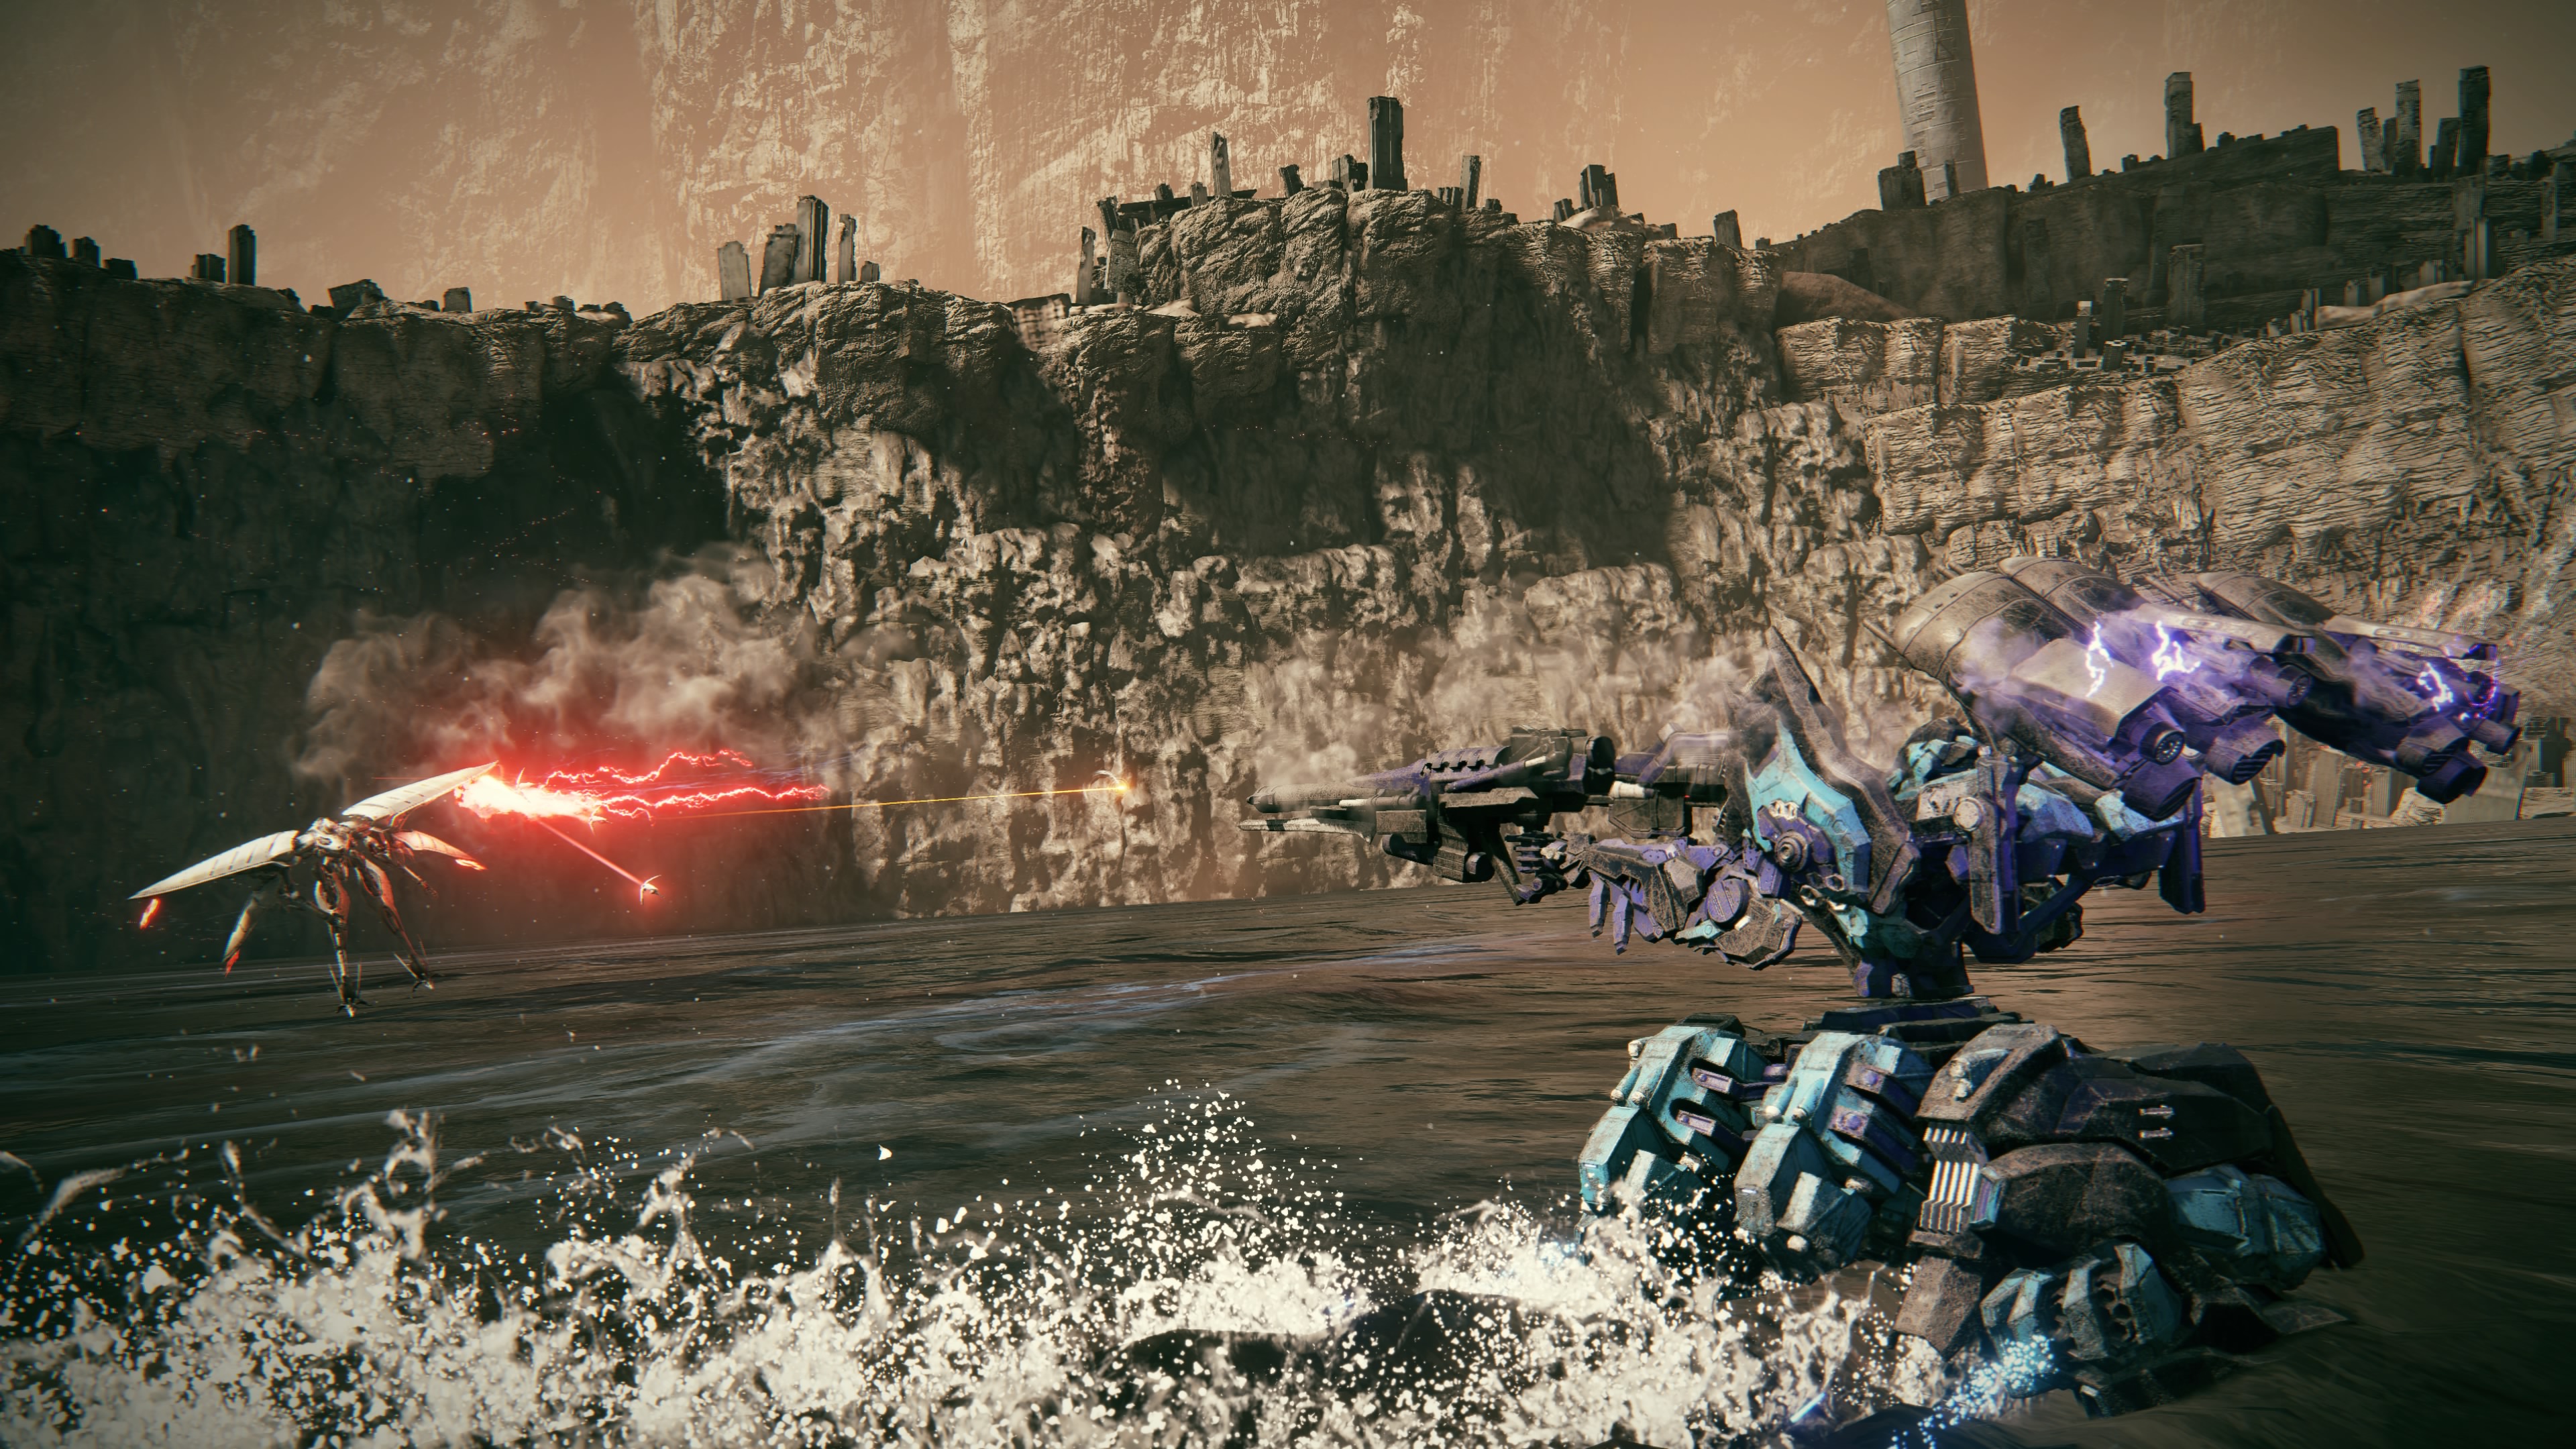
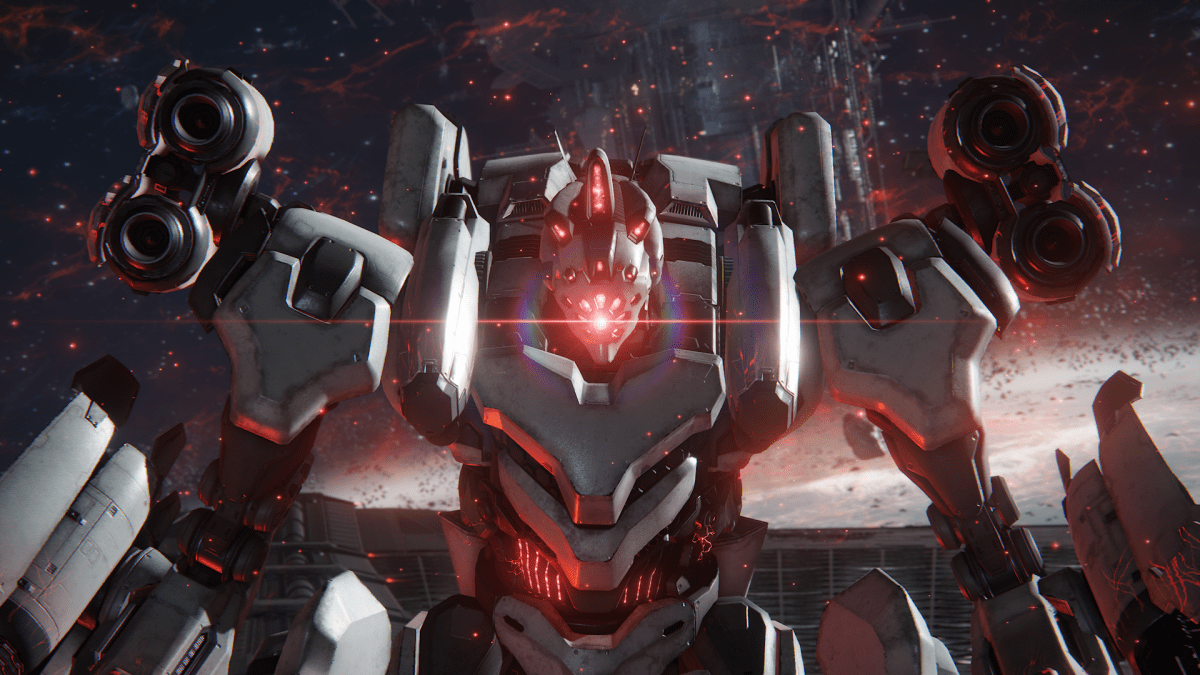
IA-13 Sea Spider
The last boss in chapter two, found in the mission, “Ocean Crossing.” Sea Spider begins the fight clawing at you with overhead attacks that can even swat you out of the sky. At half health, it’ll take to the air and bombard the entire stage with lasers. Finishing this fight will allow you to move onto chapter three.
All Chapter Three bosses in AC6
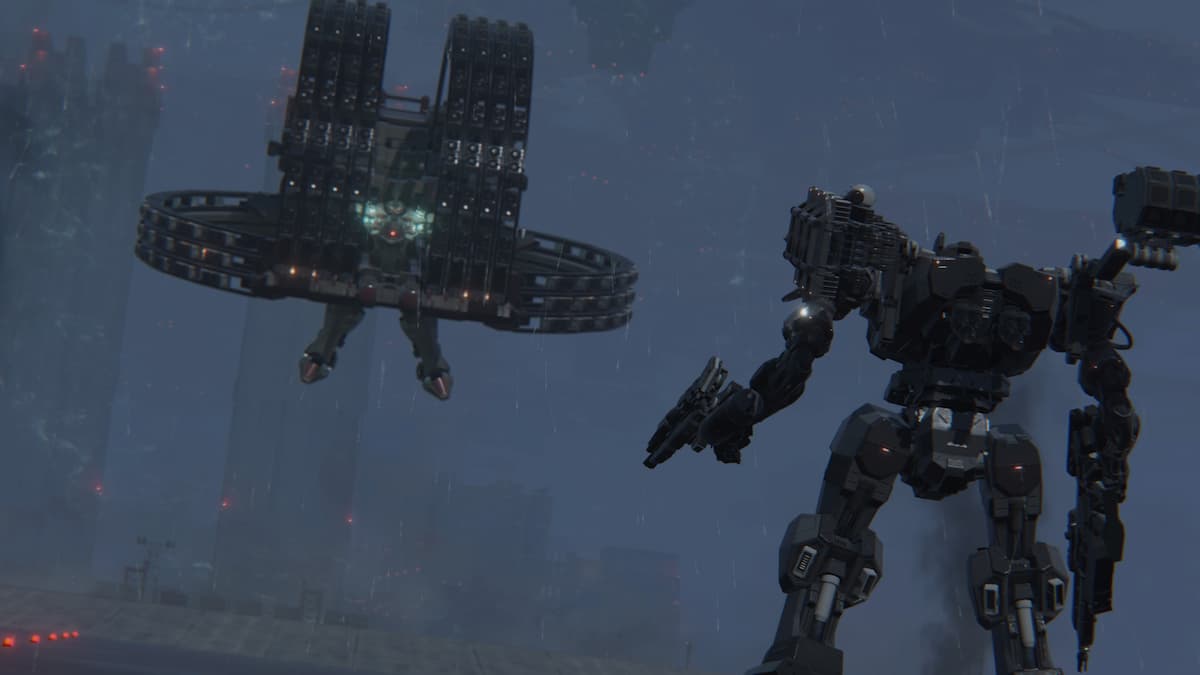
AS07 Heavy Warship
You’ll encounter this monstrous flying warship at the very end of the first mission of chapter three, “Steal the Survey Data.” After taking on wave after wave of enemies, the Heavy Warship will present itself, firing laser beams in your direction that you’ll have to dodge as you make your way towards it. Its health is very low and it’ll be destroyed in seconds once you bridge the gap–just be sure you return to land before it crashes!
V.VII Swinburne
You’ll encounter Swinburne in the mission titled, “Eliminate V.VII,” fittingly enough. After a peculiar stealth segment, you’ll be forced to fight Swinburne, who will come after you with a blade that sparks an electric discharge. Avoid their melee combos and you’ll have the upper hand in this fight.
Rokumonsen
There’s actually an alternative route in the mission, “Eliminate V.VII” where you can let Swinburne live. If you accept Swinburne’s offer, you will spare him, and instead you’ll be fighting Rokumonsen. He will always try to get up-close, so be sure to keep your distance and apply as much damage to keep him in a staggered state.
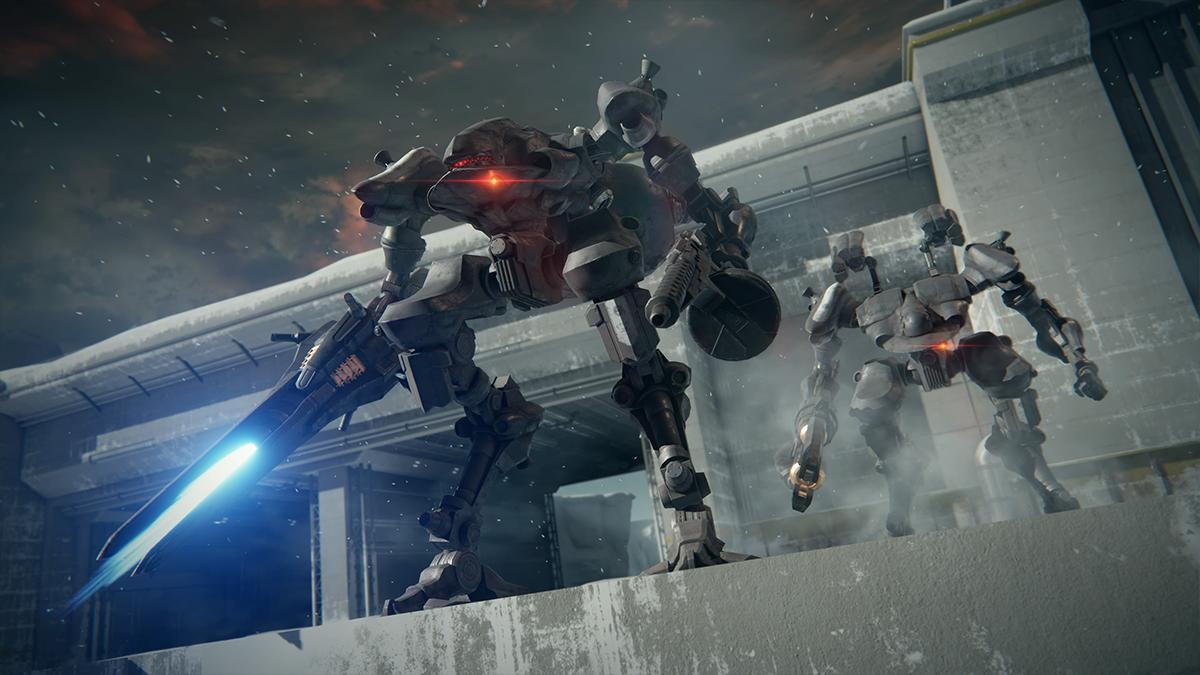
PCA SP 2nd Lieutenant & PCA SP Chief Sergeant 1st Class
You’ll be pitted in this two-on-one fight in the mission, “Attack the Refueling Base.” Each of these elite soldiers will be pretty weak individually. Just focus on one until they go down before shifting your focus to their partner.
AH12 HC Helicopter
You’ll face your second helicopter boss fight in the mission, “Survey the Uninhabited Floating City.” This will be similar to its predecessor but a tougher rendition overall–a testament to how much you’ve improved at the game.
PCA Warrant Officer
You’ll encounter the Warrant Officer in the Decision Mission, “Eliminate the Enforcement Squad.” They have a strong shield and will attack you with various laser attacks.
Related: Armored Core 6: Decision Missions and how to spot them in AC6
PCA Captain & PCA 1st Lieutenant
This boss fight at the end of the “Attack the Old Spaceport” mission is very similar to the fight against the PCA SP officers that you fought not that long ago. They might be a little stronger, but this time you have the help of Rusty. Take them down one at a time and you’ll be done in no time.
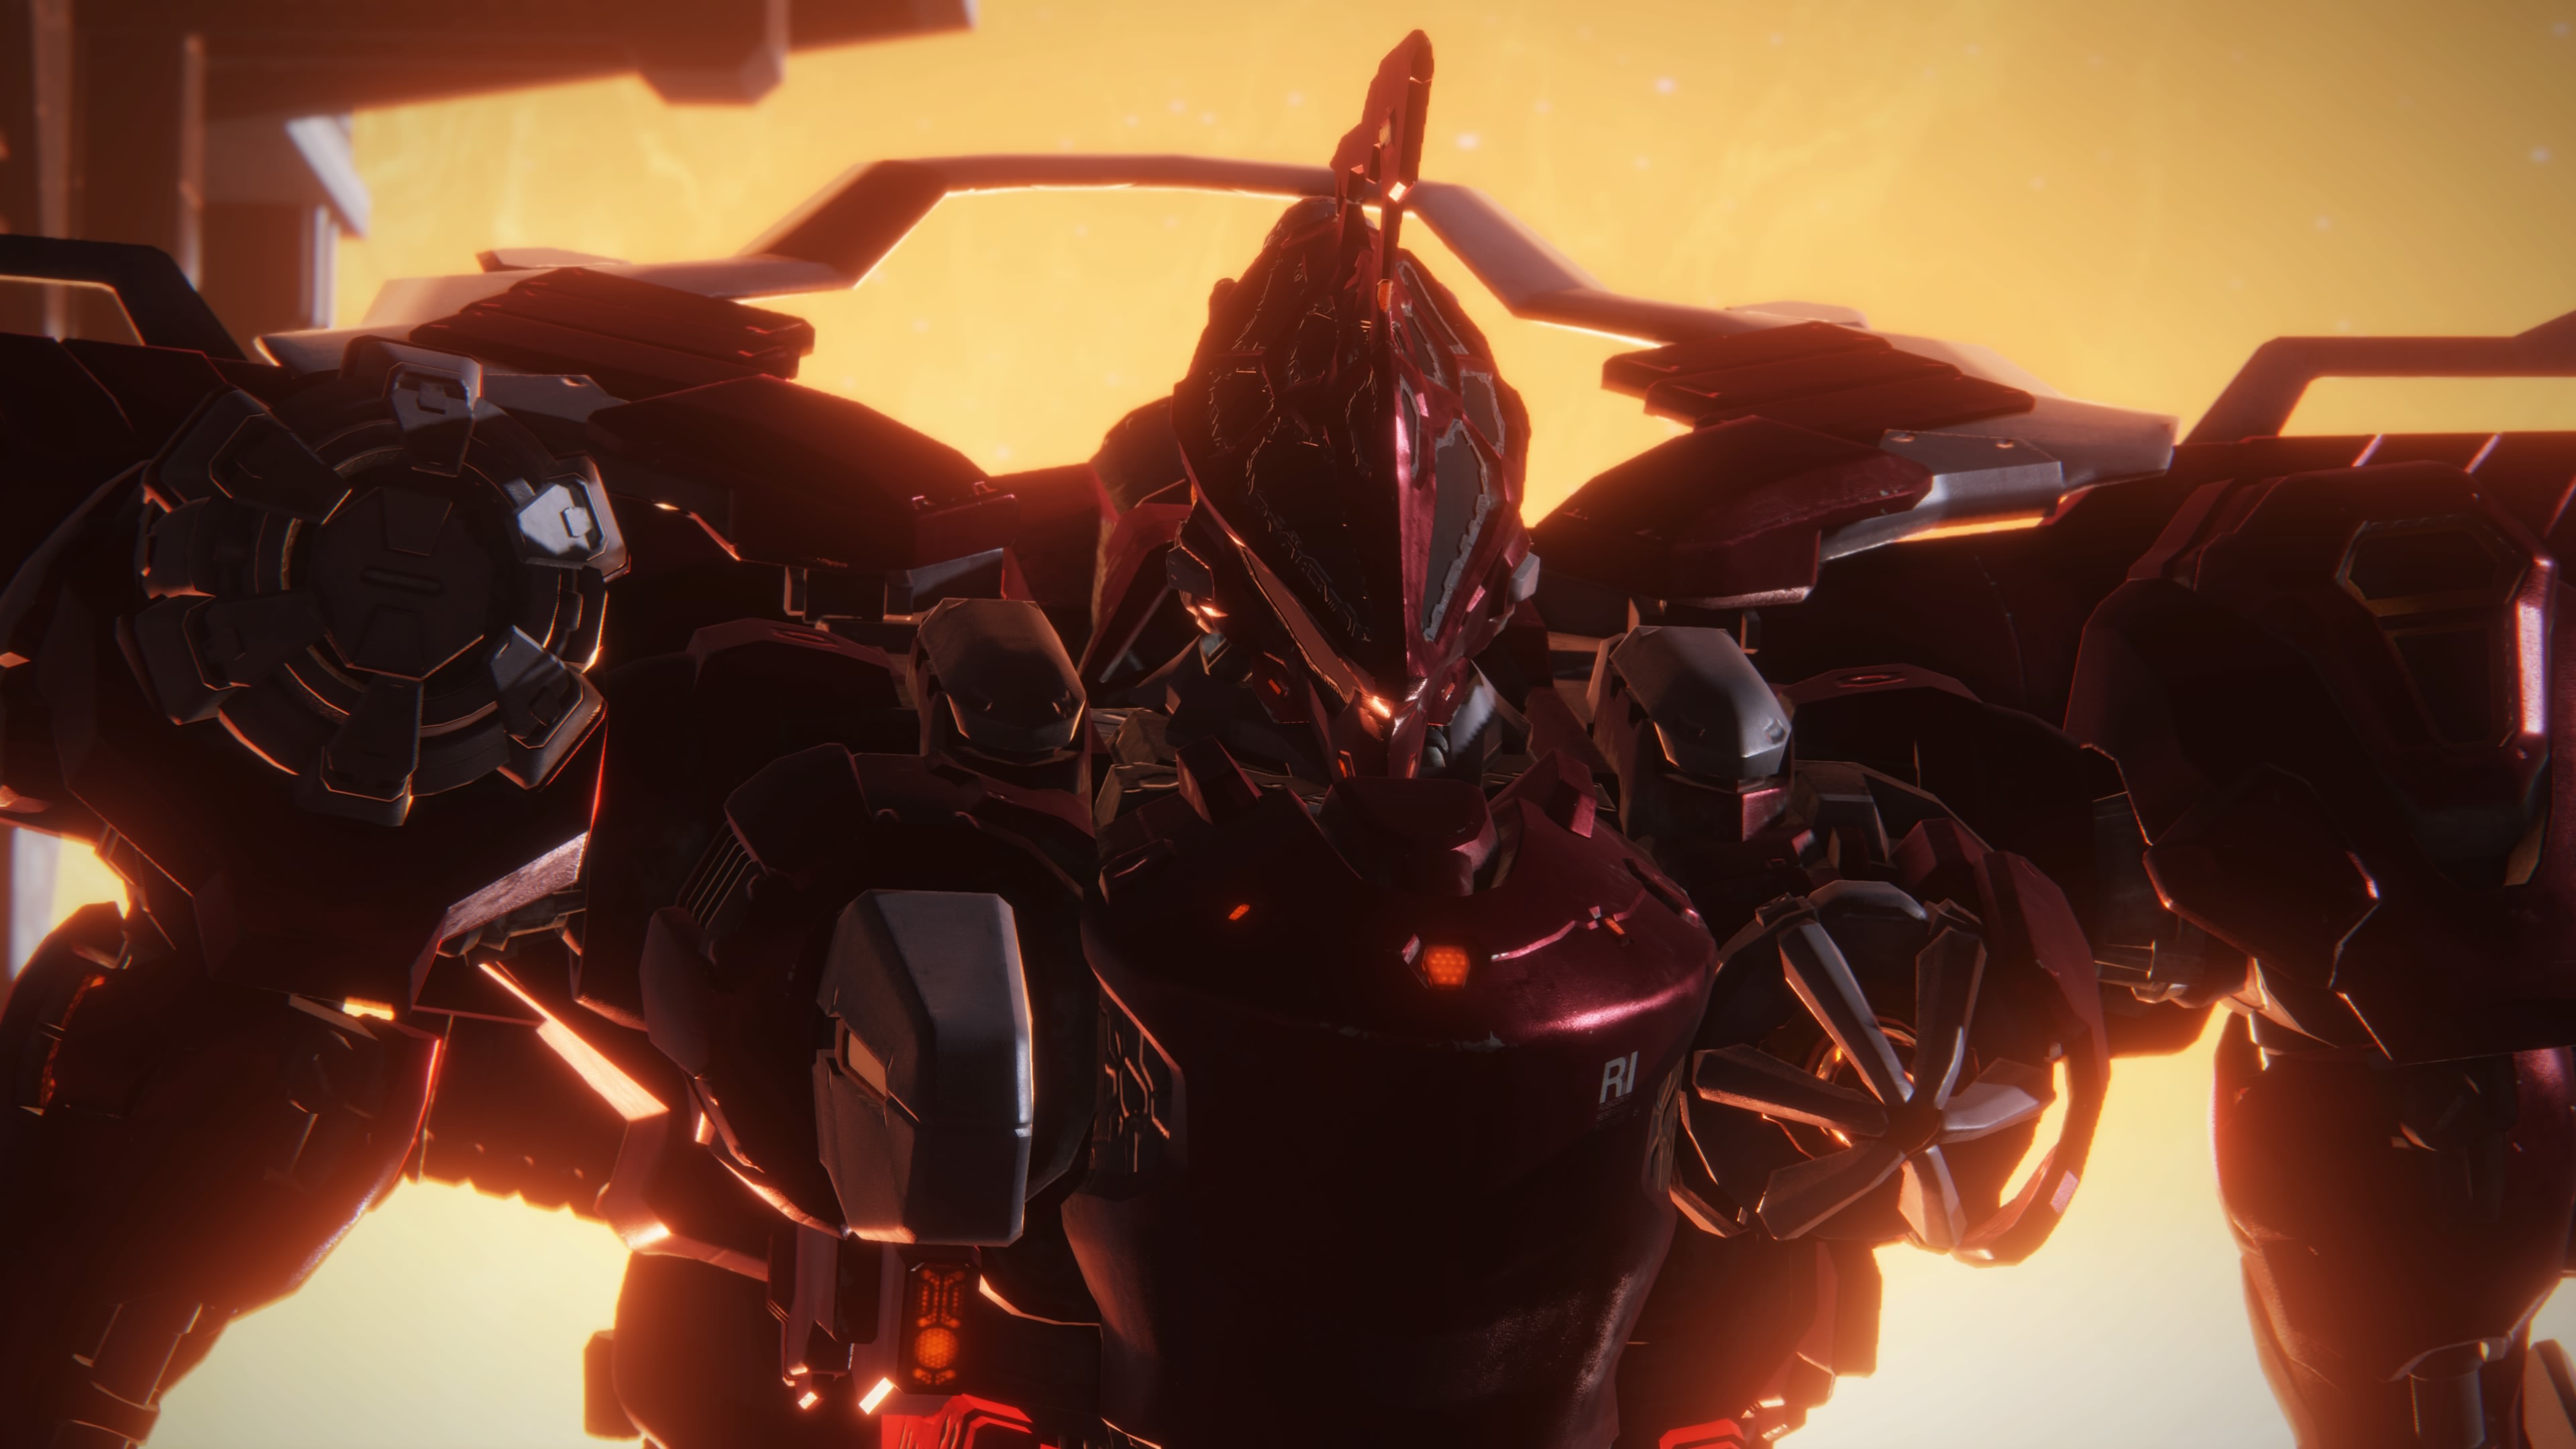
“Honest” Brute
Fittingly enough, you’ll fight “Honest” Brute in the mission titled, “Eliminate ‘Honest’ Brute,” not long after you encounter him in the Arena. “Honest” Brute will try to melt your health bar with his massive flamethrower. His incredible speed will make it hard to keep a steady aim on him, but it’s crucial to always have him in your sights so he’s not scorching you from your blind spot.
Raven
In the mission, “Defend the Old Spaceport,” you’ll run into your namesake. Their missiles are quite potent, so you’ll do well to dodge and counterattack. Earn those wings, 621.
IA-02 Ice Worm
The Ice Worm appears earlier on, but you won’t be able to fight it until the final mission in chapter three, “Destroy the Ice Worm.” It tears through the ground, causing tremors wherever it travels. Taking to the air is a great strategy when combatting this beast.
All Chapter Four bosses in AC6
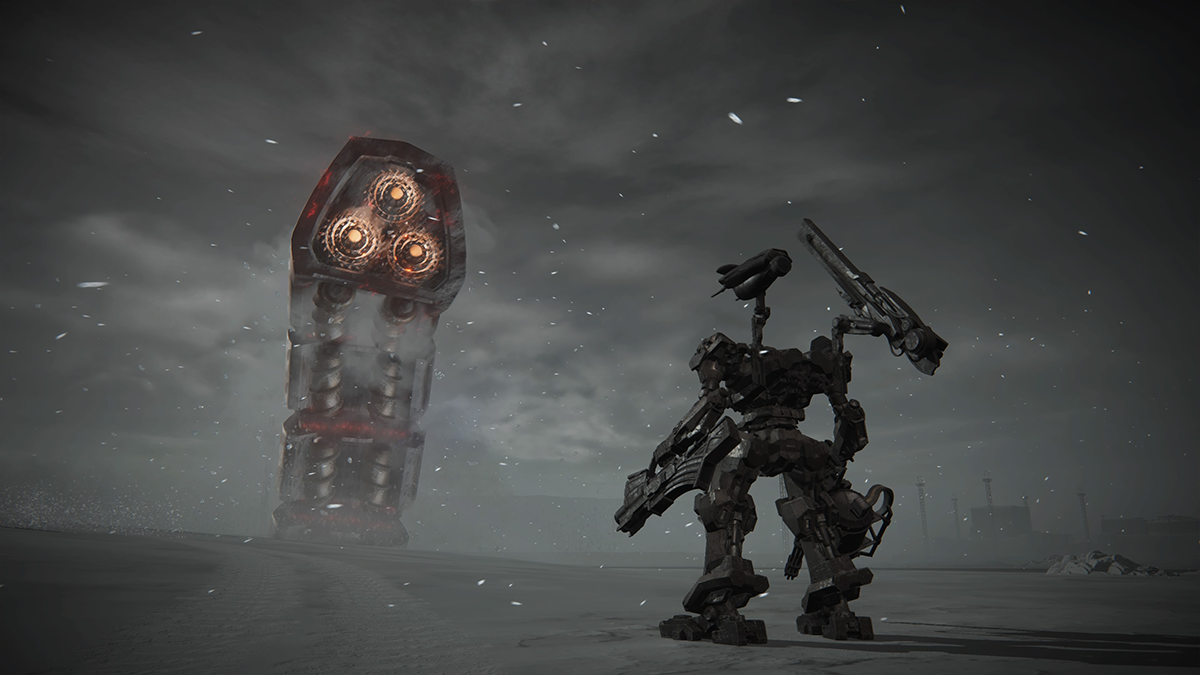
AB08 Nepenthes
You’ll be fighting this artillery platform at the end of the mission, “Underground Exploration – Depth 1.” This boss stands out because it is completely immobile, instead firing at you from afar. Once you traverse down to where it’s located, you’ll be able to destroy it without trouble; the only issue it poses is getting down there.
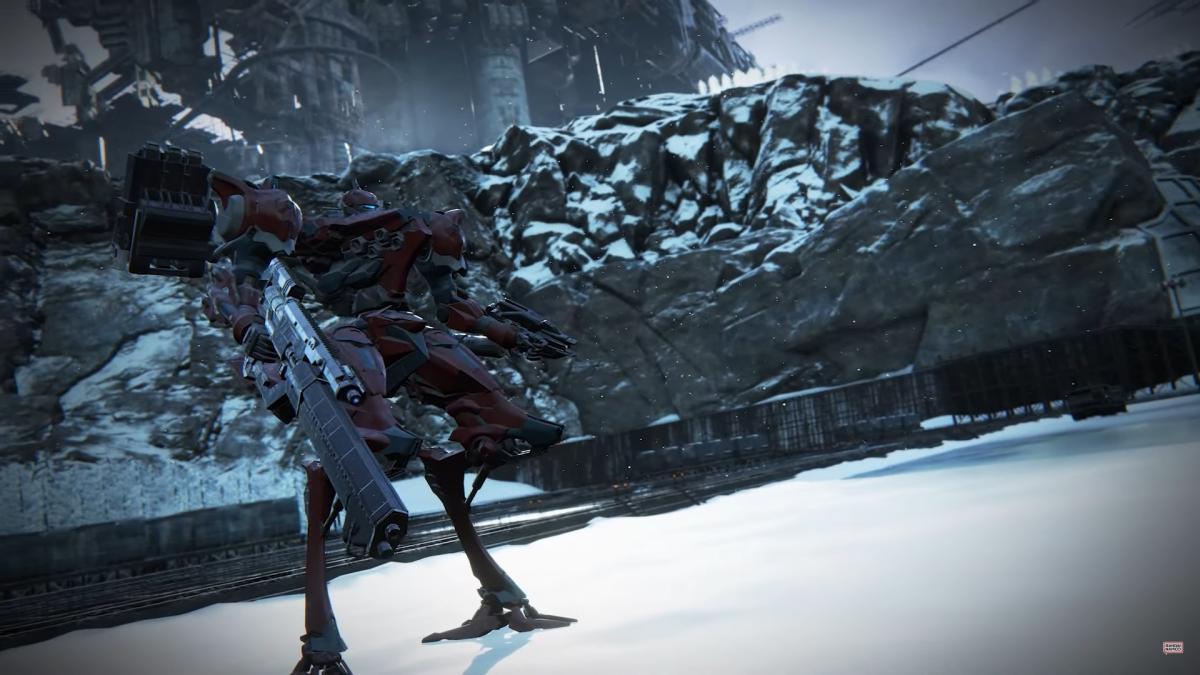
G5 Iguazu
During the mission, “Underground Exploration – Depth 2,” you’ll encounter everyone’s favorite gambler. His missile setups could put you in stagger if you’re not careful, so make sure to never let him out of your sight.
AAP03 Enforcer / Enforcement System
After defeating G5 Iguazu, you’ll fight the Enforcer in the same mission, “Underground Exploration – Depth 2.” This brawny AC boasts a relentless pulse gun, piercing laser blasts, and protective shield to help block your attacks. It’s as terrifying as it sounds, but with the right setup, you can overcome and continue exploring the underground.
IAC01 Ephemera / Enforcement System
In the mission, “Underground Exploration – Depth 3,” Ephemera lies in wait. It’s an evasive boss that attacks primarily through lasers. If you can keep it in your sights and deal big damage with every opportunity, you’ll succeed in putting it out of commission.
G1 Michigan
This condescending commander of the Red Guns can be fought in the decision mission, “Intercept the Redguns.” Nearby enemies will be shooting at you from all directions, so this is far from a fair fight. His specialty is his unrelenting rapid fire arsenal.
V.V Hawkins & V.VIII Pater
The Vespers can be taken on in the decision mission, “Ambush the Vespers.” You’ll have the assistance of Middle Flatwell in this fight, making it an honest two-on-two. As long as you can avoid being staggered by all of the crossfires coming your way, you should come out alright.
V.IV Rusty
You’ve had a back-and-forth relationship with Rusty throughout the story, but the time you’ll have to fight is in the chapter, “Unknown Territory Survey.” His use of boosts not only makes him evasive, but it’ll also be hard to keep a steady aim on him. It’s also hard to aim through the tears as you fight your buddy.
V.VI Maeterinck & G3 Wu Huahai
The last mission of chapter four, “Reach the Coral Convergence,” begins with a one-on-two boss fight. The destroyed skyscrapers in the terrain make for good cover. Isolate an enemy and destroy them before moving on to their partner.
IB-01 CEL 240
This condor-like mech is the final boss of chapter four in the mission, “Reach the Coral Convergence.” It has two giant swords that will cause incredible damage. Coupled with its boundless flight and giant laser attacks, it’s a dangerous threat at all ranges.
All Chapter Five bosses in AC6
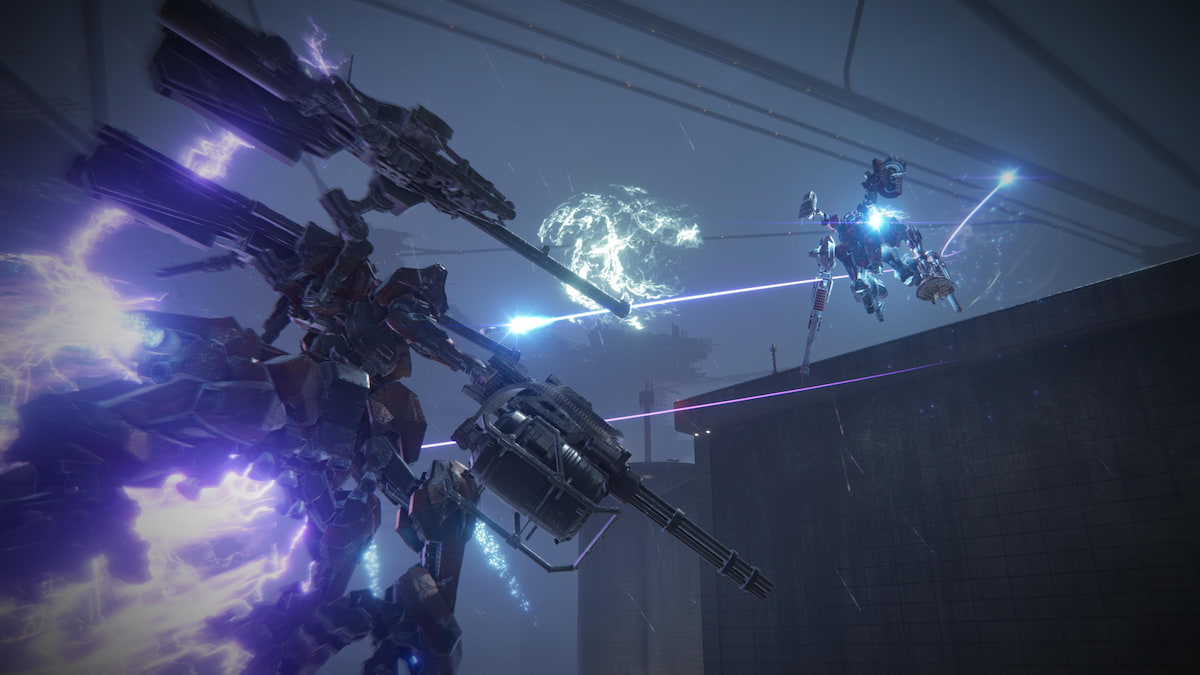
V.II Snail
Snail will be encountered in the decision mission, “Destroy the Drive Block.” He can charge forward, attack from afar with powerful electrical attacks, and evade a dangerous attack by teleporting away from your line of fire. Thankfully, the buildings will provide for solid cover whenever you need to reload.
Smart Cleaner
The first boss fight rematch can be found in the decision mission, “Destroy the Drive Block.” Much like before, you’ll want to avoid its giant heated arms. By this point, you’ll have better builds and more experience piloting your AC, so you’ll be more than equipped to handle this bot for a second time.
“Cinder” Carla & “Chatty” Stick
You’ve worked alongside this duo to set up a missile strike–now it’s time to duke it out. In the decision mission aptly named “Eliminate ‘Cinder’ Carla,” you’ll fight against both their ACs at once. Unlike previous boss encounters against multiple opponents, there is very little cover to help you avoid your enemies. Go up top and take out Chatty before heading back down and finishing off Carla, you monster.
AAP07A Arquebus Balteus / V.II Snail
Snail got an upgrade since you last saw him. In the decision mission, “Destroy the Drive Block,” Arquebus Balteus will be quite similar to the last encounter with Balteus, way back in chapter one. Destroy its shield quickly and rack up damage as fast as you can. Just be wary of all the missiles that’ll be shot your way.
Handler Walter
You’ll fight Handler Walter if you choose the decision mission, “Bring Down the Xylem,” at the end of your playthrough. This final boss carries an arsenal of coral weapons, and even has the ability to produce a massive AoE blast of coral around him. Many of his attacks will trigger explosions, so you’ll need a durable AC if you wish to survive the fight. Winning this fight will trigger the “Liberator of Rubicon” ending.
Related: Armored Core 6: All endings and how to get them
AA22 Heavy Cavalry / Arquebus Main Squad Member
In the decision mission, “Intercept the Corporate Forces,” you have the option to attack Arquebus’ base. The Heavy Cavalry is much more agile than the name implies. Get ready to lock down this speedy, durable target and rack up as much damage as you can before it can prepare its counterattack.
V.I Freud
Freud can be fought in the decision mission, “Intercept the Corporate Forces.” You’ll have to destroy his shield before you can inflict any damage. Freud’s backup will be attacking you from all angles, so be sure to watch your surroundings, dodge when needed, and use the nearby buildings as cover in order to come out on top.
Steel Haze Ortus / Rusty
This variation of the Rusty boss fights can be found in the decision mission, “Breach the Karman Line.” Not only does Rusty now have a swinging melee attack, but he will also revive himself at half health when you deplete his life bar. Keep your distance as he’s deadly up close.
IB-07 SOL 644 / Ayre
If you select the decision mission, “Shut Down the Closure Satellites,” you’ll end up fighting Ayre. Their regenerative shield will make this fight a test of endurance. Ayre’s use of coral revolves around massive, seemingly unavoidable attacks, including a massive blade that Ayre tries to ram into you and homing missiles that trigger coral explosions. Overcoming this final boss will earn you the “Fires of Raven” ending.
All NG+ bosses in AC6
G5 Iguazu & G4 Volta
Once you get to New Game+, you’ll have access to an alternative route in “Attack the Dam Complex.” Take it and you’ll fight some of the Redguns. Volta rides a tank, so he’ll be much more grounded than Iguazu. Keeping that in mind should allow you to separate them fairly easily.
G2 Nile
You’ll be able to fight G2 Nile in the new mission, “Prisoner Rescue.” Nile specializes in firing many missiles at once, but so long as you keep quick boosting, you should be able to avoid most of these hits. Just make sure that the RLF Helicopter you’re guarding doesn’t get destroyed in the meantime.
G5 Iguazu
You’ll fight Iguazu once again in the new mission “Stop the Secret Data Breach.” His shield will protect him from some of your damage, but otherwise, he’s a pretty easy fight.
PCA 2nd Lieutenant, Chief Sergeant 2nd Class, & Chief Sergeant 1st Class
This three-on-one boss fight can be accessed in the New Game+ mission, “Prevent Corporate Salvage of New Tech.” You’ll encounter these enemies one at a time–once the first enemy is about to be destroyed, the others will join as backup.
AAS02 CATAPHRACT / PCA SP Captain
This charging bull of a tank is encountered in the decision mission, “Destroy the Special Forces Craft.” This boss will constantly push forward in an attempt to run you over, then try to catch your evasion with a bunch of laser blasts. An aerial approach is best to take this AC down.
King, Chartreuse, & Raven
The independent mercenaries can be fought in the New Game+ mission, “Defend the Dam Complex.” King operates a tetrapod while Chartreuse wields a tank. Once you take these two down, Raven will arrive for a rematch. Be fast to avoid a three-on-one.
V.IV Rusty & Middle Flatwell
This time, you’ll fight not only Rusty, but Flatwell as well. In the New Game+ mission, “Unknown Territory Survey,” you’ll have to chase down Rusty while being bombarded by Flatwell’s overwhelming arsenal. It’s best to take out Flatwell first and only worry about locking Rusty down when you don’t have to worry about his partner’s weaponry staggering you all the time.
All NG++ bosses in AC6
PCA SP 1st Lieutenant, SP Chief Sergeant 2nd Class, & SP Warrant Officer
This fight can be found in the New Game++ mission, “Obstruct the Mandatory Inspection.” It’s best to focus your attention on the 1st Lieutenant since they are operating the Cataphract. Once that’s taken care of you, you can shift your focus to the remaining combatants.
Sulla
After taking care of the three officers in the New Game++ mission, “Obstruct the Mandatory Inspection,” next you’ll have to fight Sulla again. This time, he has reinforcements who will snipe you with lasers from afar, so try and have an eye on them so you can quick boost when they’re about to fire.
Thumb Dolmayan
In the New Game++ mission, “Surveying the Uninhabited Floating City,” you’ll encounter Dolmayan, father of the Rubicon Liberation Front. The buildings and highways make for great cover as you avoid his homing missiles. Watch out for when he comes at you with his sword and counterattack for big damage.
Coldcall
Coldcall will stop your exploration and force you into a fight in the New Game++ mission, “Underground Exploration – Depth 2.” The large bridge in the center of the combat arena serves as great cover against his laser blasts.
V.III O’Keeffe
In the New Game++ mission aptly titled, “Eliminate V.III,” you’ll encounter your target, O’Keeffe. He’ll make good use of his tetrapod AC by flying over large canyons in the terrain. Be sure to either shoot from afar or have reliable boosters if you attempt to close the distance–otherwise it’ll be a long fall.
V.II Snail & G5 Iguazu
In the New Game++ mission, “Reach the Coral Convergence,” this fight will start off as one-on-one. That’ll change when G5 Iguazu joins the battle late. The terrain is small yet open, so isolating the targets is out of the question. You’ll have to finish off Snail quickly, then shift your focus onto Iguazu.
V.VIII Pater
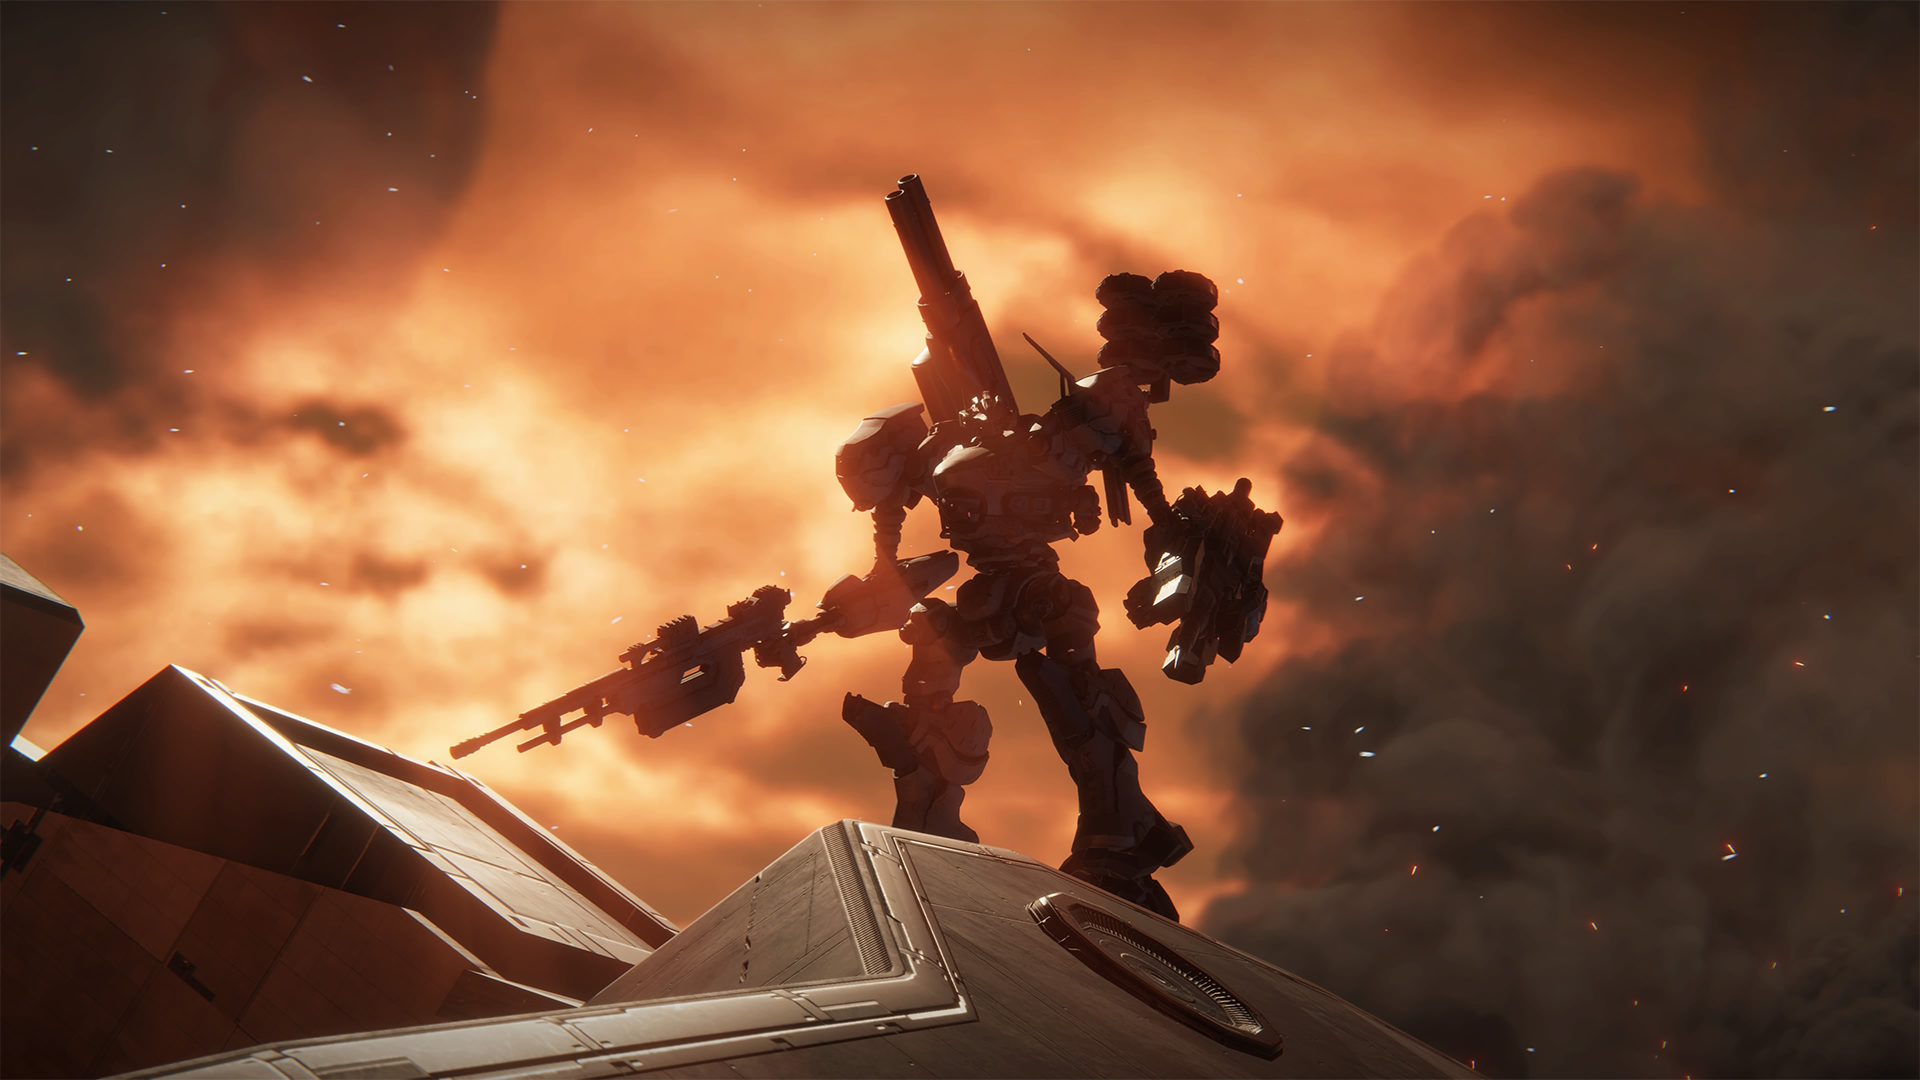
At the end of the New Game++ mission, “MIA,” you’ll face off against Pater in an epic arena of smoke and fire. It’s best to stay airborne to avoid the flames. Pater has a fast boost to get around, but you should have plenty of firepower by this point in the game to take him down quickly.
Related: Armored Core 6: All secret and hidden parts in AC6
ALLMIND
The true final boss of AC6, accessible only through New Game++ in the final mission: “Coral Release.” You’ll be surrounded by targets shooting at you from all directions, so it’s crucial to optimize your quick boosts and have mastery of your aim to destroy the many enemies as quickly as possible. Thankfully, with this being your third playthrough, you should have plenty of experience by now. Not to mention, some of the most powerful weaponry in the game. Beating ALLMIND will get you the “Alea Iacta Est” ending, which many players consider to be AC6’s true ending.


Published: Sep 7, 2023 06:44 am