Your first quest in The Legend of Zelda: Tears of the Kingdom is to find Princess Zelda. You quickly figure out that she’s inside the Temple of Time, but discover that you can’t open the door without visiting some shrines. Unfortunately, the game doesn’t tell you where to find the first shrine though.
Where to find the first shrine in Zelda: Tears of the Kingdom: Ukouh Shrine location
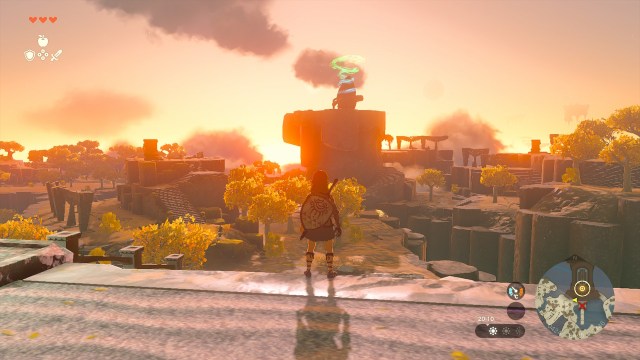
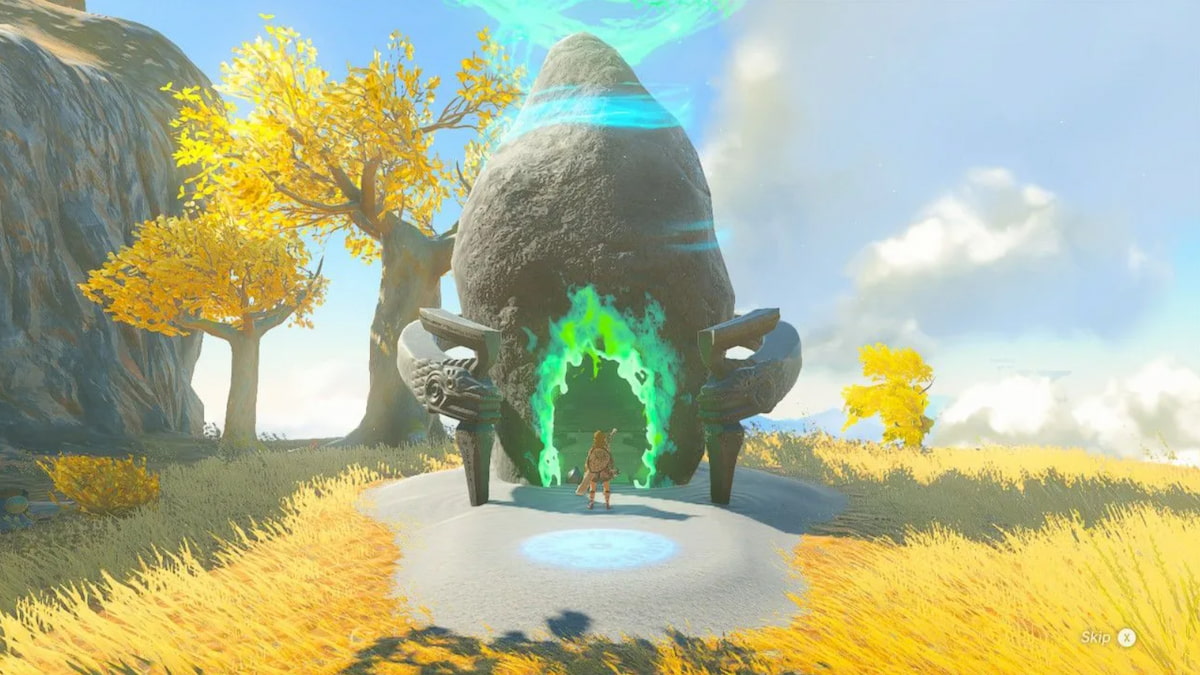
The first shrine is in sight from where you speak to Rauru in front of the Temple of Time, but TOTK doesn’t do what most games would do and slap a big marker on your HUD and map. I’m now so used to games holding me by the hand that I can’t cope when they don’t, so I had no idea where to go next.
If you’re like me, then the first shrine (the Ukouh Shrine) is to the west of the Temple of Time. So, with your back to the locked door, turn ninety degrees to the right, and head for that big, egg-shaped thing at the top of a large stone cylinder.
Related: How to increase your health in Zelda: Tears of the Kingdom
How to complete the Ukouh Shrine in Zelda: Tears of the Kingdom
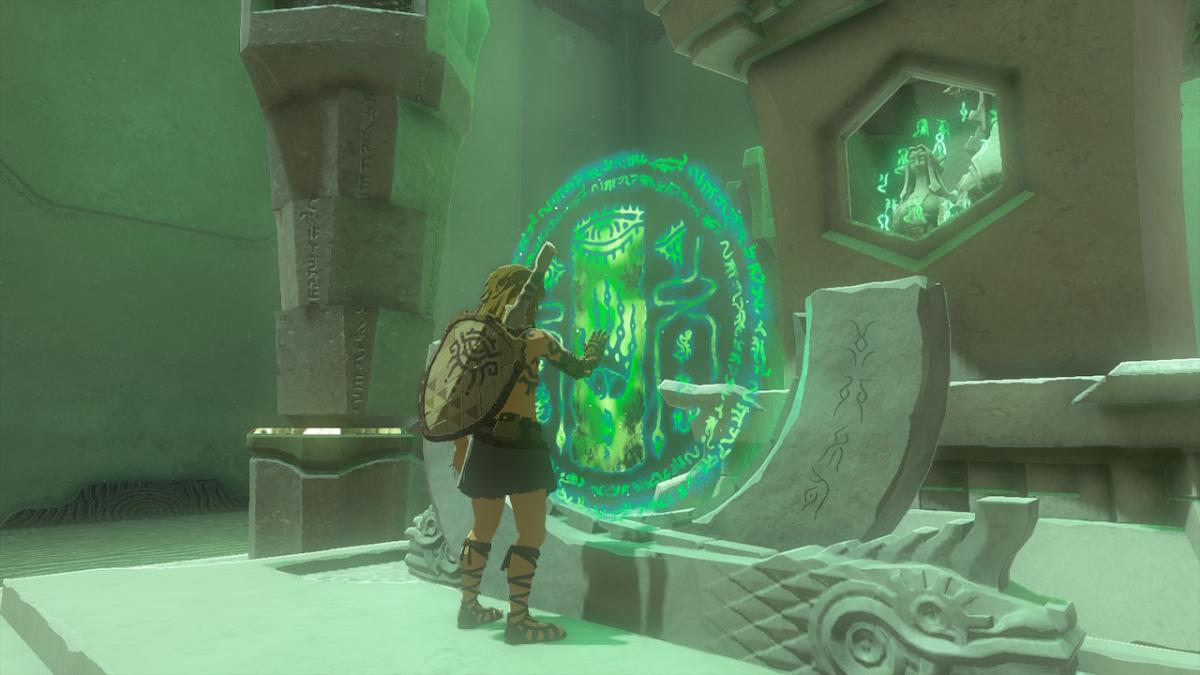
As soon as you enter the Ukouh Shrine, you get the Ultrahand, and The Ability to Create to go with it. Basically, you can now pick up various objects, move them around, rotate them, and attach them to each other. All of that is going to be essential to solving the puzzles in the Ukouh Shrine.
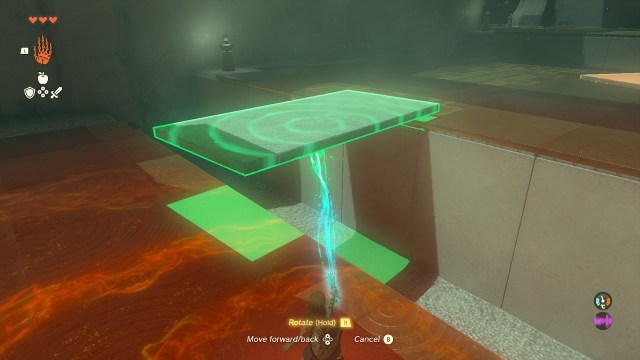
You’ve got to get across three increasingly wide gaps using your new-found skills. The first gap is pretty easy. Pick up the nearby stone slab by holding the L button and selecting Grab. Place it across the gap so that it forms a bridge. Then walk across the bridge.
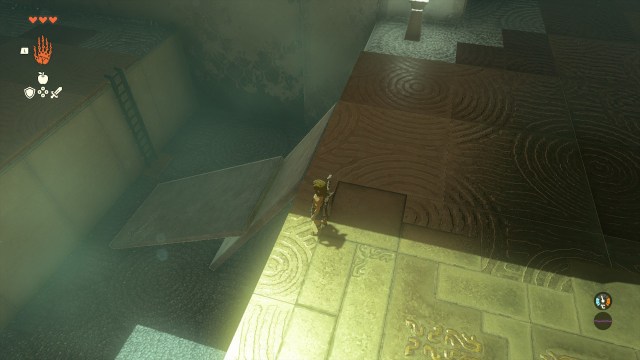
The second gap is wider, and there are two slabs nearby this time. There might be various ways of getting across here, but I just placed the first slab into the gap so that it was leaning against the far side, then placed the second slab leaning against the first one. I was then able to drop into the gap and use the slabs to climb up to the other side.
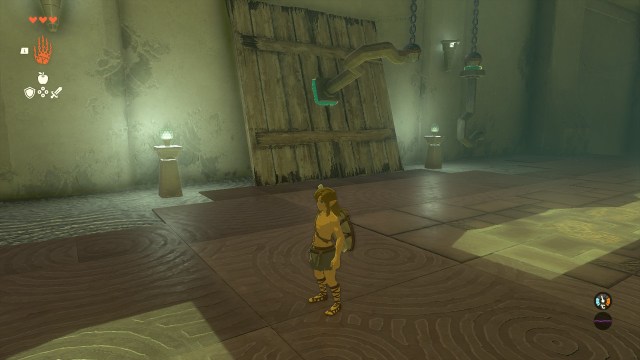
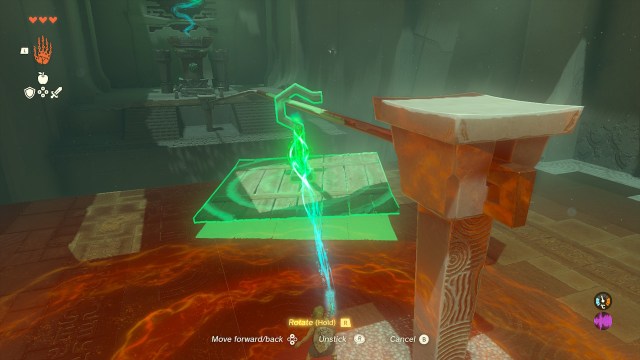
The third gap is much wider and has a long beam spanning it. This beam is basically a zipline, but you have to make the zip part yourself. On the left-hand side, there’s a large wooden square and a large metal hook. Pick up the hook, rotate it using the R button and your D-pad, then attach it to the middle of the square by pressing the A button.
Now pick the whole thing up and rotate it so that the hook is sticking straight up. Move it over to the beam and position it so that the beam is directly under the hook, then let go so that the hook catches the beam. Now, quickly jump onto the wooden square and it should slide down the beam to the far side.
Once Shrine won’t be enough to unlock the Temple of Time though, so next you might want to try the Nachoyah Shrine.





Published: May 12, 2023 09:02 am