World of Warcraft has been one of the most successful online video games over the last two decades. This triumphant ride was made possible by the love and care that was clearly poured into the MMO all the way back in 2004. Another contributor to WoW‘s success is likely Blizzard’s relatively relaxed policies when it comes to the use of third-party programs and websites that have access to the game’s backend.
These programs vary from modifications to the game’s HUD to systems that help you track the enemy’s ability cooldowns. In addition to these helpful programs, there are also a plethora of websites that help you track certain features in WoW.
Raider.io is one such website. This handy tool allows you to track your Mythic+ and Raid Progression rankings, as well as letting you view your Character and Guild profiles. Raider.io is also a fantastic way to search for a new Guild or invite players to your current one.
If you’re interested in Raider.io for WoW but are unsure how to link your Battle.net account to the tool, here’s everything you need to know.
How to connect Battle.net account to Raider.io
Before you can link you’re Battle.net account to Raider.io, you’ll have to make a Raider.io account first.
To do so, just head to the official Raider.io website and click the blue “Sign Up” button in the top right of the home page. From there, you’ll need to create a username and password, provide an email address, and then confirm your email through the link sent to the address you provided.
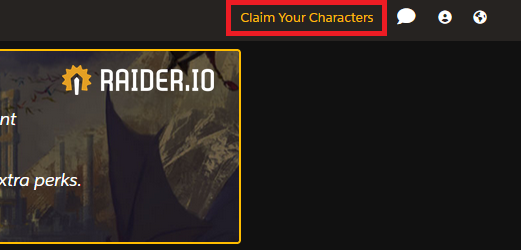
Once you’ve created your Raider.io account, head to the home page and hit “Log In” in the top right corner. After successfully logging into your Raider.io account, you should see a new button in the top right of the home page that reads “Claim Your Characters,” click the yellow text to begin linking your Battle.net account to Raider.io.

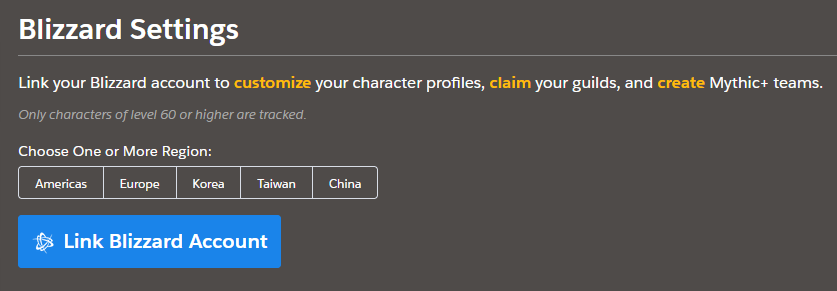
After hitting the yellow “Claim Your Characters” button from the home page, you should be taken to the “Blizzard Account” section of your Account Settings.
To link your Battle.net account, select your region among the five options, and then press the big blue button that reads “Link Blizzard Account.”

Once done, you will be redirected to Battle.net and be asked to sign into your account. From there you’ll also be asked to give Raider.io permission to view your Blizzard Account ID, BattleTag, and WoW profile. Once you’ve clicked the “Allow” button, you’ll have successfully linked your Battle.net account to your Raider.io account.


