Spider-Man 2’s camera is a simple and easy feature that will help you complete one of the game’s main side activities.
While trying to combat the threat of Kraven, the Hunters, and other supervillains, Peter and Miles can take time out of their busy schedules for some photography.
After all, even heroes need a break. Not to be confused with Photo Mode, the in-game camera is used for one very important side mission—Photo Ops.
How do you equip the camera in Spider-Man 2?
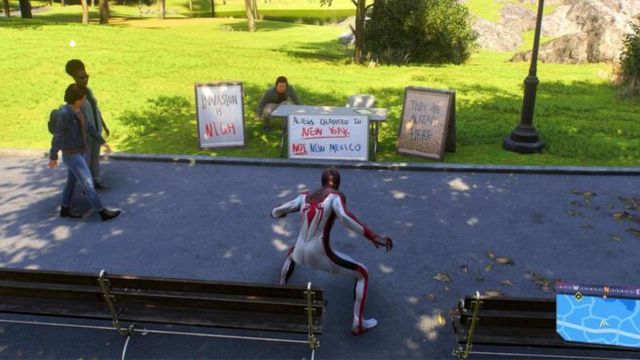
Very simply, to pull out your camera in Spider-Man 2, give the PS5 controller’s touchpad a simple swipe up and you should now have it equipped.
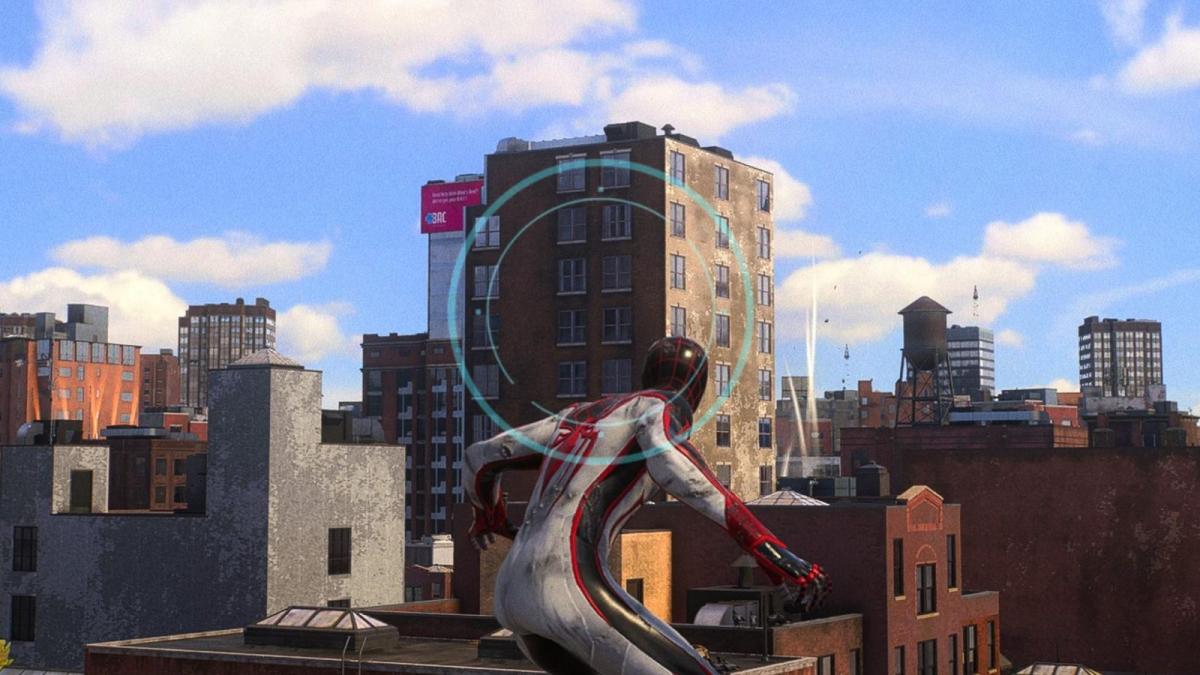
You will know if you’ve been successful as the middle of the screen should have a couple of distinctive, thin green circles to signify framing.
How to use the camera in Spider-Man 2
With the device now ready to use, press L2 to ready the camera, and then finally press R1 to take the picture. Once you’re done with the camera, swipe down on the PS5 controller touchpad and Peter will put it away again.
Again, one of the main reasons you’ll need to know how to do all of this is the Photo Ops side missions. This will involve reaching a designated location and readying the camera at the required subject.
The image may say the subject is “too small” or “obscured.” If this happens, I just found that moving around slightly, recalibrating the shot if necessary, and repositioning will eventually get you to snap a winner.
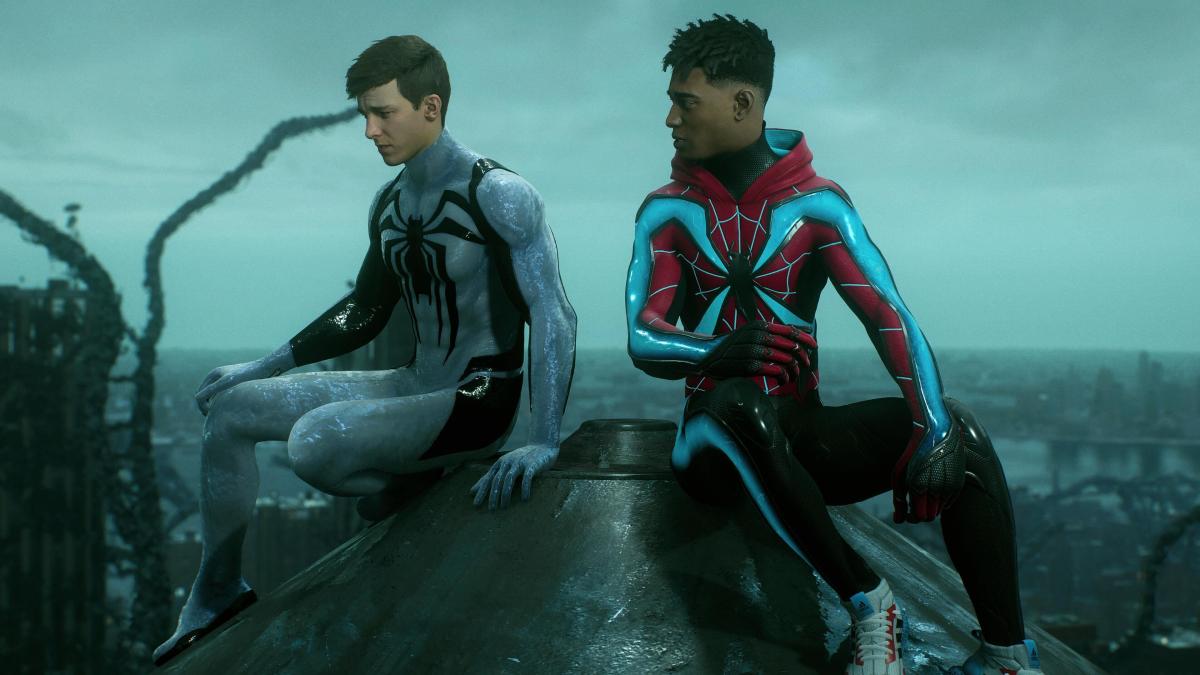
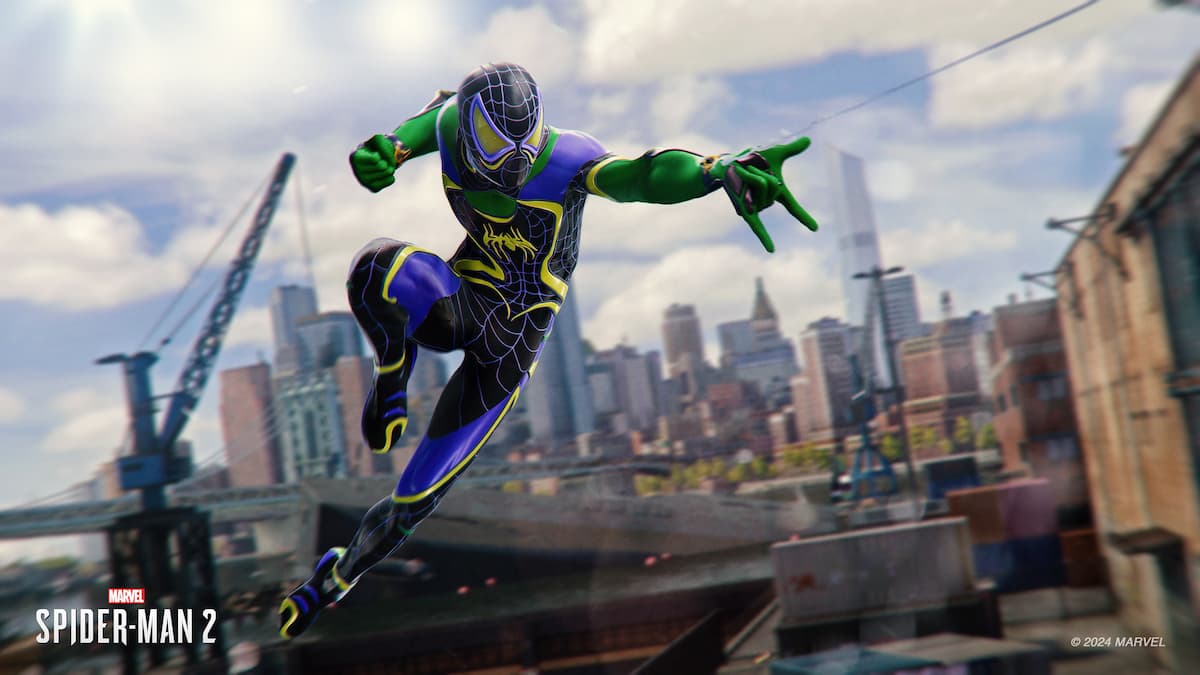
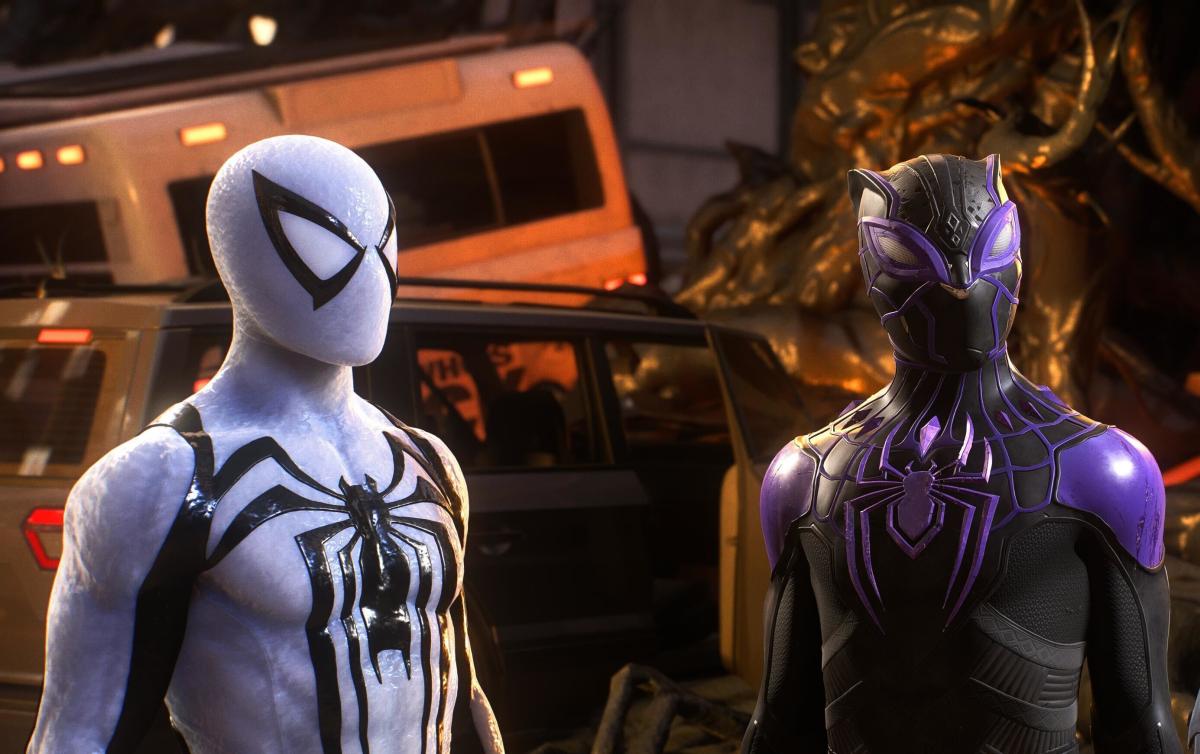
Once you’ve done that, launch into the sky, whip out your Web Wings, and obtain all of the game’s fabulous suits.



Published: Oct 23, 2023 06:47 am