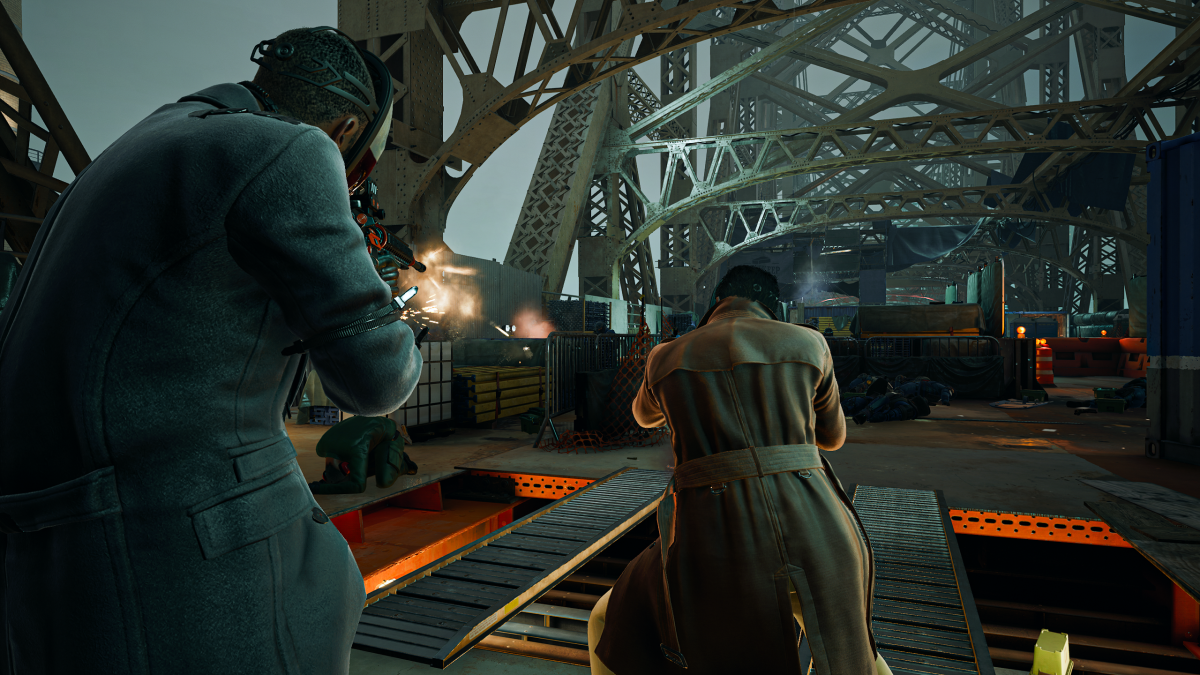
Failing stealth can send any Payday 3 team into disarray, but you won’t run into that problem in the game’s third heist. Road Rage doesn’t have any stealth elements, so you have no choice but to go in guns-blazing.
The violent Road Rage lives up to its name. There’s no sneaking around to grab vault codes or stealing crypto wallets. Instead, all you need is a trusty weapon and a lot of ammo—though it doesn’t hurt to have a few friends with you, either.
Road Rage has no stealth, so it’s on the brute side. It doesn’t award as much XP as other heists, but its cash payout is more than worth running it a few times whenever you need to buy more items. We’ve covered the main steps for the heist here so you have an idea of what to expect.
How to complete the Road Rage heist in Payday 3
Prepare the ambush, and don’t let civilians escape
- Don’t forget to activate the EMP.
- The civilians will be mostly on the sides.
- Two civilians are close to where you place the EMP.
- Grab the ramps near the container with a high-visibility vest. You might need them later.
You’ll gank an armored vehicle, so the first step is setting up the trap. Pick up the EMP device on the box in front of you and head to the marked location on your map to deploy it. The catch is that you can’t let civilians get away, or else they’ll call the cavalry. You have 90 seconds to get there, which is more than enough time.
Use civilians as human shields or just melee them to get them down on their feet, then tie up their hands to stop them from fleeing. Set down the EMP by using your Throw action, then set it up by interacting with the device.

Hack the armored transport
The only stealth-adjacent part of this heist ends here. The huge EMP is a dead giveaway to the cops, who will storm the area soon.
After the armored vehicle has walked into your trap, you’ll need a way to crack its armor and get to the goodies within. Shade has just the tool for that: a device located somewhere around the construction site. We found ours a bit behind where we were, close to the container with a desk in it, but the game will mark it on your HUD regardless.
Grab the steering device, place it on the side of the car, and interact with it again to start a hack. You’ll have to wait around a minute until it gets ready, so just fight off the cops until then. Once Shade gains access to the vehicle’s controls, she’ll slowly guide it, with you and the team as backup.
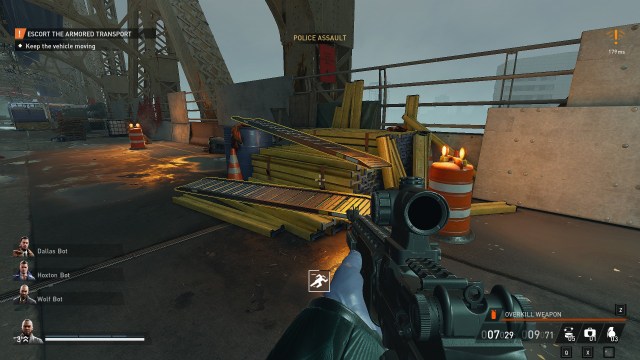
Keep the vehicle moving
- Have at least one person with the vehicle as often as possible.
- Pay attention to interruptions and restart the device whenever necessary.
- Enemies will spawn mostly from the sides, but be sure to cover all angles.
- Grab ammo from fallen enemies when you need it.
- Snipers may spawn on the towers on each side.
Now is when this heist starts to get tricky. You’ll have to guide the car forward by having at least one heister stay in the circle by the vehicle (with complimentary flashbacks to the payload in Overwatch), all while the squad fends off cops.
Enemies will pour in mainly from the sides, but they may also ambush you from behind or from the front. Taking human shields is an option if you have a good sidearm. Snipers will point at you, but they have clearly marked spawns in the towers on either side of the bridge. It’ll be hard to take them out with a pistol, so if you have a human shield, either drop your hostage and use your main weapon or ping them for your squadmates.
You’ll encounter obstacles as you go by: you might need to grab wheel ramps to put over some holes in the floor, move a forklift, or open a fence by interacting with its controls. Each of these interruptions may reset Shade’s device, so be ready to turn it back on if needed.
Whenever you have a break, pick up the ammo from the downed enemies. Since their spawn patterns are predictable, it’s easy to know where to find ammo drops.
After you’ve guided the vehicle to a ramp, it’s time to start breaking through it, starting from the bottom.
Break into the vehicle
- Stick together.
- Only one person needs to activate the drill, but they will be the most vulnerable for a brief period.
- Summon Overkill weapons if you think you need them.
After you’ve led the vehicle to the ramp, you’ll need to cut open its bottom panel to let you hack the doors. Place down a drill and wait until it’s done, then open the panel to cut off the wires. This will open the back doors and let you inside the trunk, where the good loot is. You can call off Overkill weapons here in preparation for what you’ll face next.
Steal the loot from the vehicle
- Use the downtime between police waves to call in Overkill weapons.
- Throw the bags close to the vehicle because the helicopter won’t be far.
- The bags won’t fall off the helicopter, even though it looks like they will.
- Have someone with lockpick-related abilities open up the drawers for faster heisting.
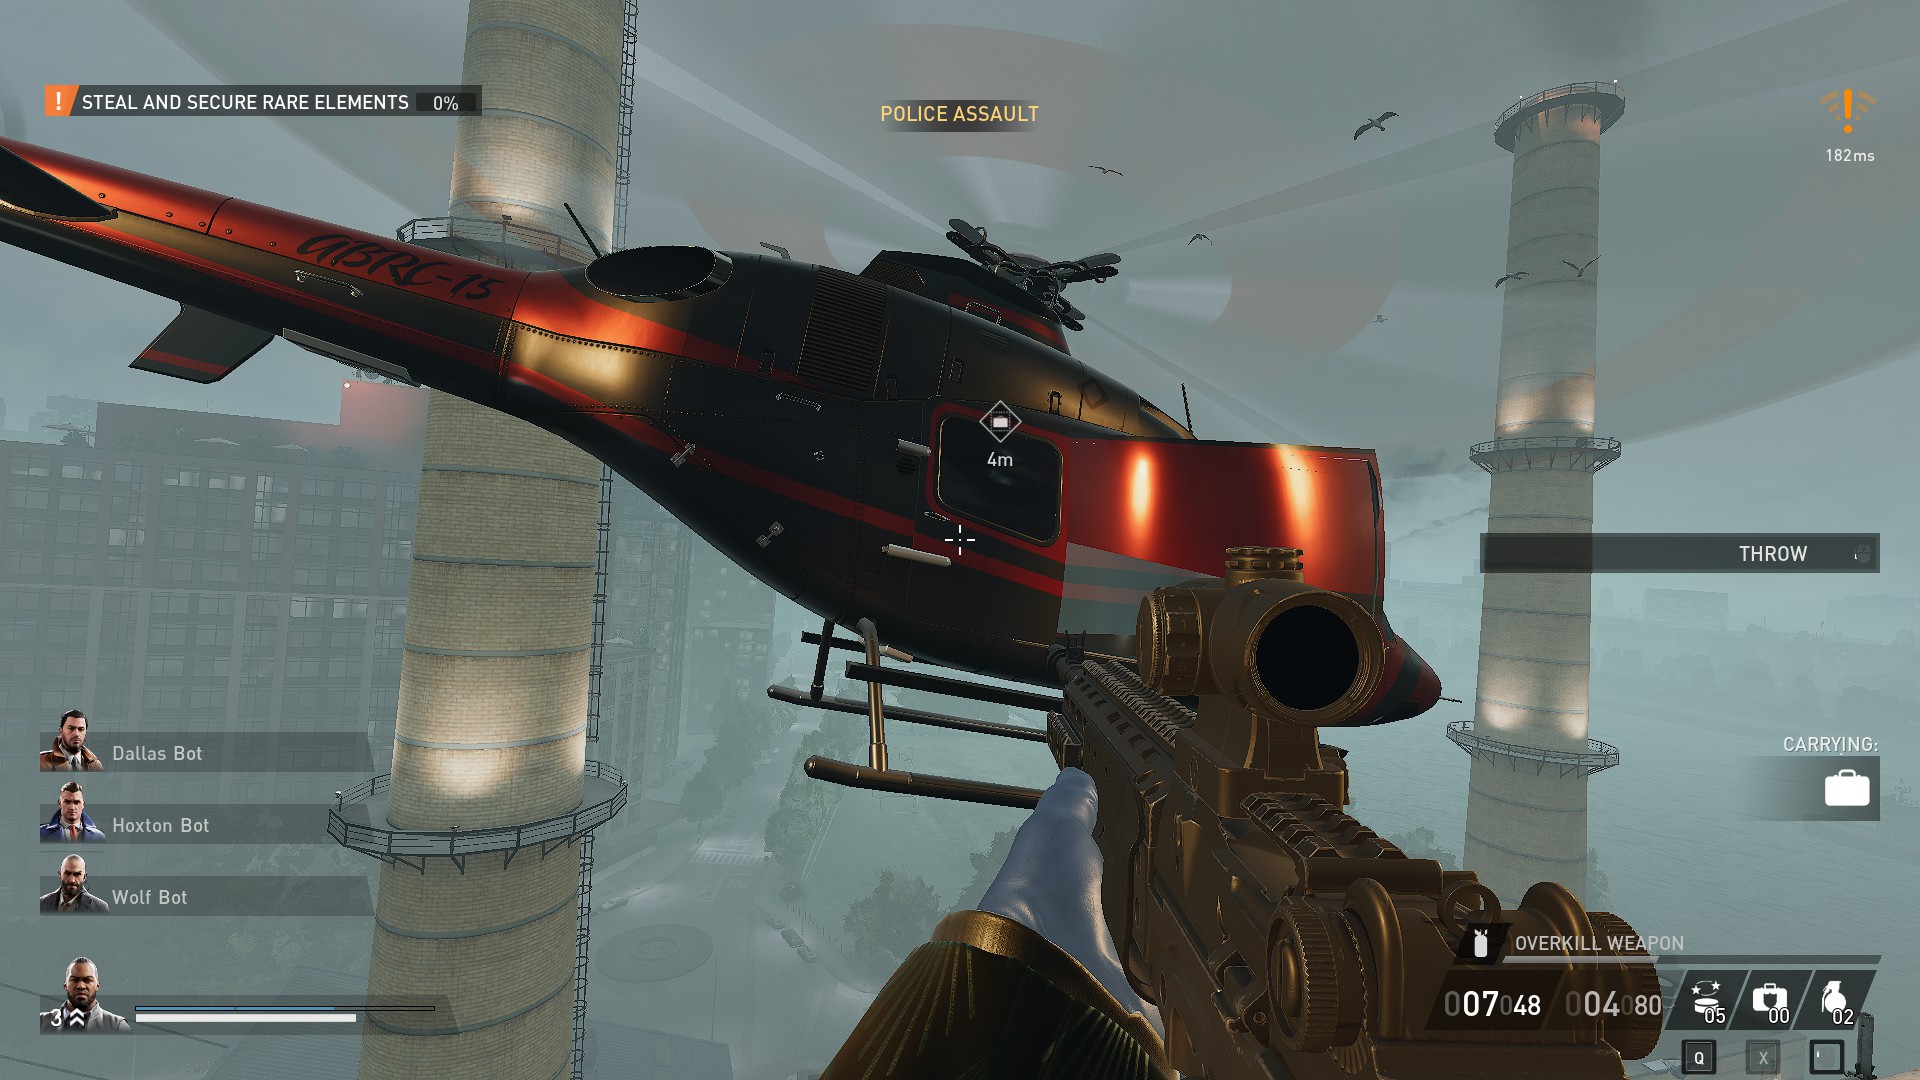
This part is simple in theory. Call in a helicopter to take your loot, throw your bags at it, and stay alive. There’s just one minor issue: the cops are really angry.
The police will send in the big guns, so expect to see Dozers, Zappers, and Cloakers. Call in Overkill weapons if you need the firepower, and use as much cover as you can. In lower difficulties, it’s easy to flank enemies by going through the side of the bridge, so make use of that if you ever need to get the drop on enemies.
Your first step should be calling the helicopter since you’ll need to hold off for a bit until it arrives. If Shade says that it will fly by the south side of the bridge, look to your left, but check the right if she says north. Bring the cargo quickly to where you need it and throw it on the chopper. It looks like it will fall down, but the game will secure it regardless (though not knowing that gave us a good five seconds of hesitation).
Once you’ve secured enough loot, the pilot will move to the other side of the bridge. The bad news is, you’ll have to make it all the way there without much help. But hey, at least it’s hard to get lost.
Escape
- Run.
- Call in any Overkill weapons you may be missing.
- Pick up any loot you may have forgotten.
- Run.
You’re in the home stretch now. Grab any cash left behind and book it to the other side of the bridge, where the helicopter will be waiting. The cops will continue to chase you, and you may have already run out of resources by now. Try not to get too split up and cover your teammates as much as you can. Once you’re at the escape marker, interact with the scaffolding to create a passage and run.
Ideally, all four heisters should walk in quick succession so there’s little room for error. In one of our runs, a Cloaker hit a member of my crew in the escape zone because someone fell behind, so don’t expect the danger to let up until you’re back in the lobby.


Published: Sep 23, 2023 10:42 am