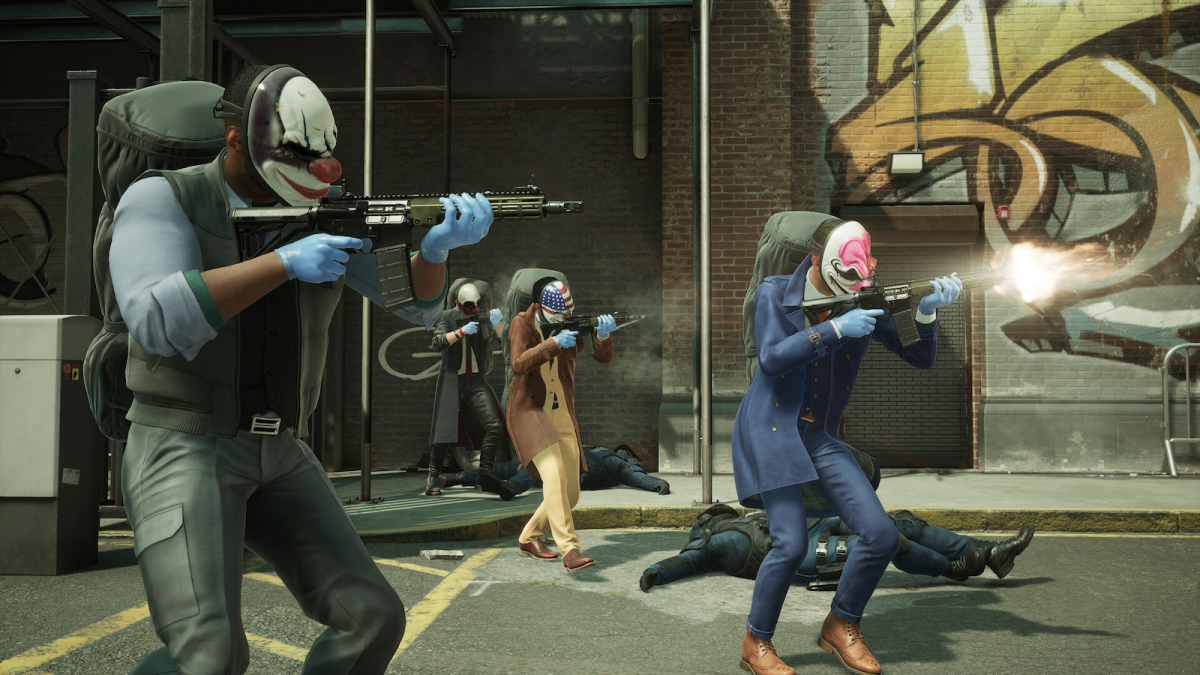
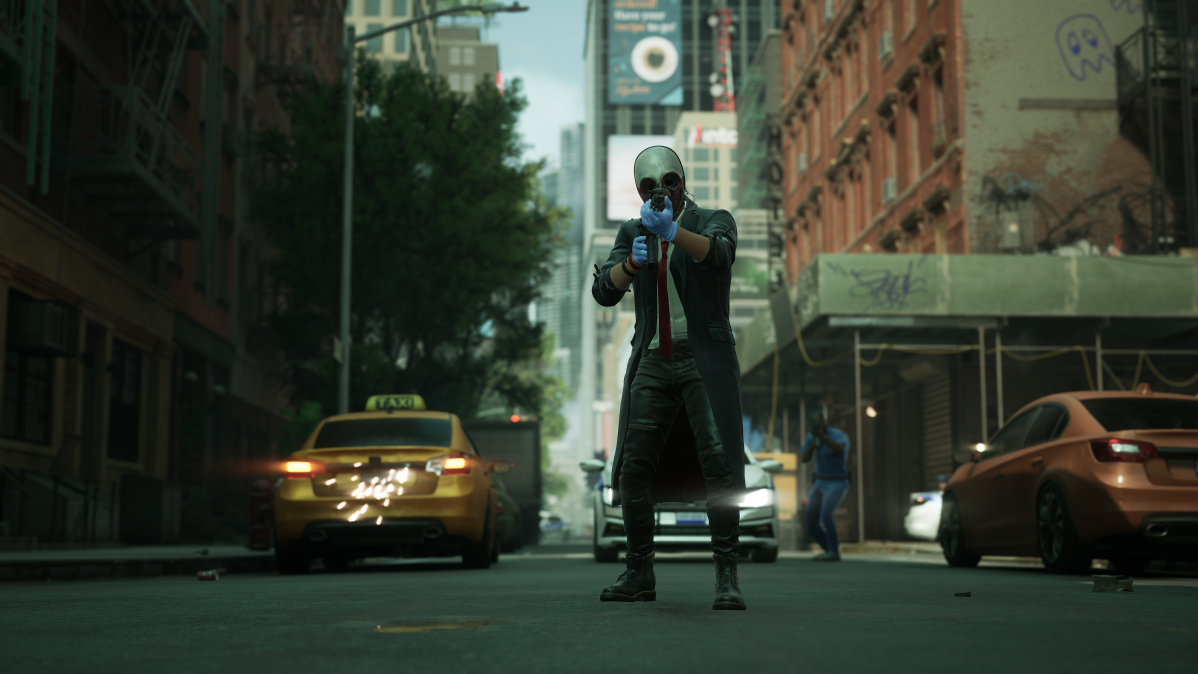
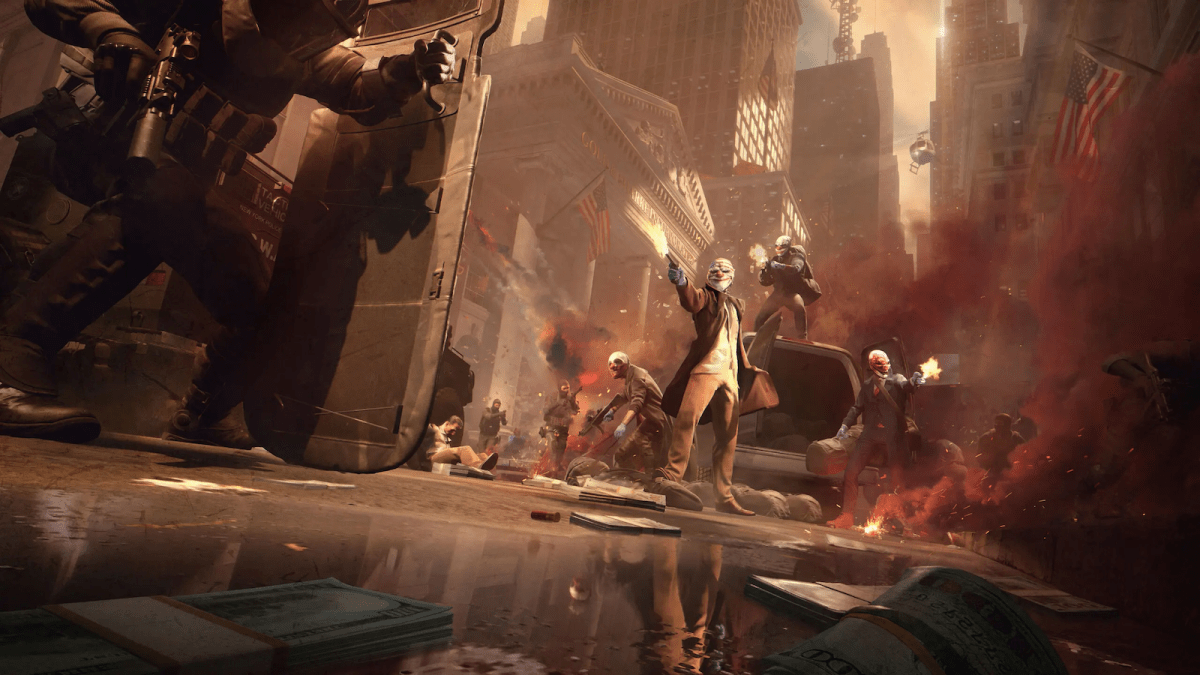
No Rest for the Wicked is the first heist in Payday 3 and comprises of a good old-fashioned bank heist. Like most heists, you’ll have the option of using stealth or firepower to secure the loot, and your reward will be the same no matter what. New players will most likely find themselves accidentally breaking stealth, and that is the route that this guide will follow.
Don’t worry—bringing out the clown masks and assault rifles doesn’t deduct from your reward—it just means that you’ll have to fight for the prize. Read on to learn how to complete No Rest for the Wicked the loud way.
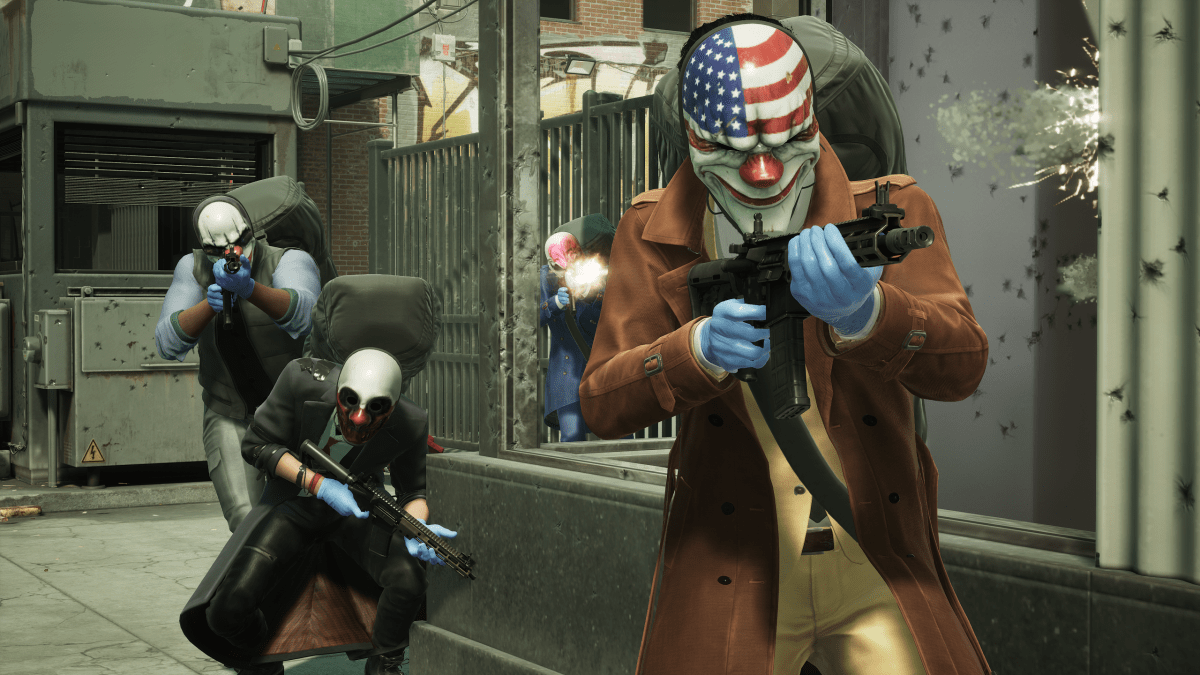
Payday 3 No Rest for the Wicked loud objectives
The objectives in No Rest for the Wicked are different for the loud approach vs. the stealth approach, but the end goal is ultimately the same. This section will provide a brief roadmap of the goals you’ll need to accomplish to complete No Rest for the Wicked the loud way, while subsequent sections will give a more detailed explanation of each objective.
- Hold out for the equipment drop
- Collect the thermite
- Place and ignite the thermite
- Prevent the fire alarm from being pulled
- Enter and loot the vault
- Reach the rendezvous point
- Lower the bollards
- Hold out until the getaway arrives
- Secure loot and escape
In addition to these main objectives, there are a couple of optional side objectives that will either make life a little easier or earn you a bit more money—all of which will be included and explained in the detailed walkthrough below.
Payday 3 No Rest for the Wicked step-by-step walkthrough
If you’re going in loud, the best thing that can happen is for it to be your choice, rather than the product of somebody accidentally getting caught. The best way to prep for the first objective is actually by making your presence as known as possible.
Hold out for the equipment drop
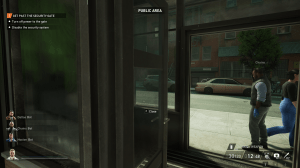
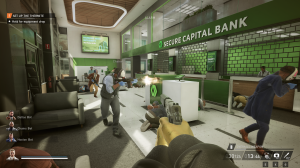
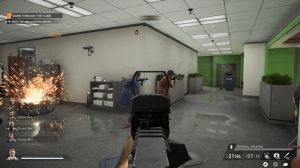
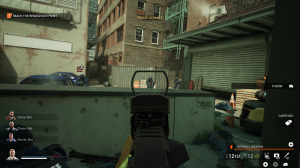
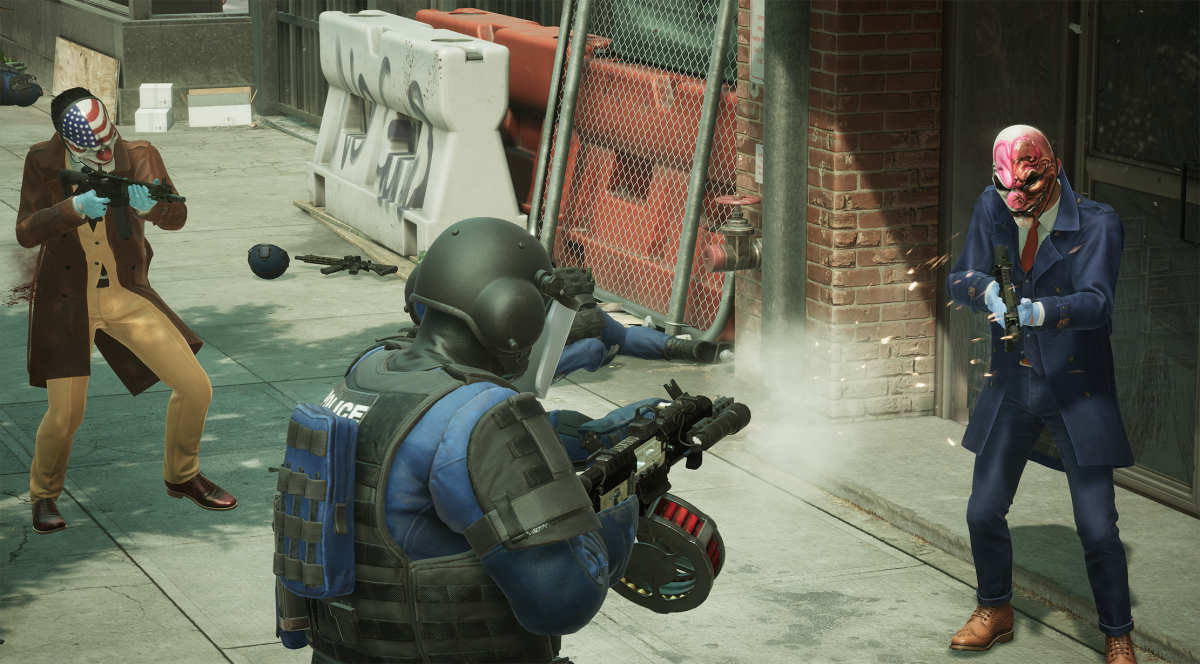
Walk into the front of the bank, close the door, and mask up. You’ve just trapped about 20 civilians in the lobby with you, all of whom can be taken hostage and traded for time. As soon as the alarm is raised, the objective Hold out for the equipment drop will start, and you’ll have two minutes to kill. This time is best spent tying up and trading the hostages in the lobby, which will significantly delay the first police assault.
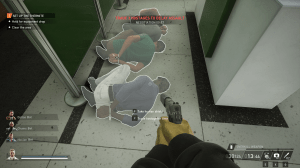
Continue trading hostages until the thermite arrives.
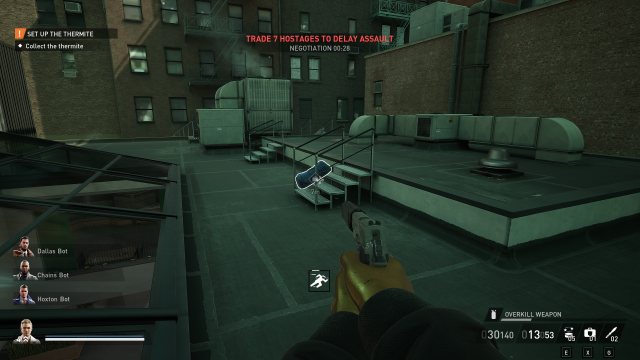
Collect the thermite
The thermite will land on the roof of the building, which can easily be reached either by the stairwell in the back hallway or the fire escape behind the building. Send one of your heisters up to collect the thermite will the others continue trading hostages.
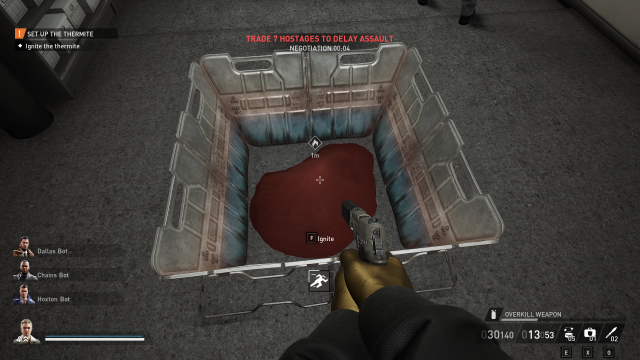
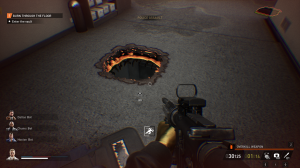
Place and ignite the thermite
You’ll need to place the thermite on the second floor directly above the bank vault, which will be marked. Send the heist member who picked up the thermite to the marked spot, and have them throw the bag onto the ground, which will give a prompt to light the thermite and begin burning through the floor.
While this is happening, the other three members should be wrapping up in the lobby, so they can come meet the heister who placed the thermite on floor two. This is where your first stand against the police will be made.
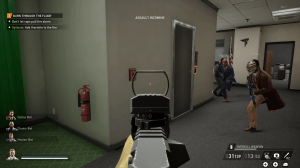
Prevent the fire alarms from being pulled
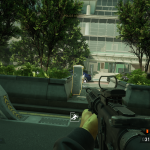
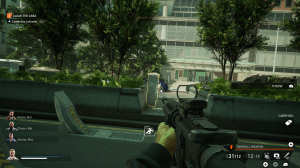
There are two fire alarm locations on the second floor that the cops will try to reach. One of them is to the left of the thermite, the other is to the right. Police will come from the elevators, fire escape windows, and the staircase—so there are three entry points you need to watch for.
Position one heister at each of the three assault points, while the fourth returns to the roof to complete the optional objective: Add thermite to the fire.
Add thermite to the fire
The helicopter that dropped the thermite will return two times and drop two additional thermite bags each time. Adding bags to the fire will cause the thermite to burn through the floor quicker, but adding too many at once sets off the fire alarm.
Compile all four extra bags next to the thermite so that you have them there ready to go in case a cop makes it to a fire alarm. You can add three extra bags, but as Shade says, “don’t fucking overdo it.” Adding a fourth bag will set off the fire alarm.

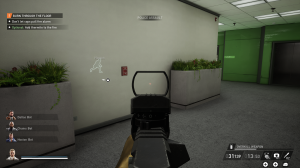
If the alarm is set off, either from adding too much thermite or a cop, you can find the control panel to turn the alarms off in the cubicle room on the second floor.
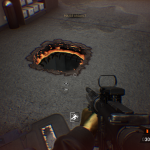
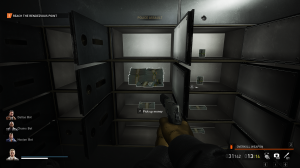
Enter and loot the vault
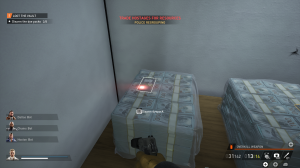
After holding out for a few minutes on the second floor, the thermite will complete its job, and your gang can drop through the hole in the floor to reach the vault. There are two major things to be aware of inside.
First, opening the door in which the exposed money stacks are visible enables timers on eight dye-packs, which will ruin the money after about 10 seconds. Have at least two players (preferably more) ready to go with a plan of exactly which dye packs they are going to disarm as soon as the door is opened.
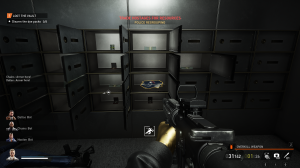
Second, you’ll want to unlock all of the deposit boxes while the dye packs are being dealt with. One of the deposit boxes contains a portfolio of information on quantum computing that will greatly increase your total payout. You can learn the exact deposit box by completing a recon side objective of file searching throughout the bank, however, the other deposit boxes all contain extra cash or jewelry, so you’ll want to open them all regardless.
Reach the rendezvous point
Once you’ve disarmed the dye packs and opened all the deposit boxes, make sure all the loose cash is bagged up so that you can save yourself time later. You’ll have a police assault to deal with during this stage, but it is up to you whether you want to enter the streets of New York during the assault or hold out in the vault until the police regroup.

Make sure each player is carrying a bag and that the extra cash is bagged up, and then reach the rendezvous point by leaving the bank via the side door that leads to the parking lot. This route allows you to move through a back alley, keeping you off the streets where snipers will tear you to shreds.
Lower the bollards
This heist taught me that those road-blocking metal pillar thingies that come up out of certain streets are called bollards. Anyway, the cops have raised them and they need to be lowered before the getaway van can arrive. There are two control panels on opposite ends of the street, both of which are marked. Send one heister to each, and then find a place to hold out.

Hold out until the getaway arrives
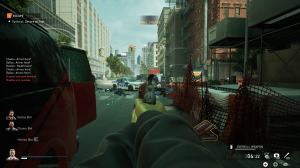
This is the hardest part of No Rest for the Wicked, as the cops will now send in all kinds of special units, and the exposed streets will leave your group vulnerable. Here’s how to ensure the heist is a success.
On the far left of the street, there is a great hunker-down spot underneath some scaffolding on the sidewalk. Posting up here only allows the police to attack from one angle, and snipers won’t be able to see you. Leave two heisters stationed here while the other two make runs to and from the bank to secure the other bags of money from the vault.

Once all of the extra bags have been secured and stationed in the makeshift scaffolding bunker, simply hold out for a couple more minutes.
Secure loot and escape
You’ll have to deal with a bulldozer or two, but they’ll be coming at you head-on and cannot flank you. After a few minutes, the getaway van will arrive directly to the left of your holdout spot. At this point, all you have to do is load up the cash and escape.
If loading up the cash takes too long, the police will raise the bollards again, and you’ll need to return to the two control boxes where you disabled them earlier. This is why we stashed all the cash beforehand, as this can be avoided if you’re quick.


Once the cash is loaded up, all four heist members must reach the getaway van. This shouldn’t be difficult at all, as it is right next to the spot you’ve been holding down. Just make sure everybody is urgent about getting to the van as soon as all the cash is loaded up, or else the bollards will be raised again and things can potentially go south while you’re trying to lower them.


Published: Sep 26, 2023 04:10 pm