
Handshake needs you to double-check some details that feel off about the Tiger Bay evacuation in Gray Zone Warfare. For the UNLRA II quest, he needs you to go to the LAF Checkpoints and find the correct intel about what happened during the evacuation.
There’s the option to search several checkpoints in Tiger Bay, but only one with the correct details you need to find. Thankfully for players, because the LAF Checkpoints are scattered around the outskirts of Tiger Bay, don’t expect to go too far into this city. You’ll encounter fewer NPCs than you usually would for other Gray Zone Warfare missions, but finding the correct one with the necessary intel can be tricky.
Where to find intel at the LAF Checkpoint for UNLRA II in Gray Zone Warfare
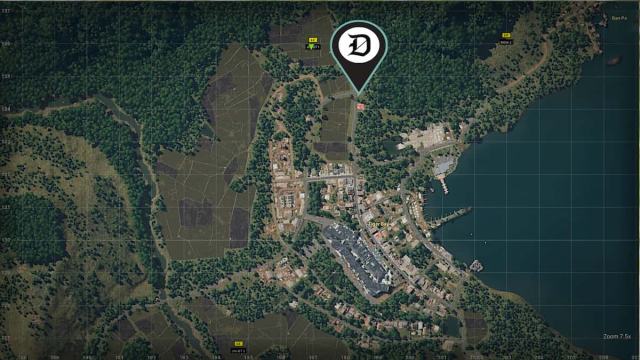
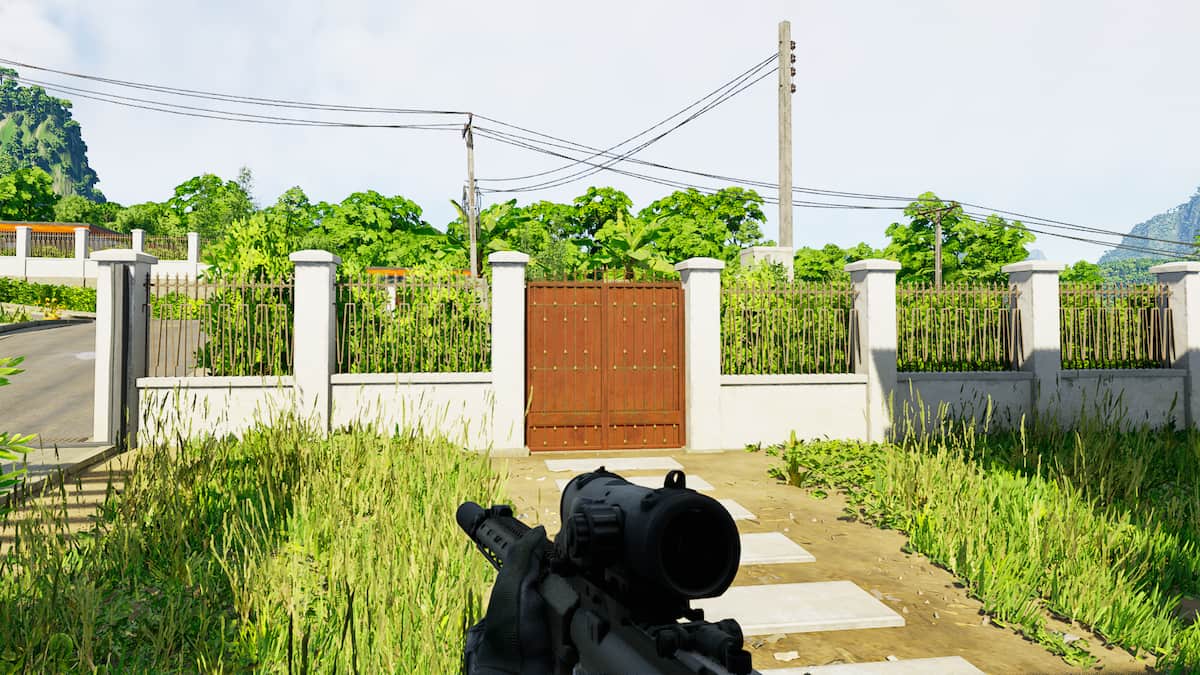
The LAF Checkpoint you need to find is at the northern edge of Tiger Bay. It’s on the city’s border, immediately before you enter the more protected area that contains quite a few NPCs in GZW. Unlike the other missions for Tiger Bay, this is before the more dangerous locations with NPCs consistently patrolling and picking off any player foolish enough to get too close. These are particularly bad when completing other quests, such as What Remains and Big Entrance.
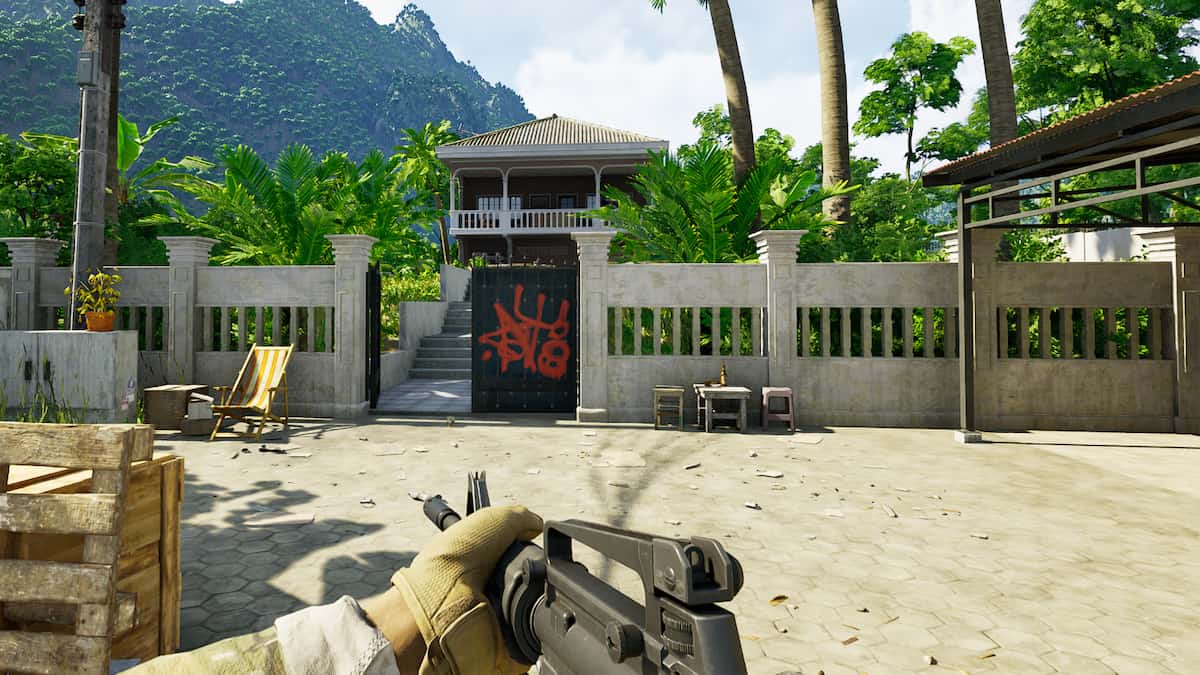
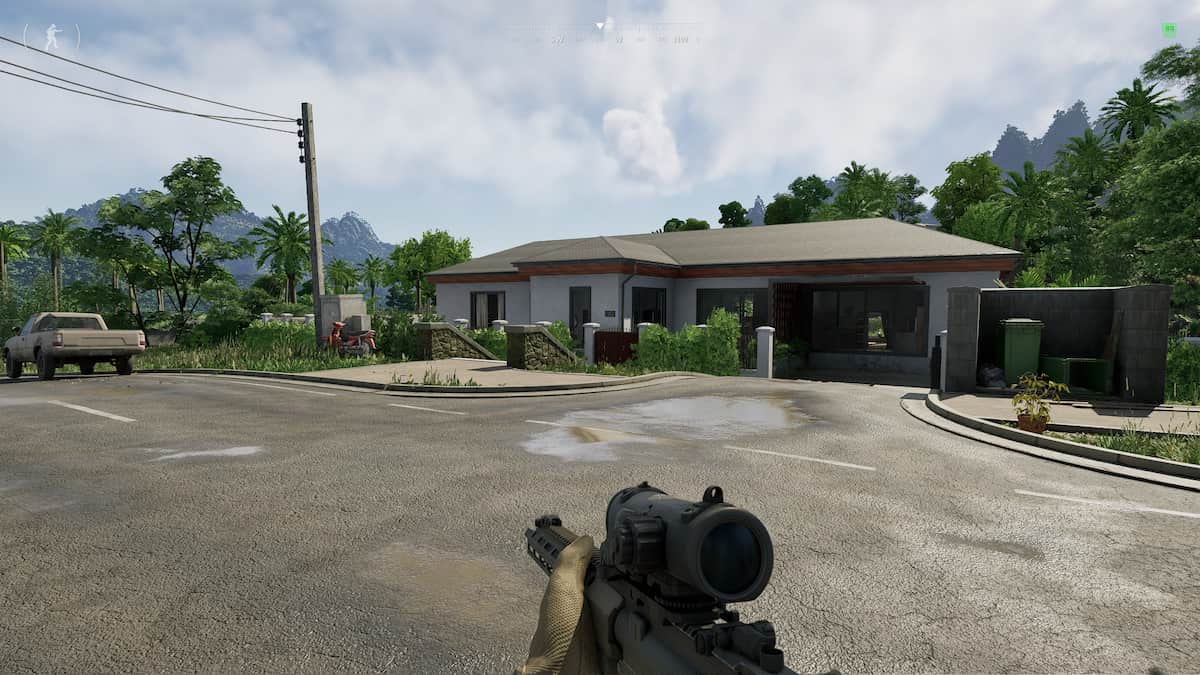
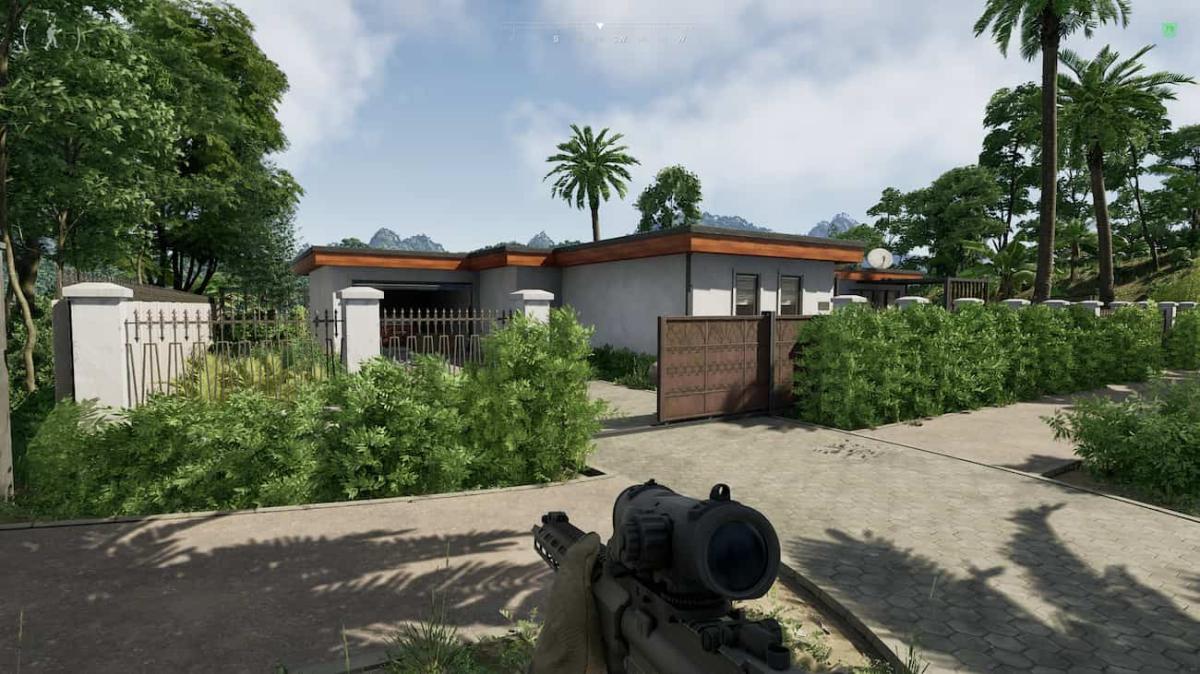
The intel you need to grab is on the table when you arrive. The LAF Checkpoint is a tent on the side of the road right before you get to the two-story restaurant. When I arrived here, I typically didn’t find any NPCs wandering around, but it never hurts to prepare yourself. You don’t want to be caught off guard by a stray bullet and have to run back over to grab your stuff again.
Inside the tent, there’s going to be a document on the table. This is the intel you need to grab. When you put it into your inventory, make sure it’s inside your SafeLock container. Although the landing zone Juliet 1 is nearby, it’s always good to ensure you won’t drop this if you do die attempting to return to Base Camp.
When you arrive at Base Camp, hand off the details to Handshake to complete this mission. It’s a straightforward task he wants you to get done, and you should expect further missions from Handshake in GZW.

Published: Jun 3, 2024 04:37 pm