With so much streaming competition, it’s always wise to put out the best quality content if you want your stream to stand out. One of the ways to improve the quality of a stream is with a capture card. While some streamers have a single PC or console and don’t use capture cards, more advanced streamers often have multiple PCs or connect their console to a PC to add transitions, overlays, and other customizations.
What does a capture card do?
Capture cards allow users to capture video and audio from the source and save it as data. The saved data is then optimized using software before being uploaded. Most streamers have a PC for gaming and a second PC linked to it to capture the gameplay feed. Once connected to the source, the streamer can then use software, like Open Broadcast Software (OBS), on the second PC to add animations and other customizations before broadcasting.
While it’s possible to use a capture card on a standalone PC, most streamers use multiple PCs for their stream. The main reason for using a capture card on a second PC instead of doing everything on one PC is to get the best performance. If a player is gaming and streaming on the same device simultaneously, it can lead to reduced performance or dropped frame rates because both tasks might compete for the same resources.
Types of capture cards
There are two main types of capture cards: internal and external. Internal capture cards, like Elgato’s HD60 Pro or the Avermedia Live Gamer Duo, fit into a PCIe slot on the motherboard. This type of capture card has low latency because it’s connected directly to the motherboard, but they only work with desktop PCs.
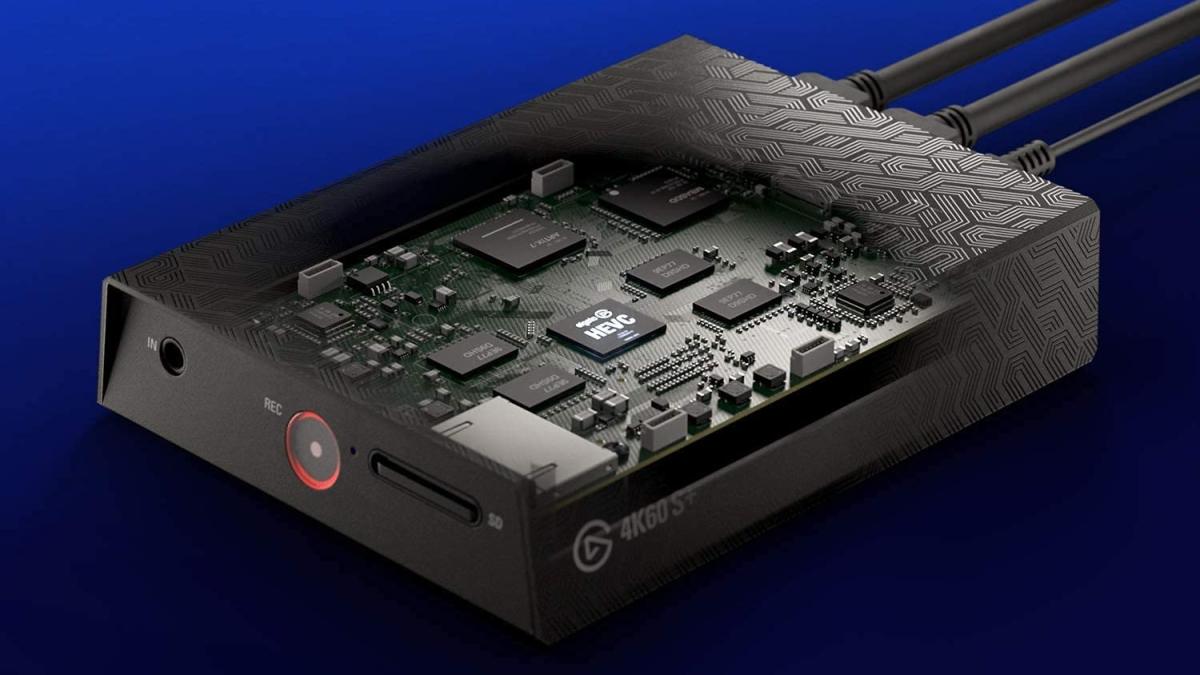
Streamers with consoles or laptops are better off with external capture cards, like the Elgato Game Capture 4K60 S+ or the Asus TUF CU4K30. External capture cards may have slightly higher latency than their internal counterparts, but they are compatible with more devices and are easily swapped out.
What to look for when buying a capture card
Like most peripherals, capture cards come in a wide range of pricing and specs. What’s best for you depends on your requirements and budget. Still, there are some factors to consider when buying a capture card.
Resolution is one of the main factors to consider. Some capture cards, like the EVGA XR1, only capture at 1080p. Other cards, like the Elgato Game Capture 4K60 S+, go up to 4K. The lower resolutions tend to have higher frame rates. On the other hand, higher resolutions tend to have slower frame rates.
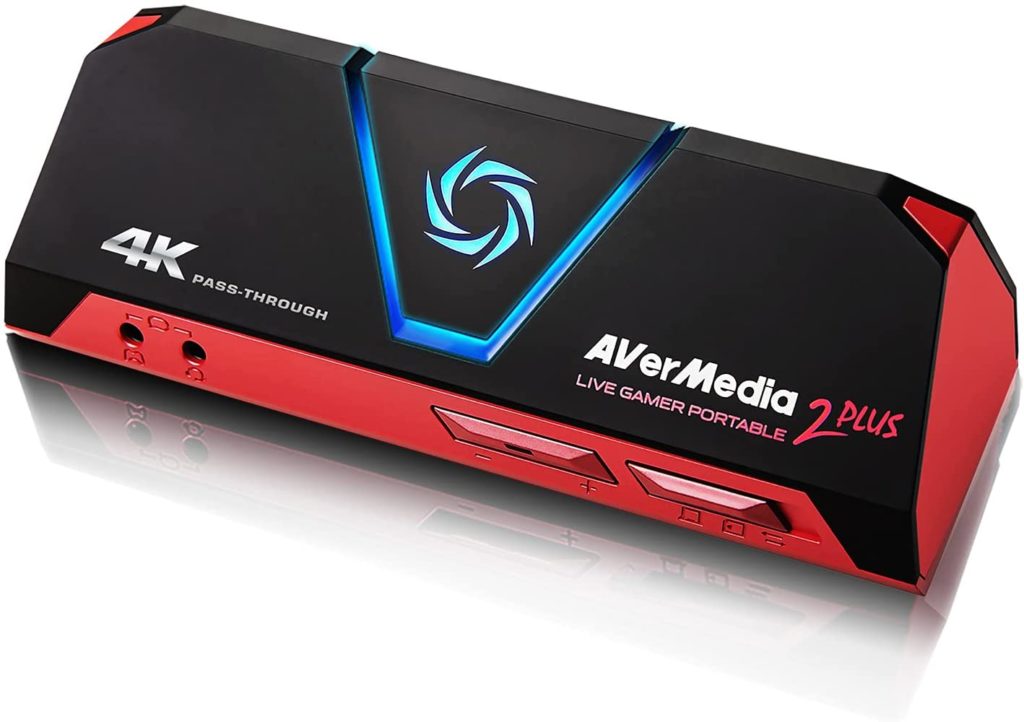
Some capture cards, like the AverMedia Live Gamer Portable 2 Plus, have a built-in SD card slot so users can capture directly onto it instead of a PC. Other capture cards, like the AverMedia Live Gamer Duo, have two HDMI slots and can simultaneously capture two sources.
Software compatibility is another factor when picking a capture card. Most capture cards have proprietary software and also integrate with programs such as Xsplit or OBS. Capture cards like Razer’s Ripsaw HD don’t have any proprietary software and rely on third-party apps.
How to use a capture card on a console
The current Playstation and Xbox models have built-in broadcasting capabilities to allow direct streaming, while the Nintendo Switch can only stream with a capture card via the docking station. Despite the ability to stream directly, it’s still worth using a capture card connected to a PC to produce the highest-quality content possible.
How to connect a capture card to a console
- Connect one end of an HDMI cable to the HDMI output on the console and the other end into the IN port on the capture card.
- Connect another HDMI cable to the OUT port on the capture card and the other end into the monitor or TV.
- The next step is to connect the capture card to a laptop or PC with a USB cable.
- Open the capture card software on the PC to set up the capture card and configure the settings.
Some consoles require a few adjustments before streaming. The Nintendo Switch can only work with a capture card when it’s connected to a docking station. When connecting to a PlayStation 4 or 5, users should turn off HDCP encryption in System Settings, or the signal will be blocked.
How to use a capture card on a PC
How to connect an external capture card to a PC
- Connect one end of an HDMI cable to the HDMI port on the GPU and the other into the IN port of the capture card.
- Take the second HDMI cable, and plug it into the HDMI OUT port of the capture card before connecting the other end to the TV or monitor.
- Connect the capture card to the PC via a USB cable.
- Run the software.
How to connect an internal capture card to a PC.
Connecting an internal capture card can be trickier since there are various types of motherboards and a range of different capture cards. It’s worth checking beforehand to see if the desired capture card is compatible with the motherboard and if there are free slots.
- Switch off the PC, and make sure it’s unplugged.
- Remove the side panel.
- Install the capture card into a free PCIe slot, ensuring it’s correctly fitted.
- Tighten the screws or clips on the slot to ensure the capture card is fixed in place.
- Close up the PC and power it on.
- The capture card should be detected on startup, but it may require driver software.
- Install the driver software and additional streaming software.
Every capture card is different, and there may be slight variations in connecting them to your device.






Published: Sep 16, 2021 01:11 pm