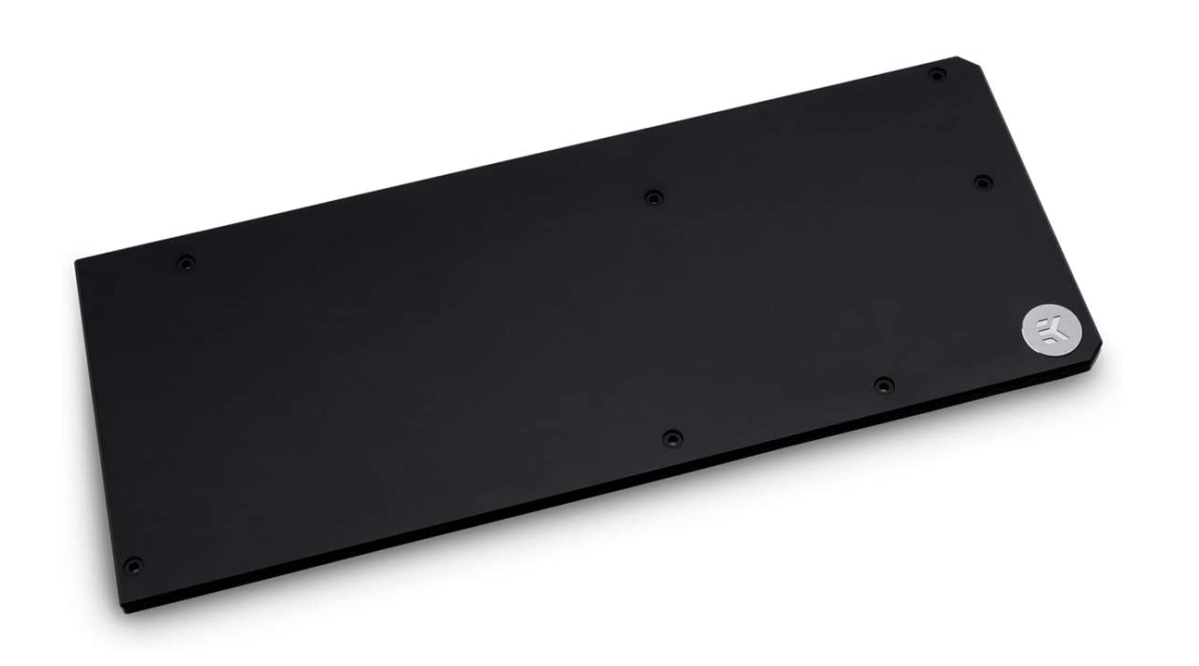
A graphics card is essential when building a PC. While some GPUs come with backplates, many GPUs don’t. Because the printed circuit board (PCB) on a GPU, in this case, is exposed, many people install a backplate to cover it up. This can help with keeping the PCB safe from dust. Installing a GPU backplate makes cleaning your graphics card much easier. Not to mention that when you look into your computer case, it’s more pleasing to see clean and consistent lines and colors.
Backplates do come with instructions and pieces for their respective installation methods. This guide is for the installation of backplates that use screws, but some backplates use magnets. Check the instructions that came with your backplate to determine what kind of installation method it requires.
Before anything else, turn off your computer. It is also recommended to unplug the computer for added safety.
What you need to install a GPU backplate
You should only need a screwdriver and the materials that come with your backplate for installation. Be sure to double-check the instruction manual that comes with your backplate for more specific details and instructions.
How to install a GPU backplate
While installing a backplate can be nerve-racking, since you’re one of the most expensive components of your rig, the process is relatively easy compared to building the rest of a PC.
- Turn off and unplug your PC.
- Remove the packaging from the backplate.
- Keep the instructions and any equipment such as screws handy.
- Gently lay down your graphics card on a spacious, clean surface.
- If your graphics card is dusty, you can softly dust it with a microfiber cloth. Deep cleaning requires a lengthier process.
- Use a screwdriver to remove the designated screws in the instructions.
- Do not remove any screws that are not specified in the instructions for removal.
- Take out the screws provided with the backplate.
- These screws are meant to replace the ones you just removed, but they are longer in order to accommodate the backplate’s depth.
- Some backplates come with magnets or double-sided adhesive tape to secure the backplate on the card.
- Orient the holes of the backplate with the screw holes on the graphics card.
- Screw the new screws into the appropriate holes on the backplate and graphics card.
If you run into any issues installing your backplate, it’s best to pause and contact the backplate manufacturer for further assistance. Do not force any connections. Doing so may permanently damage components.


Published: Sep 16, 2021 01:31 pm