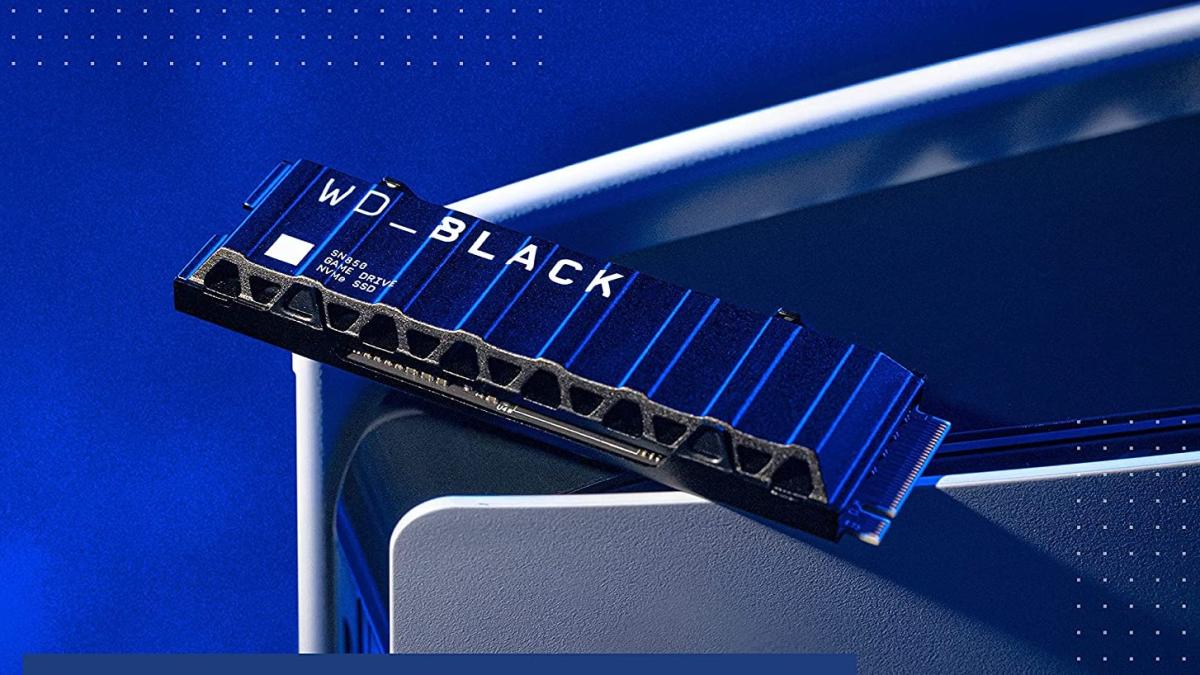
The PlayStation 5 can now expand its internal storage capacity, thanks to a recent firmware update. Users were previously limited to the built-in SSD with around 667GB of usable space because the operating system and other files take up a portion of its 825GB capacity.
Players can now add an M.2 NVMe SSD into the PS5 to expand its capacity. The added capacity allows users to store more games and media files to play them directly off the SSD. Before the firmware update, users had to upgrade the capacity by connecting an external storage device. While external drives can store data, they aren’t quite fast enough for the latest PS5 games, so users had to copy the information to the console if they wanted to play. However, PS4 games can work off an external hard drive on a PS5 because they require lower speeds.
Choosing a compatible NVMe SSD
Before users open their PS5 to upgrade it, they need a compatible SSD. Sony has a few guidelines regarding the size, speeds, and capacity of potential SSDs for the upgrade.
The main requirements are that the SSD should have between 250GB to 4TB of storage space and be capable of speeds of at least 5,500MB/s. Sony provides the measurements of how much room the PS5 has so users can find an NVMe SSD with the best fit.
An important factor to consider before buying an SSD is if it includes a heatsink. Since the SSD is constantly running, its temperature needs to be regulated, and it requires a heatsink to provide effective cooling. Some NVMe SSDs, like the Western Digital SN850 and Seagate 530, come with built-in heatsinks, while others, like the Samsung 980 Pro and Sabrent 4TB Rocket Plus, don’t have heatsinks. Users can purchase third-party heatsinks, like the EKWB EK M.2 and Advanced Gene 2280, but they should note the measurements to ensure they’ll fit in the PS5.
How to install an NVMe SSD to a PS5
- Ensure the PS5 is up to date with the latest firmware.
- Power off the PS5 and disconnect the power cable.
- Open the cover on the PS5.
- Turn the PS5 upside down and place it on a soft surface. The logo should be facing downwards.
- Hold the top right and top left corners of the cover with each hand.
- Lift the cover up.
- Slide the cover off.
- Remove the rectangular expansion slot cover by loosening the screw with a Phillips screwdriver.
- There will be another screw with a spacer in the expansion slot.
- Remove the screw and spacer.
- Keep it handy for later.
- Place the NVMe SSD into the expansion slot, and slide it until it locks into place.
- Use the spacer and screw from earlier to fasten the NVMe SSD into place.
- Once the SSD is locked in place, reattach the expansion slot cover using the screw from earlier.
- Slide the exterior cover back into place.
- Connect the power, and the PS5 will turn on and automatically detect the SSD.
- A message will display on the screen asking if you want to format the SSD or not.
- Click on the option to format the SSD.
- After the SSD is formatted, a message will display on the screen showing how fast it is.
- Click on OK, and the SSD will work as an additional storage device.
When assembling or disassembling the PS5, it’s advisable to use the correct tools to avoid stripping screws or other damage to the unit. Plastic clips can also be fragile, so avoid putting too much pressure on them.
Since adding an NVMe to the PS5 doesn’t void the warranty, users don’t have to worry about repercussions if there’s a fault down the line.
This article includes affiliate links, which may provide small compensation to Dot Esports.


Published: Oct 8, 2021 01:03 pm