Despite the expansive, open-world freedom that Elden Ring offers, many players want to know the recommended order in which they should complete content. If this sounds like you, don’t worry. Here’s everything you need to know about the best progression route and boss order in Elden Ring.
Best progression route in Elden Ring

We’ve assembled a recommended progression order of Elden Ring‘s zones based on the average enemy difficulty within those zones. The best order for exploring and completing these locations is as follows:
- West Limgrave: Levels One to 15, weapon upgrade +0 to +1
- East Limgrave: Levels 10 to 20, weapon upgrade +1 to +2
- Weeping Peninsula: Levels 20 to 30, weapon upgrade +3 to +4
- Stormveil Castle: Levels 30 to 40, weapon upgrade +3 to +4
- South Liurnia of the Lakes: Levels 40 to 50, weapon upgrade +3 to +4
- Raya Lucaria Academy: Levels 50 to 60, weapon upgrade +4 to +6
- East Lirunia of the Lakes: Levels 50 to 60, weapon upgrade +4 to +6
- Ainsel River: Levels 50 to 60, weapon upgrade +4 to +6
- West Liurnia of the Lakes: Levels 60+, weapon upgrade +8 to +12
- Siofra River: Levels 60+, weapon upgrade plus-eight to +12
- South Caelid: Levels 60+, weapon upgrade +10 to +12
- Nokron, Eternal City: Levels 70+, weapon upgrade +12 to +15
- Siofra Aqueduct: Levels 70+, weapon upgrade +12 to +15
- Carian Study Hall: Levels 70+, weapon upgrade +12 to +15
- Deeproot Depths: Levels 70+, weapon upgrade +15 to +18
- Nokstella, Eternal City: Levels 80+, weapon upgrade +15 to +18
- Lake of Rot: Levels 80+, weapon upgrade +15 to +18
- Altus Plateau: Levels 80+, weapon upgrade +15 to +18
- Mt. Gelmir: Levels 80+, weapon upgrade +15 to +18
- Leyndell, Royal Capital: Levels 90+, weapon upgrade +18 to +21
- Subterranean Shunning Grounds: Levels 90+, weapon upgrade +18 to +21
- Forbidden Lands: Levels 90+, weapon upgrade +18 to +24
- Mountaintops of the Giants: Levels 90+, weapon upgrade +21 to +24
- Consecrated Snowfield: Levels 90+, weapon upgrade +21 to +24
- Mohgwyn Palace: Levels 100+, weapon upgrade +21 to +24
- Crumbling Farum Azula: Levels 120+, weapon upgrade +25
- Miquella’s Haligtree: Levels 120+, weapon upgrade +25
- Leyndell, Ashen Capital: Levels 120+, weapon upgrade +25
Elden Ring Progression Route, explained
With this progression route, you prioritize leveling up and gathering early-game materials before pushing on to later-game content. Elden Ring’s massive open world has many areas of similar difficulty levels, so ensuring you can gather the right Smithing Stones and fight bosses of the right difficulty is critical to avoiding frustration. Let’s go over our route to success in more detail.
Best early-game Elden Ring progression route
Nothing is more intimidating than walking out of The First Step into the wide world of The Lands Between. The first thing you want to do in Elden Ring’s early game is explore Western Limgrave. Specifically, dodge the Tree Sentinel and head to the church before rounding the bend toward later encounters. While it is possible to kill this hulking horse-bound rider right away, it’s a chore and easier to do with a few levels and an upgraded weapon.
Importantly, before you explore East Limgrave and head south across the Weeping Peninsula, explore the mine in northern Agheel Lake, called the Limgrave Tunnels. This is where you get your first batch of Smithing Stones. Get used to seeing the Mine Entrance icon on your map, as they always lead to areas where you can gather upgrade materials for your weapons.
You don’t need to clear East Limgrave and Weeping Peninsula to beat Elden Ring, but they provide quite a few materials you want as a new Tarnished. Notably, visiting churches always rewards you with Sacred Tears, an upgrade material for your Crimson and Cerulean Tear Flasks. Getting as many as possible is very important, and you can collect four of them across these early sections of Limgrave alone.
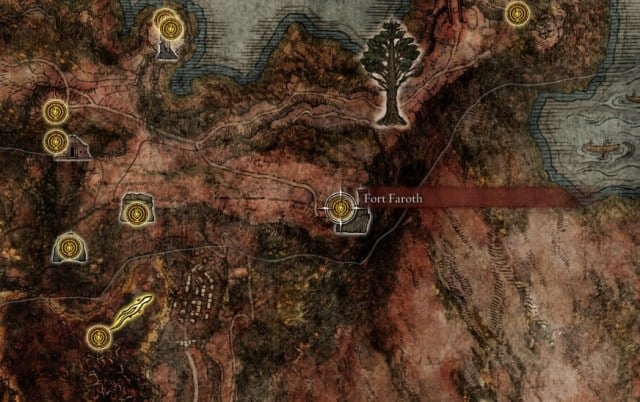
If you’re tired of farming levels, get a weapon with Bleed and head to Northern Caelid, like the Morning Star, which you can loot from a broken carriage in Weeping Peninsula, just south of the bridge from Limgrave. You can bleed the Sleeping Dragon, outside of Fort Faroth, to death for a massive bump to your Rune count. You can get nearly 40-50 levels out of it, depending on your starting class and whether you use a Gold-Pickled Fowl Foot. Killing the dragon makes your early game much easier.
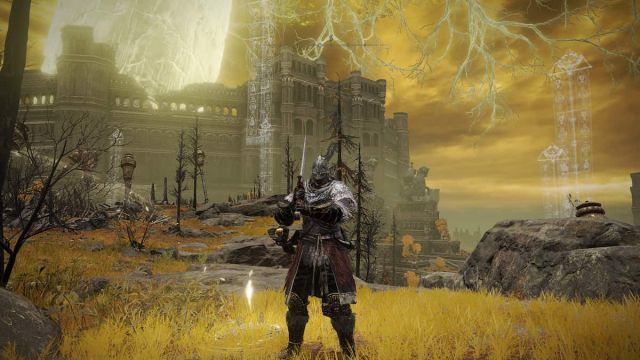
All of this gets you to Stormveil Castle with plenty of levels and upgrade materials under your belt. Morgott and Godrick await you, but they’re really just a stat check. As long as you can tank their hits and deal decent damage back, it’ll only take a few tries to beat them.
Best mid-game Elden Ring progression route
From here, the world opens up quite a bit. We recommend targeting Renalla, Queen of the Moon in Raya Lucaria Academy. Liurnia of the Lakes is a huge map, but most places of interest within it are along the sides of the lake and on its shores. Jog around the sides, and you’ll get most of what you need, including the Smithing Stone cave to the northeast.
Once you’ve pacified Renalla, we recommend going north to Altus Plateau before you clear the castle in the southeast of Caelid. This will trigger Radahn’s Festival, and you’ll otherwise be stuck fighting multiple bosses and enemies that litter the castle instead of the boss himself. Once he’s dead, you unlock the underground area of Nokron. Once you’re done with those, head to northern Liurnia of the Lake’s western side. By this point, you start hitting Smithing Stone (3) and (4) and have a good backlog of weapons, spells, and levels to your name. Mt. Gelmir or Leyndell, Royal Capital are very valid next steps, though we found Mt. Gelmir to feature more relevant upgrade materials and more paths to enter. Once you’ve killed Rykard, head through northern Caelid for some extra items. The Sellia Crystal Tunnel, where you can get stuck if you open the wrong chest, is located here and is a great mine for Smithing Stone (5).

Then, head to Leyndell. Be sure to drop down the well to enter the Subterranean Shunning Grounds for extra materials and access to the Frenzied Flame Seal. There is also quite a bit of content in the courtyard outside Leyndell—including a Smithing Stone mine to the Southwest with the second Smithing Stone Bell Bearing. This is also around where you should clear out the Deeproot Depths through the back end of the Frenzied Flame Proscription, where you can finish Fia’s questline. And, after that, you can freely take down Nokstella, an area through the Ainsel River Main on the eastern shore of Liurnia. This city is slightly more difficult than Nokron, so keep your guard up. Once you’ve done all that, you can take out Godfrey and his forgotten throne.
At this point, your weapons start reaching the +18 range with Smithing Stone sixes and +6 range with Somber Smithing Stone sixes. That means you’re ready for the late game of Elden Ring’s story.
Best late-game Elden Ring progression route

Once you head to the Mountaintops of the Giants, things get a bit wacky. We recommend clearing the Mountaintop of the Giants immediately, as it is covered in the high-ranking Smithing Stones you need to upgrade your best weapons to a comfortable +21, or the sombers to get to +8 and +9.
However, once you’ve killed the Fire Giant, use the Secret Medallion—that you get from the northwestern Castle Sol and Albus from the Village of the Albinaurics—to head to the Consecrated Snowfield. This secret area is theoretically more difficult than Farum Azula but has a mineshaft with high numbers of rare upgrade materials to the bottom-left of the map. This includes your first Ancient Dragon Smithing Stone, the material you need to get a standard weapon to +25.
Once you’ve explored this area well, head to Farum Azula by activating the Forge of the Giants. This is the last area you need to explore before the final boss gauntlet, so be sure to check every nook and cranny. Before you finish the game, be sure to explore the Haligtree. This is an optional dungeon you can access by teleporting from Ordina, Liturgical Town in the north of the Consecrated Snowfield. It’s teeming with high-level enemies and the hardest boss in the game—Malenia, Blade of Miquella. We recommend slaying her late since you’ll want the very best stats, weapons, and Talismans to take her down.
With Malenia defeated, you should be around level 150, with several +25 standard weapons or +10 special weapons to your name. That means you can teleport to Leyndell, Ashen Capital, and claim your victory—but be sure to get the Erdtree’s Favor +2 by heading through the eastern bridge area first.
Best boss order in Elden Ring

If you’re more concerned about the order in which you need to defeat Elden Ring’s major bosses, we’ve got you covered:
- Margit, the Fell Omen
- Godrick the Grafted
- Red Wolf of Radagon
- Rennala, Queen of the Full Moon
- Royal Knight Loretta
- Starscourge Radahn
- Regal Ancestor Spirit
- Dragonlord Placidusax
- Godskin Noble (Volcano Manor)
- Rykard, Lord of Blasphemy
- Draconic Tree Sentinel
- Godfrey, First Elden Lord (Golden Shade)
- Morgott, the Omen King
- Fire Giant
- Mohg, Lord of Blood
- Godskin Duo
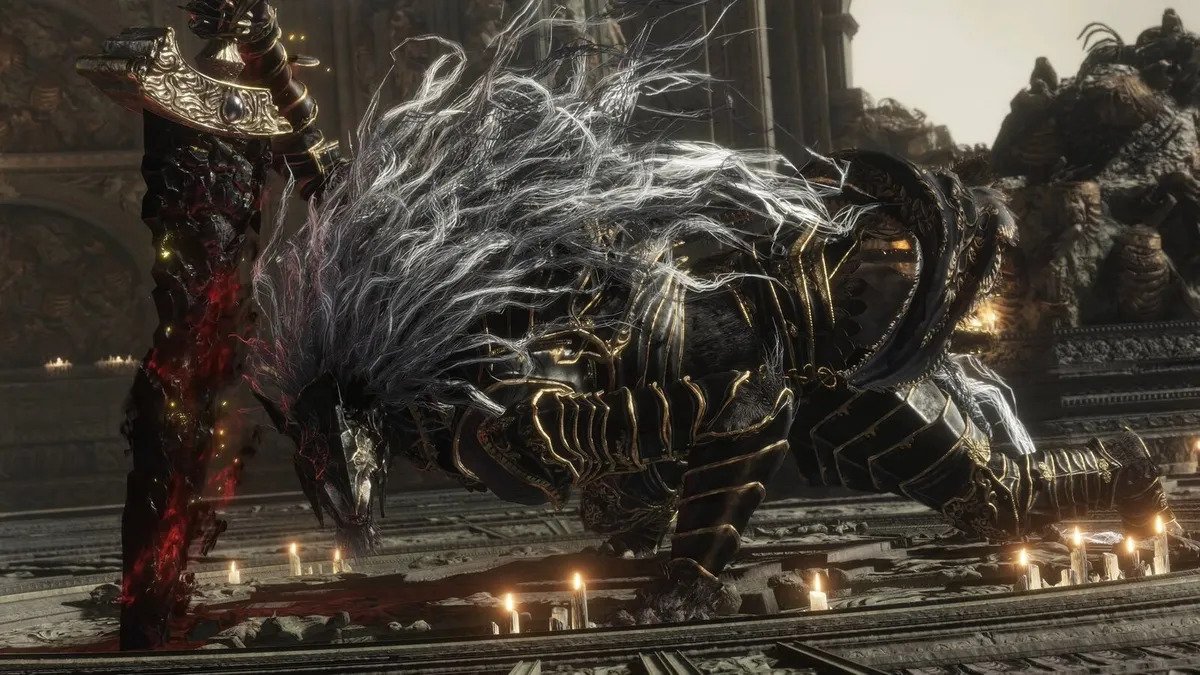
- Maliketh, the Black Blade
- Lichdragon Fortissax
- Loretta, Knight of the Haligtree
- Malenia, Blade of Miquella
- Sir Gideon Ofnir, the All-Knowing
- Godfrey, First Elden Lord
- Hoarax Loux, Warrior
- Radagon of the Golden Order
- Elden Beast


Published: May 1, 2024 12:37 am