Ascendant Chests have been one of the more forgotten parts of Destiny 2 since their debut in Forsaken. These secret objectives rotate each week, and they rarely offer big rewards—though Season of the Wish gave players a reason to track them down.
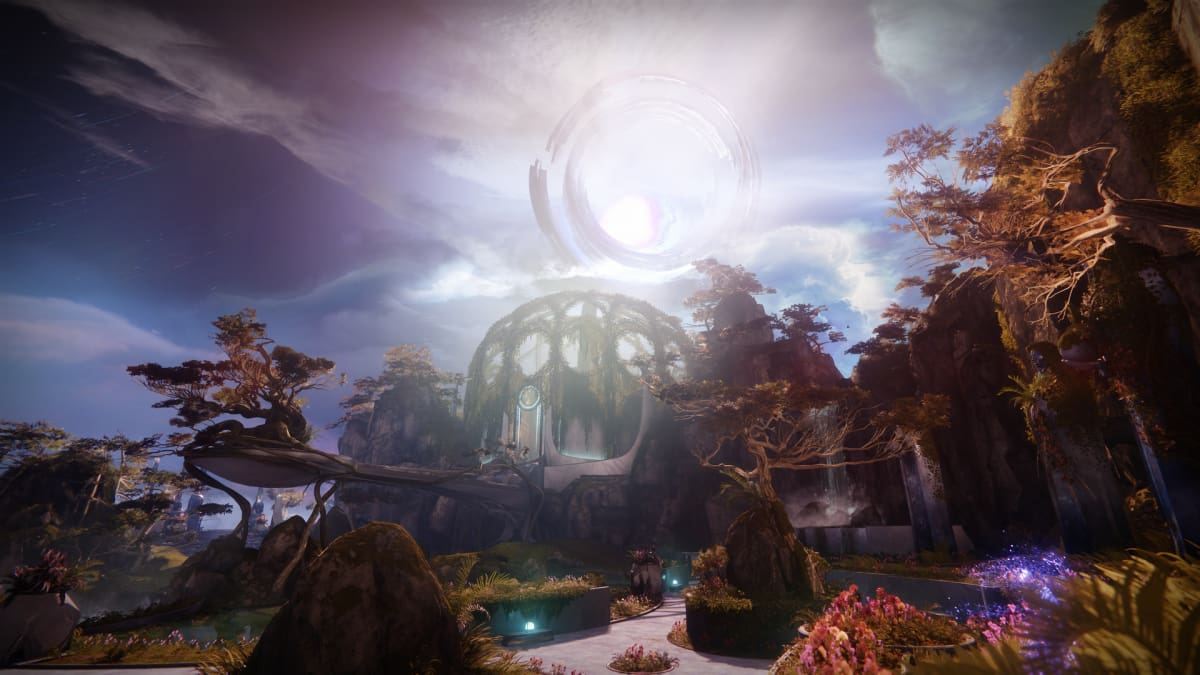
Like older destinations, the Dreaming City as a whole needs a bump to get players to come back (though the sights of the Gardens of Esila are more than enough for me). This is the case with Season of the Wish and, by extension, the Riven’s Wishes quests.
These quests task players with tackling the more obscure objectives in the litany of secrets held by the Dreaming City. The second Wish quest, for instance, has players grab Ascendant Chests. Here’s how you can open them and where you can find them in Destiny 2.
How to open Ascendant Chests for the Riven’s Wishes II quest
Opening Ascendant Chests requires you to spend a Tincture of Queensfoil and get the Ascendance buff. This will “open your mind to the secrets of the Dreaming City,” essentially letting you see what you’d normally miss. This includes Ascendant Chests and entrances to the Ascendant Plane.
You won’t always spot a chest straight away, though. Sometimes, you’ll spot a materializing pathway, heralded by a message saying the seams between reality become weaker. This is your sign that there’s a secret nearby—usually an Ascendant Chest, or at least the start of the path to one.
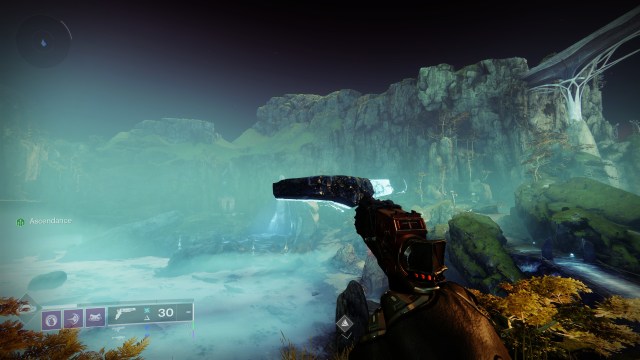
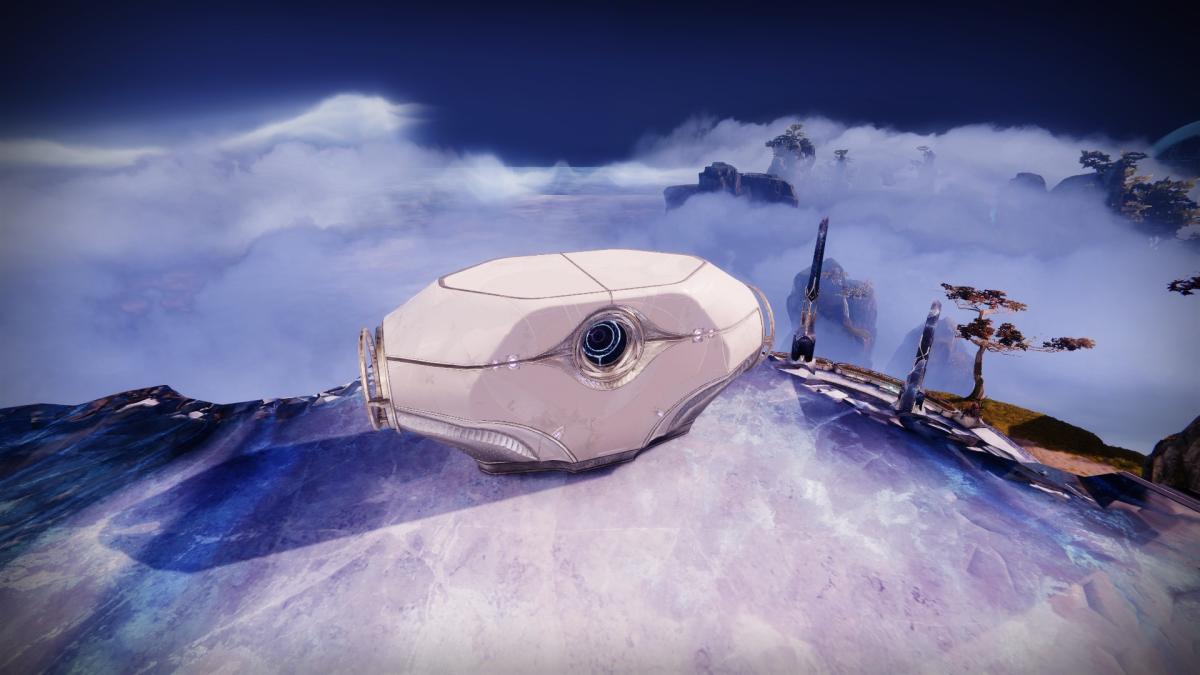
Ascendant Chests are character-based, so you can grab multiple of them each week if you change characters. There are 10 different spots each week (30 in total), varying based on the strength of the Curse. While the second Wish quest asked players to find seven chests once it was released, Bungie toned down its requirements to just three with Update 7.3.4.2, making this a much easier task.
Destiny 2 Ascendant Chest locations
We won’t list all of the Ascendant Chest locations here, though we’ll list enough for you to wrap up the second Wish quest. If you still need to complete activities in the Dreaming City or do the Rift Generator public event, this may be a good chance to wrap up any loose ends.
Weak Curse (Petra is on the Strand):
- By the last rock with a tree in the Bay of Drowned Wishes Lost Sector (Divalian Mists).
- By the balcony in the Chamber of Starlight Lost Sector (Rheasilvia).
- At the end of the ledge after killing the boss in the Aphelion’s Rest Lost Sector (Strand). Don’t drop down until you’ve grabbed this chest.
- On the right side of the bridge at the end of the Gardens of Esila. This is where you come out if you do the Forfeit Shrine Ascendant Challenge, which rotates in every six weeks.
- If you’re stuck on one of the first tiles, look to your left until the path materializes in front of you.
- Close to where Petra is in the Strand, facing between the path to Rheasilvia and the colossal statue in the Strand.
Medium Curse (Petra is on the Divalian Mists)
- Bay of Drowned Wishes (Divalian Mists Lost Sector): By the first rock with a tree on it, after killing the Abominations. The chest will be on top of the rock.
- Spine of Keres (Divalian Mists): Head down to the end of the area, as if you were heading to the Shattered Ruins Ascendant Challenge. As you cross the last bridge, which leads to some Taken Acolytes, look to the left.
- Chamber of Starlight (Rheasilvia Lost Sector): The trail starts by the area where the Lost Sector boss is, just left of the table.
- Aphelion’s Rest (The Strand Lost Sector): Once you get to the boss room, look for a rock on the right side, close to an Awoken pillar. This is approximately where the portal for the Ascendant challenge spawns. It’s easier to spot if you have a sword in your hands.






Published: Feb 13, 2024 01:32 pm