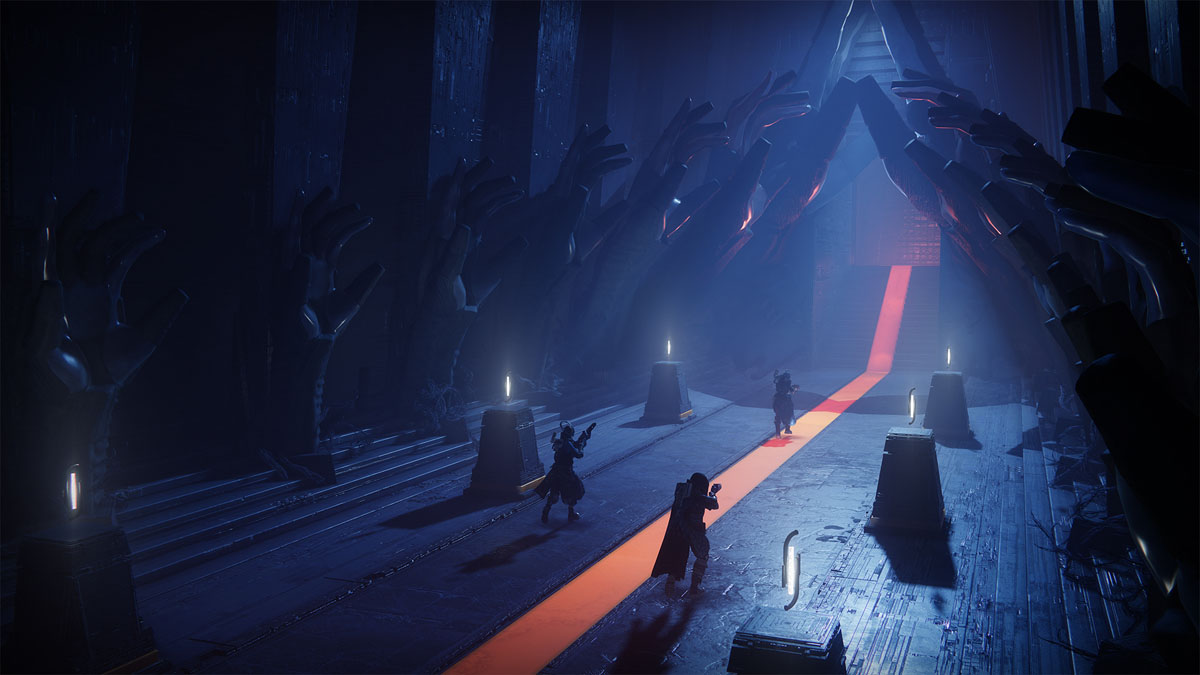
The final battle approaches in Destiny 2‘s The Final Shape, and all that awaits you now is The Witness’ Fortress at the center of the Pale Heart. It’s here where you’ll face your destiny in the Iconoclasm mission, the first of a number of missions leading to the final battle.
Here’s how to complete the Iconoclasm mission and beat its final boss in Destiny 2.
This is a key mission toward the end of The Final Shape campaign, and as a result, there are massive spoilers ahead! You’ve been warned…
Completing the Iconoclasm mission in Destiny 2, a guide
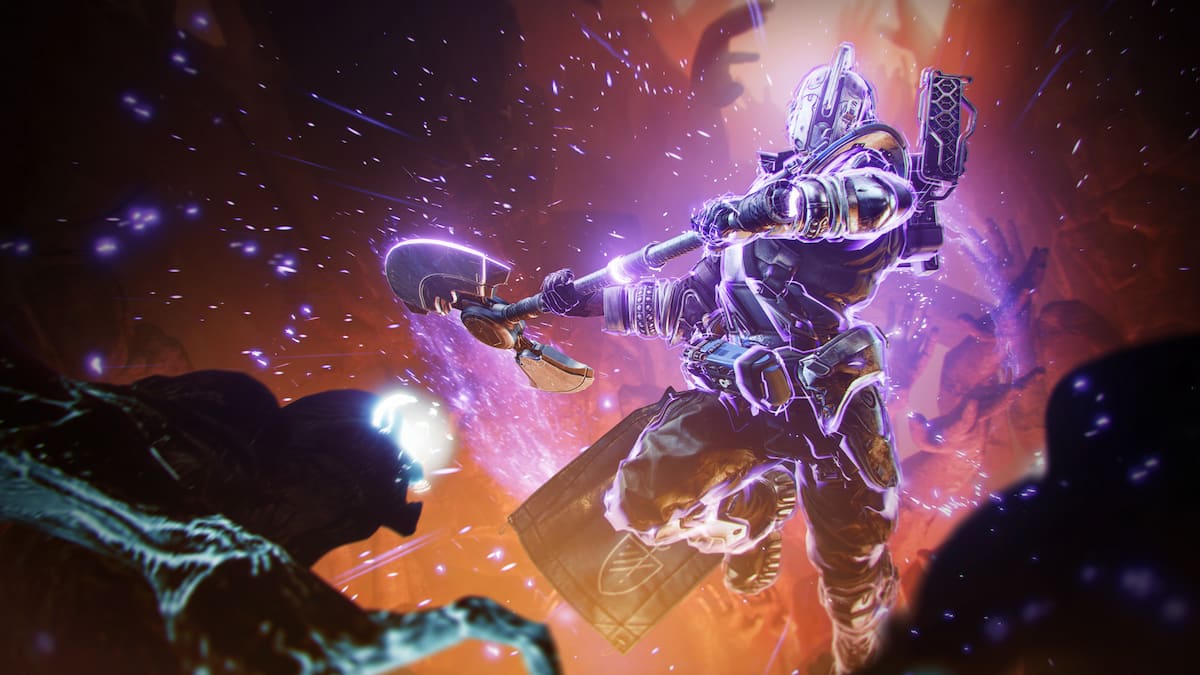
We won’t be going too in-depth with the first part of this mission, which will see you breach the outer fortress of The Witness. You’ll need to bring down the Gate Tormentor, then a Taken Knight using a few key mechanics you’ve learned in the campaign so far, including the Glyphkeeper buff and the Shielded from Darkness buff that protects you from the storm.
The first major confrontation will be the Ogre room, which we’ve detailed how to clear below:
- Destroy the Blights on either side of the map and eliminate the Bound enemies inside using Transcendence.
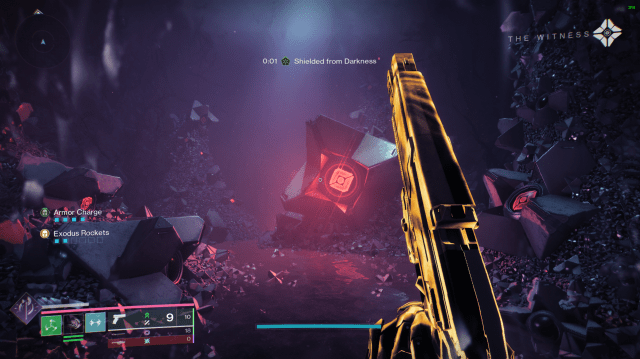
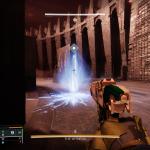
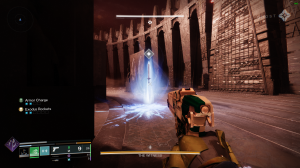
- Grab the Glyphtouched buff by destroying the diamond, then shoot the Darkness orb to become Shielded from Darkness.
- Jump into the portal, find the two Hive knights, and kill them.
- Upon their deaths, the knights will each spawn an emblem—memorize these emblems.
- Return to the Ogre room and collect the two Icons of Darkness that match the emblems you saw in the portal.
- Collect the Aegis shield from the back of the room and charge up its Super ability by blocking projectiles or eliminating smaller targets.
- Use the Super on the Ogre to bring down its shield. You can now damage the Ogre.
- Repeat the above until the Ogre is dead.
Some of these mechanics will be useful further along as you breach the Fortress and come face to face with your greatest adversary of all: The Witness itself.
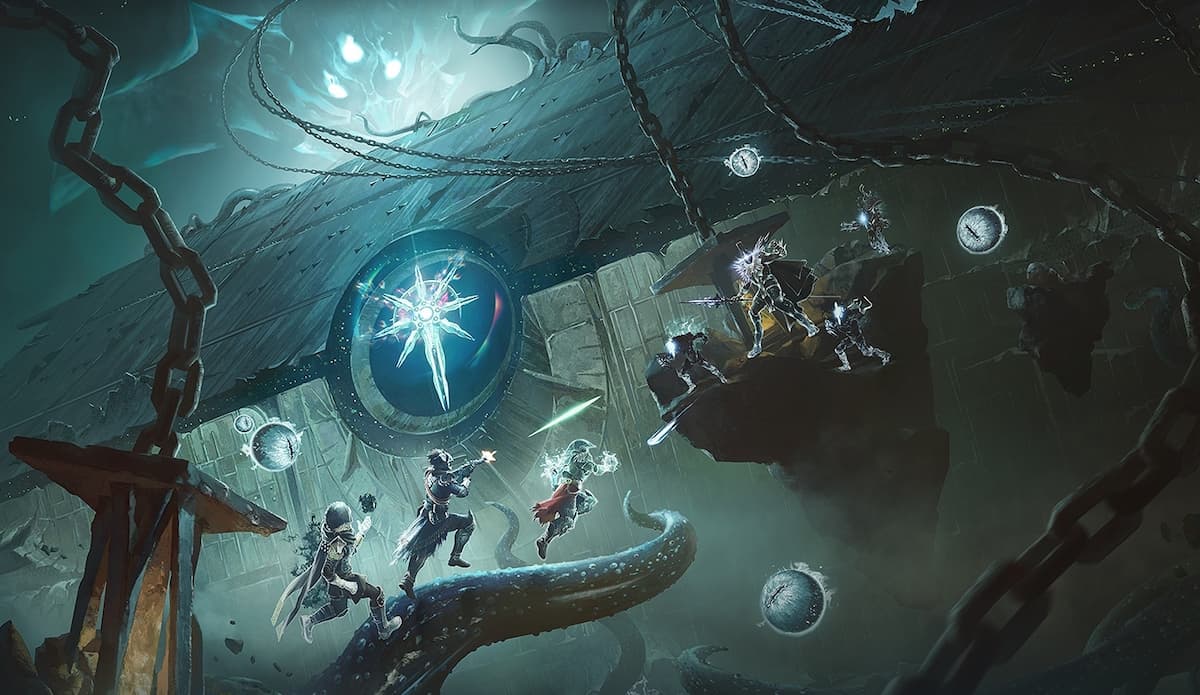
How to defeat The Witness in the Iconoclasm mission
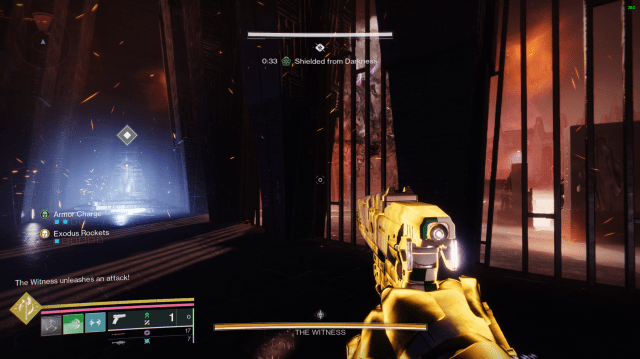
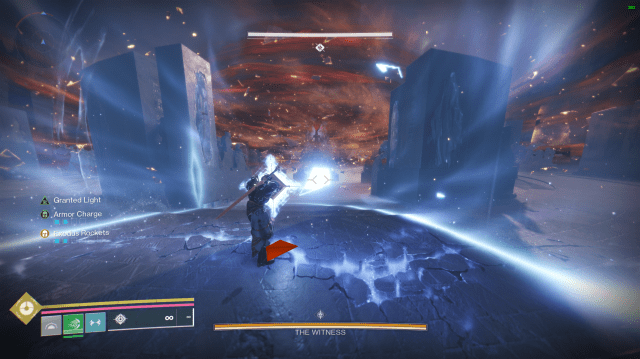
You’ll now enter The Sacrarium where The Witness will finally appear before you. It will immediately put up a shield that you won’t be able to penetrate, then charge up a Darkness shard attack that will instantly kill you if it hits: Take cover behind the statues in the arena to avoid this.
A Subjugator will spawn, as well as several other adds. Your first objective is to bring down the Subjugator, but I recommend clearing the adds before attacking the boss. During this phase, The Witness will appear and fire more shards at you—there will be a notification in the bottom-left when the attack is coming, so take note of where The Witness is and hide behind a statue.
Once you get the Subjugator to half health, it will gain a shield that you can’t shoot through. It’s here that you must once again find the Aegis shield like in the Ogre encounter which is on the left in a passageway. Before grabbing it, head to the Darkness orb and grab the Shielded buff as the DoT damage will begin to hit you otherwise.
Grab the shield, head back out, and charge up the Super before firing it at the Subjugator to bring down its shield. Before you’re able to continue attacking the Subjugator, however, The Witness will intervene and summon a massive storm of Darkness shards. To survive this, head to the Light crevasse in the back-center of the map and hold down your shield barrier button while holding the Aegis. If you let go of this key for a single second, you’ll almost certainly die.
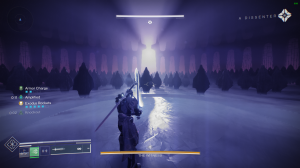
Once the storm ends, the Aegis will be destroyed and the Subjugator will be exposed: Finish it off for good. Now, it’s time to embrace the Darkness—and the Traveler will help you do it. A sword of pure Light will spawn by the crevasse. Grab it then head to the front-middle of the arena and destroy the mini Darkness pyramid. Interact with the doorway, and you’ll be sucked into Darkness itself where you’ll learn The Witness’ dissenters want you to kill them to damage The Witness.
Use the sword to destroy the statue, and you’ll be teleported back to the Sacrarium. The Witness will be in pain, but you still won’t be able to attack her. It will summon another Subjugator, as well as a wave of Bound enemies meaning you’ll need a Prismatic subclass to defeat them. Repeat the same steps as above: Bring the Subjugator to half health, go and grab the Aegis (this time from the right), charge it up and use its Super at the Subjugator, and then go to the crevasse and block the shard storm.
Defeat the Subjugator, then pick up the sword and embrace Darkness again, destroying the second statue. Upon returning to the Sacrarium again, the sword will appear. Grab it a final time, embrace Darkness, and destroy the third statue.
This brings down The Witness’ shield, but she now knows your plan and locks you into the Darkness, bringing you down to one health and without the ability to heal whatsoever. You’ll need to push your way out of The Witness’ mind to survive the rest of this encounter.
A final gauntlet will appear ahead of you. Grab the Aegis shield and immediately activate the bubble, holding it down while you walk your way out to safety. Shards of darkness and Taken Watchers will appear and shoot at you, but as long as you keep that bubble up, you won’t lose your last point of health. Just as the bubble will run out, you’ll reach another Light crevasse and recharge the barrier, so just keep moving along the pathway and don’t stop for anything. As soon as you clear the doorway at the end, run forward and the mission will be complete.
Sure, you didn’t get to attack The Witness directly, but you now know how to beat her. If you’re game, head to the Salvation’s Edge raid with a fireteam of six; otherwise, you should be able to start the final mission, Excision.


Published: Jun 9, 2024 02:27 am