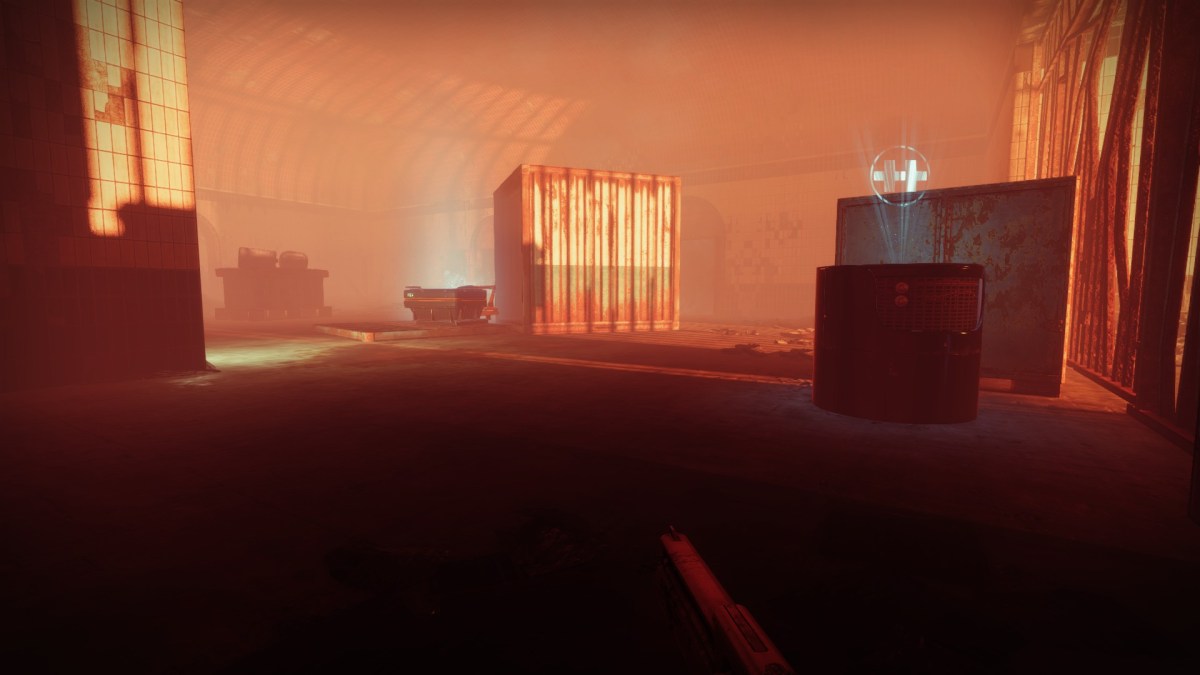
The Season of the Seraph missions are bringing Destiny 2 players more and more ways to tune their Revision Zero. By completing Should You Choose to Accept It, Part Three, players will gain another slew of tricks for their Exotic pulse rifle.
The third part of the Should You Choose to Accept It quest line will give players another upgrade to Revision Zero’s intrinsic, Hunter’s Trace. Players will also get the Outlaw Refit catalyst, which comes with two essential upsides: not only does it give the weapon Outlaw if equipped, but just getting the third Revision Zero catalyst also lets players change stocks, based on previous quests.
Here’s what you need to know to complete Should You Choose to Accept It, Part Three in Destiny 2.
Should You Choose to Accept It, Part Three quest guide in Destiny 2
The third installment in the quest line follows the formula established by its two predecessors. Players will have to complete an old story mission (Operation: Archimedes, again), then head to a patrol area—this time, the EDZ—to kill some enemies. After you’re done, you’ll have to find another Häkke Dead Drop (check the Terminus East Lost Sector) and embark on another run of Operation: Seraph’s Shield on Legend difficulty.
Finishing Should You Choose to Accept It, Part Three requires more than just clearing Operation: Seraph’s Shield on Legend (which can already be enough of a time-consuming feat). You’ll need to find a weapon schematic located in a Dead Exo in the mission. This one is located inside the first boss room, so players have plenty of time to hunt down this Dead Exo before they trigger the boss fight.
Step one: Where to find the Archimedes Annex in Destiny 2
Just like for the first part of the quest line, the mission will ask you to visit the Archimedes Annex, part of Operation: Archimedes early into the Seraph storyline. The Archimedes Annex is located in its own node in the H.E.L.M. Deploy, then finish the mission to unlock the next step—which requires a trip to the EDZ.
Steps two and three: Travel to the EDZ to complete Patrols and kill enemies
After heading to Europa and the Moon, now it’s time to visit the EDZ. Much like other installments of the mission, you’ll have to kill enemies and complete Patrols to wrap up this part of the quest. Thankfully for players, there’s no dearth of Lost Sectors in the EDZ, so they have plenty of choices when it comes to finding enemies.
We recommend doing the triad of Trostland Lost Sectors, though, leaving Terminus East for last. Atrium should give you around 20 percent progress, while Widow’s Walk will give you just over 40 percent. The next step of the quest points you to Terminus East anyway, so you can rack up the remaining kills there. Terminus East gives you roughly 48 percent progress, so if you’re at 52 percent or above, you can wrap up your quest there.
Step four: Locate the Dead Drop in the Terminus East Lost Sector (Trostland)
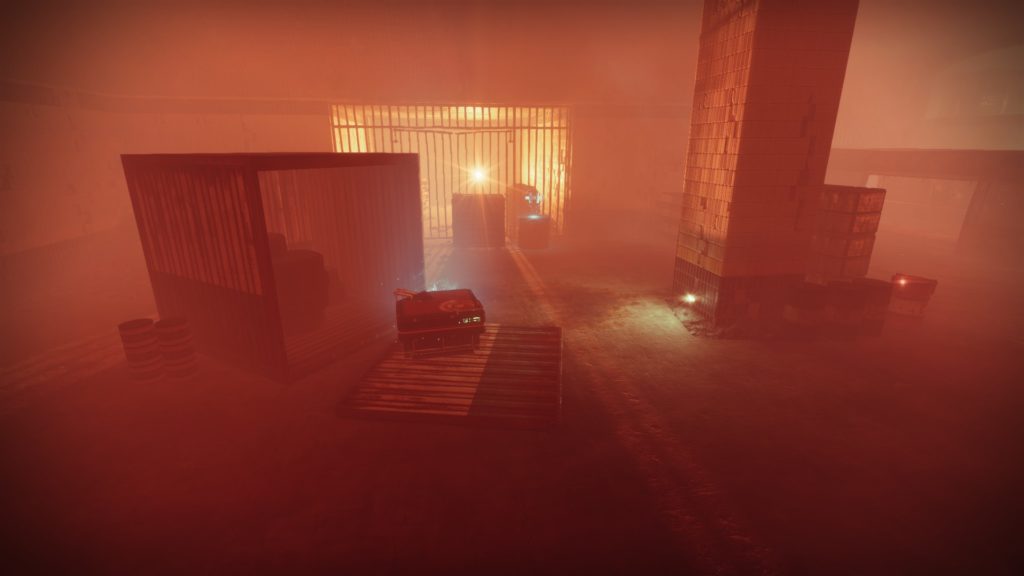
Regardless of how you got the necessary kills, head to the Terminus East Lost Sector—the most hectic in Trostland—to find the Häkke dead drop. The Terminus East Lost Sector is located in the eastern part of Trostland, in a derelict train station. Once inside, clear the Lost Sector and look for the Häkke node on the right side of the Lost Sector chest, close to a grate. Once you interact with it, it should explode (Mission: Impossible sends its regards) and send you on your next assignment.
Step five: Where to find the third weapon schematic (Dead Exo) in Operation: Seraph’s Shield on Legend
After you’ve found the dead drop, it’s time for the complicated part of every Should You Choose to Accept It mission. You’ll need to find another weapon schematic in the Legend version of Operation: Seraph’s Shield, which is located in a Dead Exo somewhere in the mission.




The third weapon schematic is in the boss room where you fight Haroktha, Scourge of the Helium Drinkers for the first time (when it summons the aid of House Salvation’s shockingly annoying Brigs). Before starting the encounter, head to the right of the entrance to find this Dead Exo hidden in a hallway that serves as an enemy spawn. If you’re having trouble finding it, you can always step into the area where Haroktha spawns and look for it on your left.

