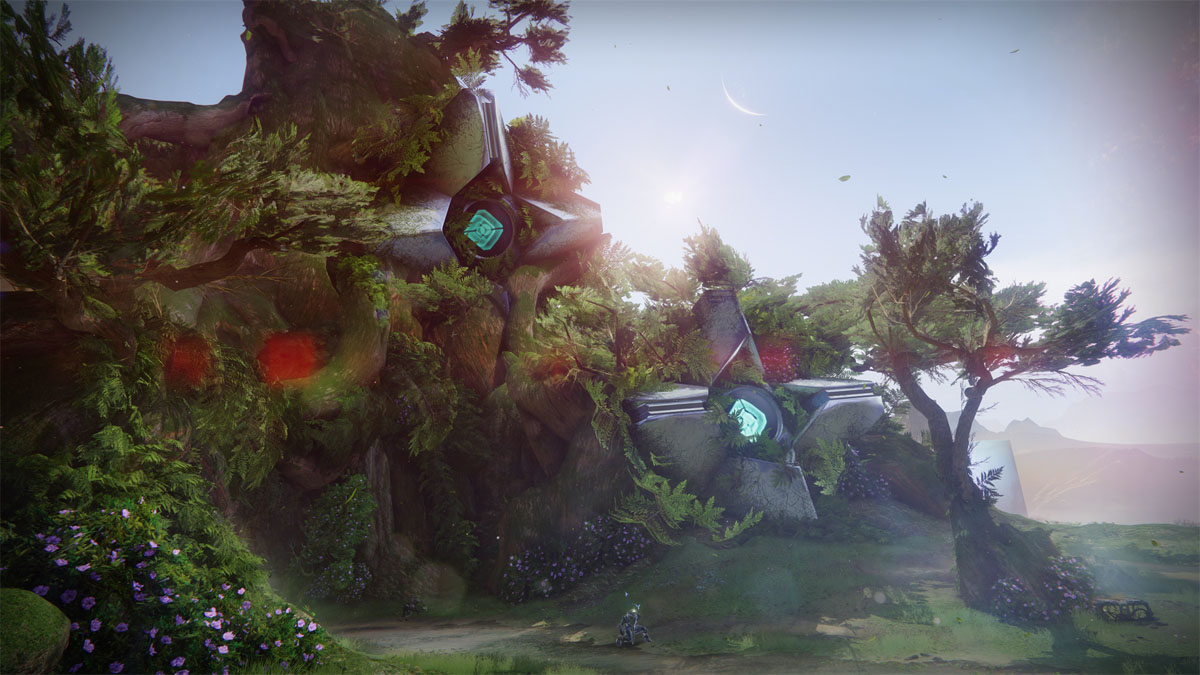
There’s plenty to see and do in Destiny 2 The Final Shape after completing the campaign, with the Pale Heart now open for exploration. One option you may want to consider is the Alone in the Dark questline, which sends you to find some Lost Ghosts who need a little TLC.
You’ll be working with Micah who guides you part of the way, but for each of these quests, you have to do some work yourself to find the Ghost and set them straight. Here’s how to complete the Alone in the Dark quest in Destiny 2 The Final Shape.
Completing the Alone in the Dark quest in Destiny 2’s The Final Shape, a guide
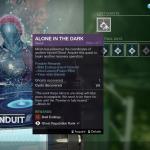

To begin the Alone in the Dark quest, you must have finished The Final Shape main campaign and its follow-up quest, Convalescence Rootbound. Head to Micah’s Conduit to start Alone in the Dark. Micah tells you about a lost Ghost and its approximate whereabouts—it’s up to you to find the Ghost and restore it with Light.
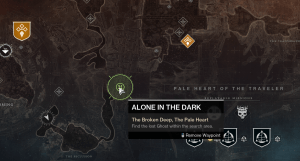
A marker appears on your map with the Ghost’s last known location once you accept the quest. You can view this location via the Destinations screen.
Step one: Head to the marked landing zone and find the lost Ghost
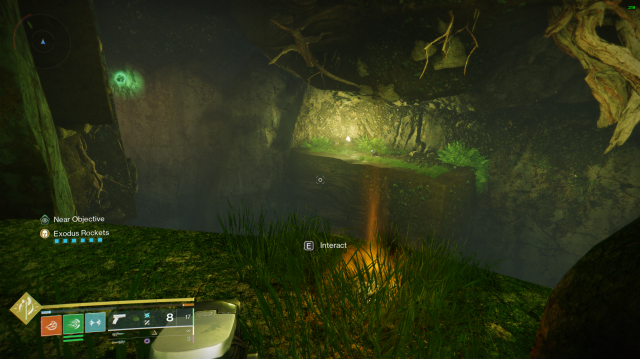
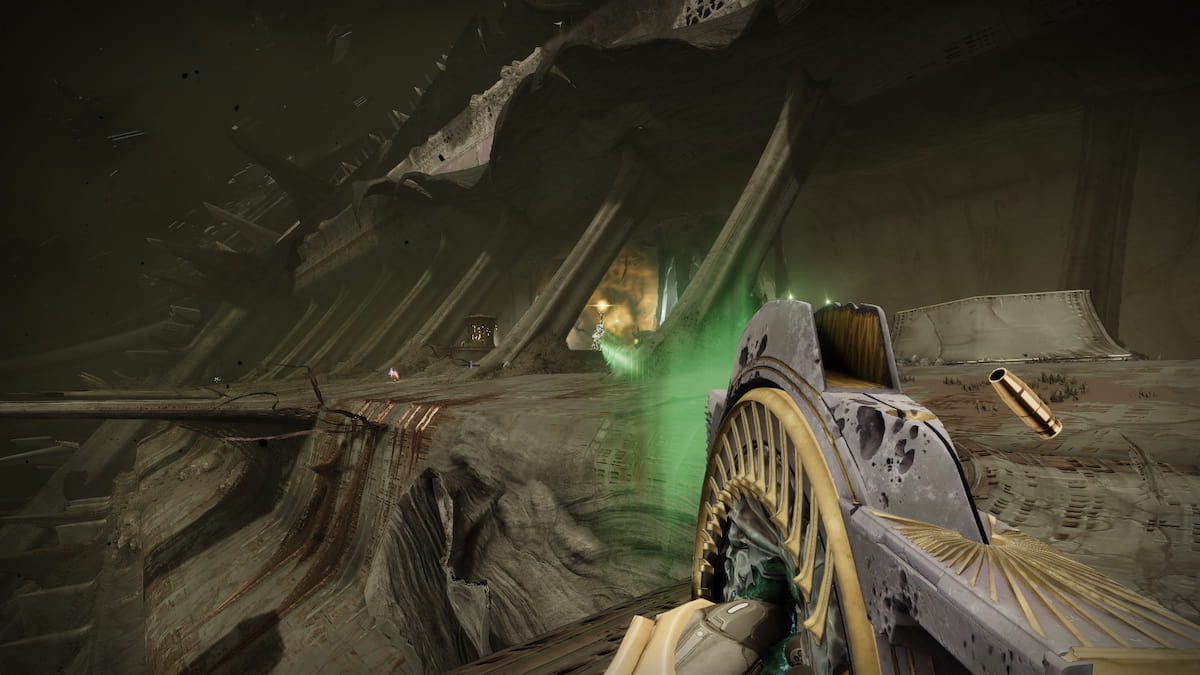
Once you land in the zone, head to the last known location of the Ghost by following the objective marker. In all cases you’ll need to head into the nearest Lost Sector to find the Ghost. When you get close to the Ghost, the quest marker disappears and a Near Objective message appears on the left.
You need to do some snooping around on your own to find the Ghost. Refer to the image above to see what the Ghost looks like—it has an orange Darkness glow to it. Grab it, then head back outside.
Step two: Complete Overthrow activities and open chests
Head back to the main zone where you landed and complete Overthrow activities. You need to open Overthrow chests—look for the Public Event icons and complete each mini-activity to gain as much progress on the current level of Overthrow as possible.
In most cases, I needed to reach level three Overthrow and complete one or two more activities to tick off this step. You don’t have to defeat the final Overthrow boss here, just as long as you do enough to satisfy the quest step.
Step three: Fight the infection in a nearby Cyst
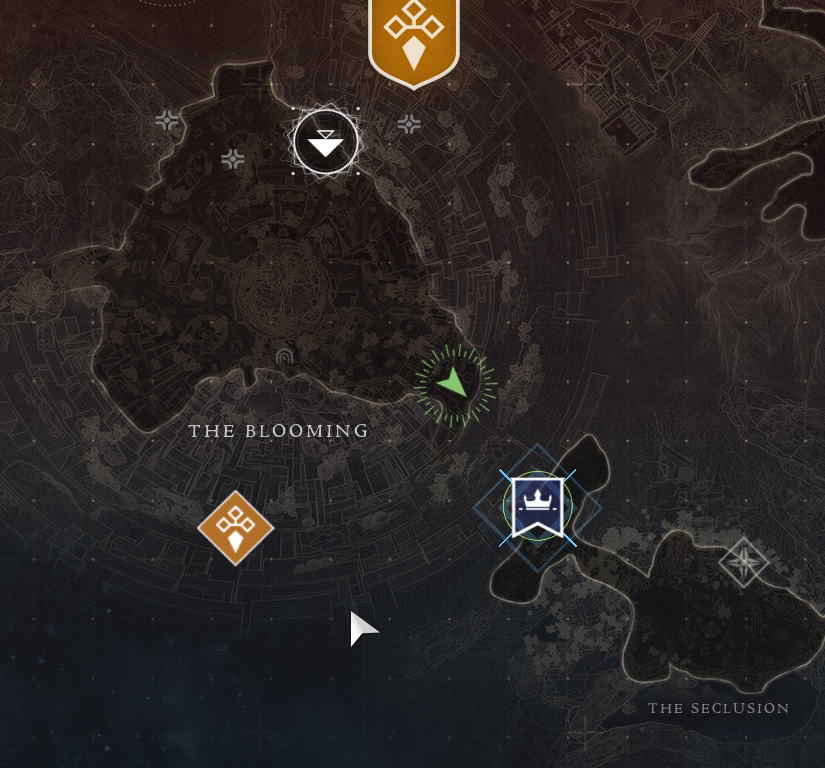
After you’ve done enough Overthrow, you’ll be sent to a nearby Cyst. You have to enter the Cyst by following the Traveler Bird into the nearby zone, inside of which there’s an objective. Below is a list of each Cyst, its rough location, and the objective you need to complete inside.
| Cyst | Location in the Pale Heart | Objective |
|---|---|---|
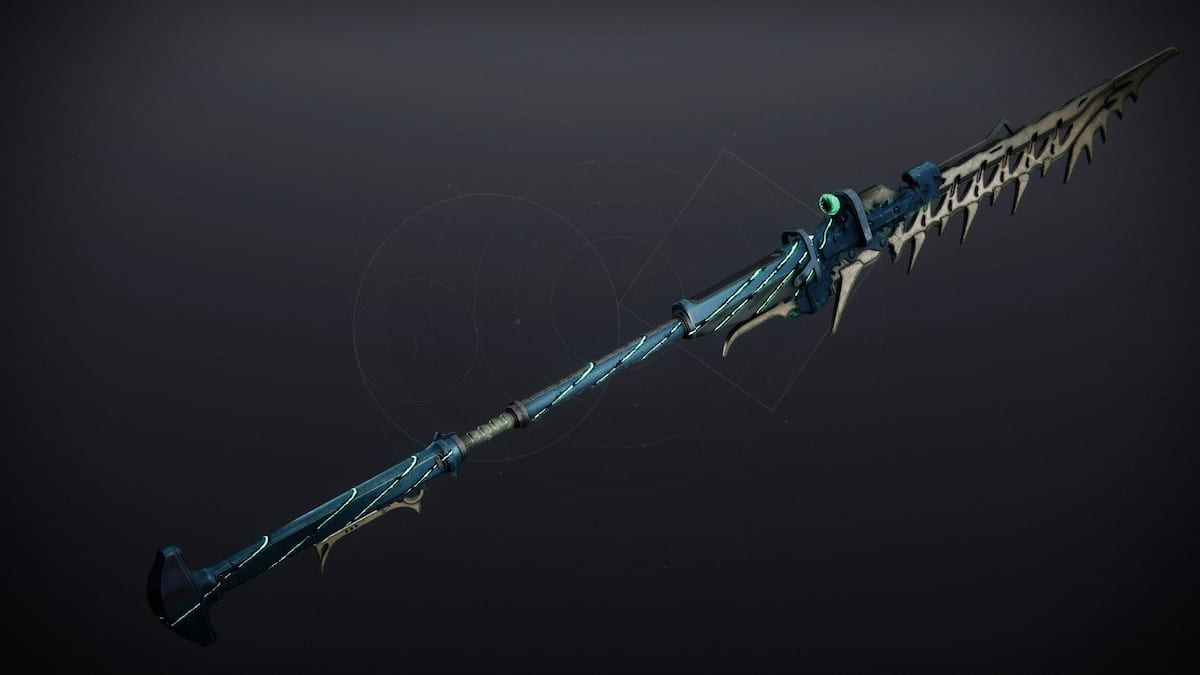
| Sword Dance | The Refraction | Defeat three Hive Guardians using a Hive sword found within the Cyst. |
| Searing Light | The Seclusion | Break three crystals while avoiding the Watcher’s heat gaze, then defeat the Awoken Hive Knight. |
| Aerial Ace | The Transgression | Destroy the Taken Blights and bring down the Taken Wizard without touching the lava below. |
| Moth-Infested Cavern | The Landing | Clear out the cavern of Lucent Moths and defeat the two Hive Guardians within. |
| Slayer | The Blooming | Kill the Hive Guardians, then use the orb spawned nearby to bring down the Ogre’s shield. |
| Smothering Kindness | The Impasse | Destroy the Taken Blights while cursed with the Weight of Darkness (cannot jump or sprint), then defeat the boss. |
Step four: Return to Micah’s Conduit in the Arbor
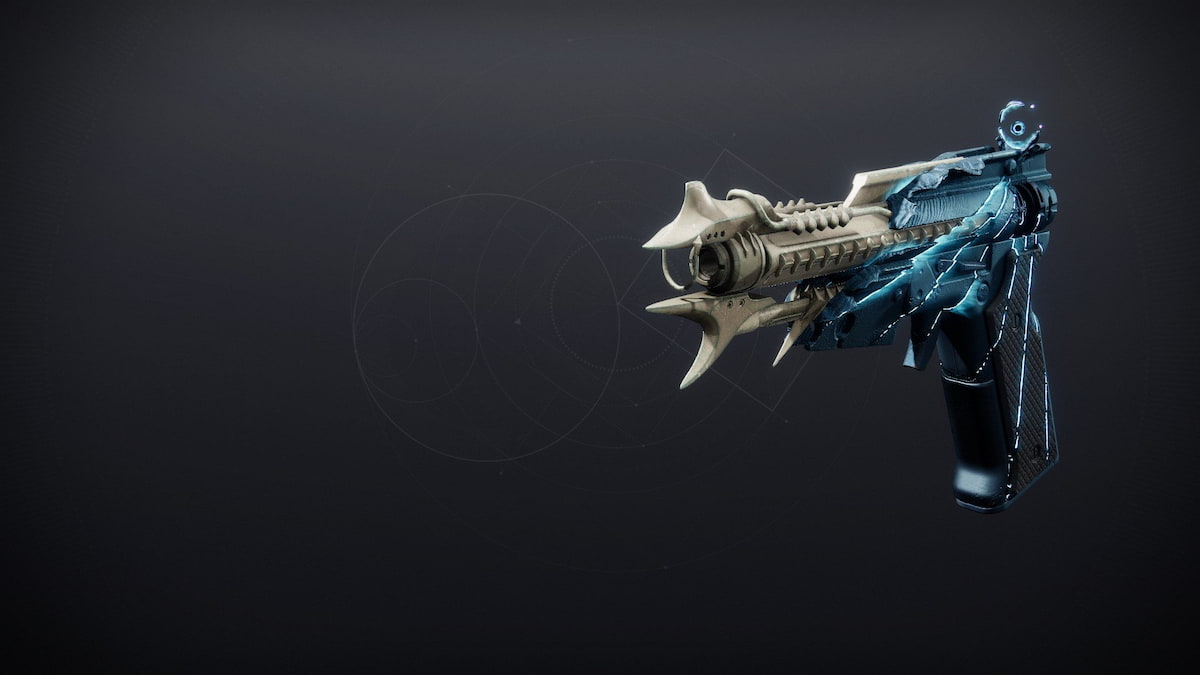
Once you clear out the Cyst and restore Light to the Ghost, head back to the Arbor in the Lost City and speak to Micah at the Conduit again to complete the quest and receive a Lost City weapon. Completing this quest for the first time awards a weapon with Deepsight, meaning you’ll be able to add progress to your required count to unlock the weapon’s pattern and craft it at The Enclave.


Published: Jun 6, 2024 07:33 am