When you enter Destiny 2’s newest dungeon in Season of the Wish, Warlord’s Ruin, the first boss that you’ll face down is Rathil, the First Broken Knight of Fikrul. While not as mechanically complex as the later fights, there’s still plenty you need to keep on top of to survive.
It is in this first encounter against Rathil that players will learn about three of the key dungeon mechanics: the Imminent Wish timer, Naeem’s Wish Empowerment, and cleansable Scorn Totems. Each of these components works in synergy with one another, and to beat Rathil, you’ll need to get a solid grasp on how each of these mechanics interacts.
It’s a worthy endeavor if you’re in it for the loot, as the first encounter of Warlord’s Ruin drops some of the most sought-after weaponry available in the dungeon. That includes Indebted Kindness, the new Arc Sidearm which belongs to a brand new archetype—the Rocket-Assisted Frame. You can also get your hands on the Dragoncult Sickle Sword as well as the Vengeful Whisper Bow from this boss. Best of all, Warlord’s Ruin is farmable, which means that you can run this encounter multiple times per week and still get new drops.
Whether it’s your first time exploring the depths of the Dark Age castle, or in need of some clarification on how this encounter works, here’s our guide on how to take down Rathil in the first encounter of the Warlord’s Ruin dungeon.
How to defeat Rathil in the Warlord’s Ruin dungeon in Destiny 2
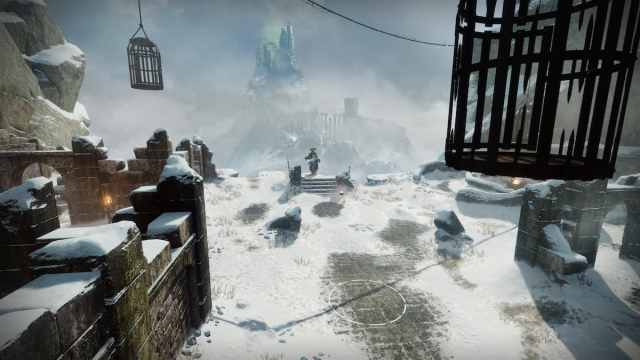
When the first encounter starts, Rathil will spawn in multiple groups of minor Scorn combatants. If you’re in a fireteam of three, these will be easy pickings—however, be aware that more powerful enemies will start to spawn deeper into the fight. Your primary objective in this opening gambit is to survive, as you don’t need to do anything else until Rathil begins to conjure a hex.
Setting up for the damage phase
After about 15 to 20 seconds, a timer will appear on the bottom left of your screen that reads “Imminent Wish” with 30 seconds remaining. After this pops up, all players in the fireteam are transported into small cages that are hanging above the arena, and those cages will steadily begin to rise. Guardians have just under 15 seconds to break free from this cage, or they will be killed. To break free, players must look for three Blighted Eyes that have spawned around their cage. Once all three have been destroyed, the cage will open and the player can jump back down into the boss arena.

If you are playing with a group, you can help out other players who might have missed one of their Blighted Eyes by shooting across toward their cage. Your freedom should always be the priority, but there’s no harm in assisting your allies if it will save you from having to revive them once you’re back down on the ground.
Depending on how quickly you were able to break free from the cage, you might have anywhere from 20 to 10 seconds left on the Imminent Wish timer once you’re back in the arena. In the time that you were imprisoned, Rathil will have summoned one or two Blight-infested Scorn Totems that will have a visible radius around them. Standing within this radius will begin a process of cleansing the Totem, and the Totem will be fully cleansed once the Taken Blight sphere in the center of it has been destroyed and replaced by a blue Awoken glow.


To access the damage phase, at least one of these Totems will need to have been cleansed before the Imminent Wish timer reaches zero. If players fail to do this, they will need to start from the beginning again. If you cleanse at least one Totem, you will receive the “Naeem’s Wish Empowerment” buff, which will make Rathil’s hex backfire and leave him vulnerable to damage for a brief window of time.
Dealing damage to Rathil
If players successfully cleanse one Totem, they will be granted 15 seconds of Naeem’s Wish Empowerment. In other words, the buff explicitly states how long of a damage window you have to hit the boss in. The more Scorn Totems that you manage to cleanse, the longer the buff lasts and the more damage you’ll be able to deal to Rathil before the whole process starts over again. Repeat the cycle until Rathil is dead and you will have completed the first encounter of the Warlord’s Ruin dungeon.
This is a close-quarters battle from start to finish. When it comes to loadout recommendations, Well of Radiance, Banner of War, and other similar options are going to be your best bet. If you are running with a group, having one player with a Tractor Cannon equipped can make the fight significantly faster thanks to the potent debuff it can apply to Rathil. Otherwise, Swords such as The Lament and Falling Guillotine can be a great weapon pick for a quick encounter completion. However, there’s no greater damage dealer in the Guardian’s arsenal than Legend of Acrius—if you have the Exotic Catalyst for it, of course.
Freeing yourself from the prison

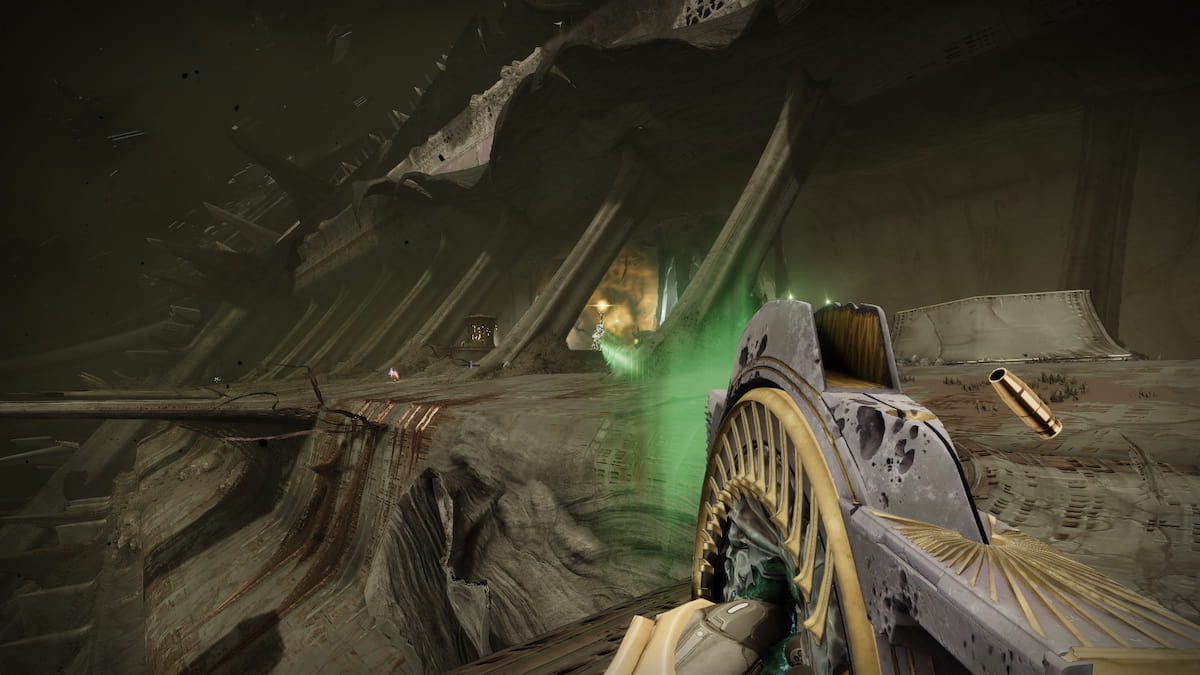
Unfortunately, even after you have defeated Rathil, you aren’t out of the woods yet. After the Scorn Chieftain falls, all players will be teleported into prison cells deep within the castle and they will need to complete a small puzzle to escape. Within the cells will be two sets of tally marks next to the skeletons of two unfortunate prior inmates. Those tally marks indicate what percentage of six mechanical locks hidden throughout the prison area need to be made to spin clockwise and counterclockwise respectively—the white marks indicate how many go clockwise, while the orange marks indicate how many go counterclockwise.
Shooting the mechanical locks through the bars of your cage will toggle them on and off. Keep shooting them until they are spinning in the direction you need them to match the pattern laid out by the tally marks. It’s important to keep in mind that the tally marks will change every single run, so the solution won’t be the same every time. Once all six mechanical locks are spinning in the correct direction, shoot the flashing lever located on one of the walls to open the cell doors.
Once you’re out, you’re free to collect your loot from Rathil and head toward the second encounter of the dungeon.











Published: Dec 1, 2023 07:55 pm