Content Warning is an obsession among social horror game fans. It looks perfect for fans of Lethal Company, since it also tasks you with exploring dark and scary places with friends while facing deadly creatures for digital change—and it’s even better with mods.
There are mods for Content Warning that will improve your overall experience, let you play with more friends, or just get into matches a bit faster. To use any of them, you need to install BepInEx so the mods are compatible with the game. I’ve tested all the mods and can confirm they’re all working at the time of writing.
Best Content Warning mods to install today

Before you say, “hey, Virality isn’t on your list!”—that’s on purpose. Right now, the Content Warning developers put a cap on lobby sizes from the server end, blocking modders from expanding the number of players in a single game. This means, for now, Virality and similar mods that adjust lobby sizes can’t be used. However, the developers have mentioned they plan to open up support for lobby size mods again once the servers are running more smoothly.
1) MoreCustomization
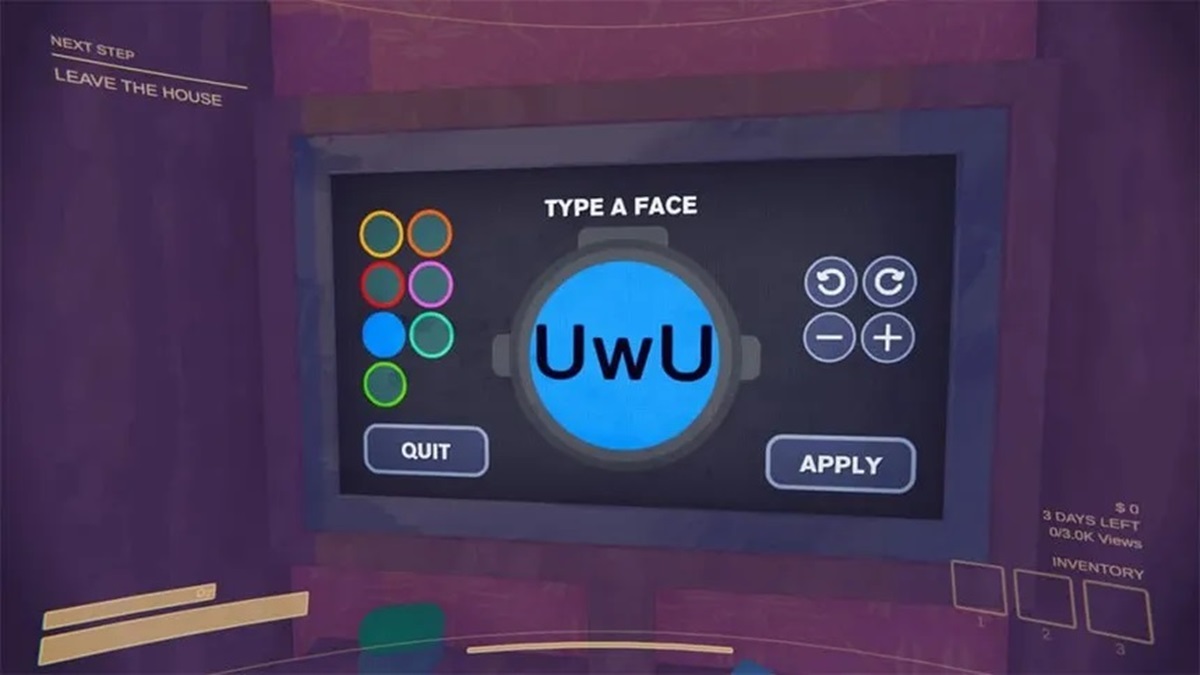
If you want to adjust your Content Warning character’s face with more freedom, MoreCustomization is for you. It lets you add up to 128 characters and adjust their size indefinitely, making your new and improved face the best it can be. It requires every player in the lobby to have the mod installed to see it properly, and it also requires BepInEx LTS 5.4.22 to run.
2) Longer Sprinting
I’m the number one hater of stamina in any game, so installing Longer Sprinting was a must for me. This mod allows you to regenerate stamina faster and depletes it slower when you’re sprinting, enabling you to run around longer and more often. Some might say this is cheating, as it also makes running away from monsters a bit easier, but I don’t mind.
3) Infinite Camera
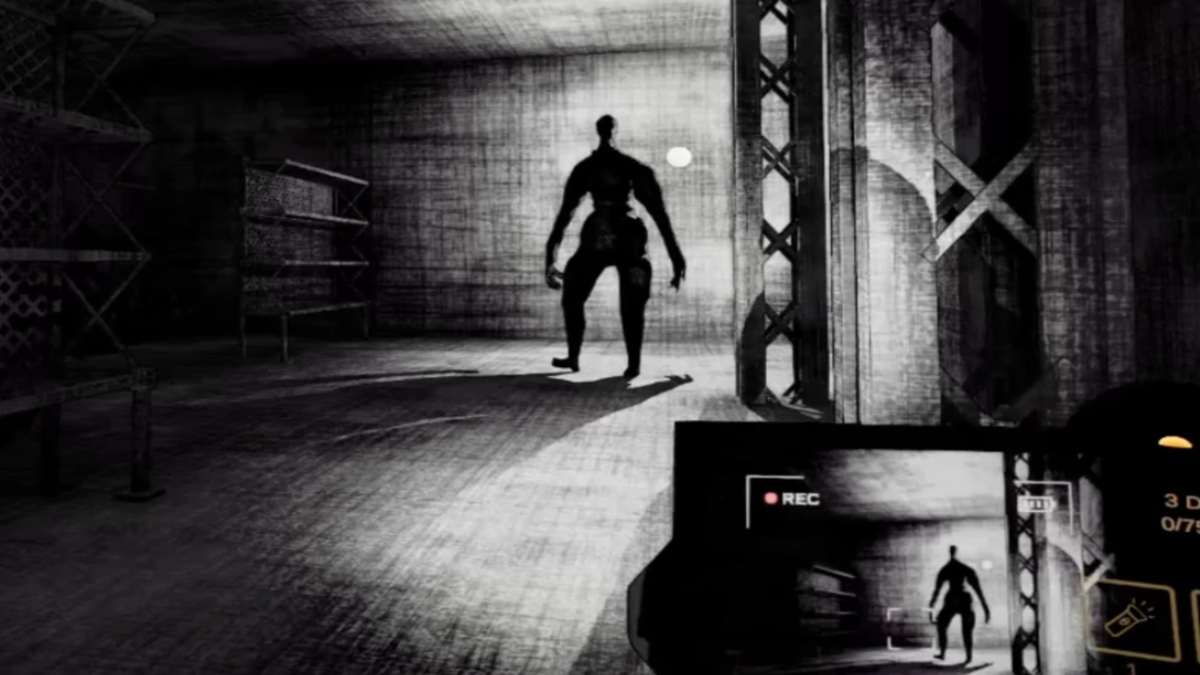
Infinite Camera lets your camera record forever, as long as your match lasts. Is it technically cheating? Well, yes, but it also opens up new creative options for you and your friends, especially if you want to make a video to share with others later.
4) More Colors
More Colors extends the standard set of colors for your Content Warning face to a whopping 54 colors. You can also choose to apply your face color to your suit, further customizing your character. The additional requirement to run it is having CommanderCat101’s ContentSettings installed along with BepInEx.

5) CWMouseWheel
A great feature missing from Content Warning is the ability to use your mouse scroll wheel to switch between items in your inventory. Luckily, the CWMouseWheel mod adds this feature, moving the camera zoom function to the Z key. It’s a small change, but it’s one of the best improvements for your experience, especially if you often play first-person games where the scroll wheel is used frequently.
6) CustomVideoSaveLocation
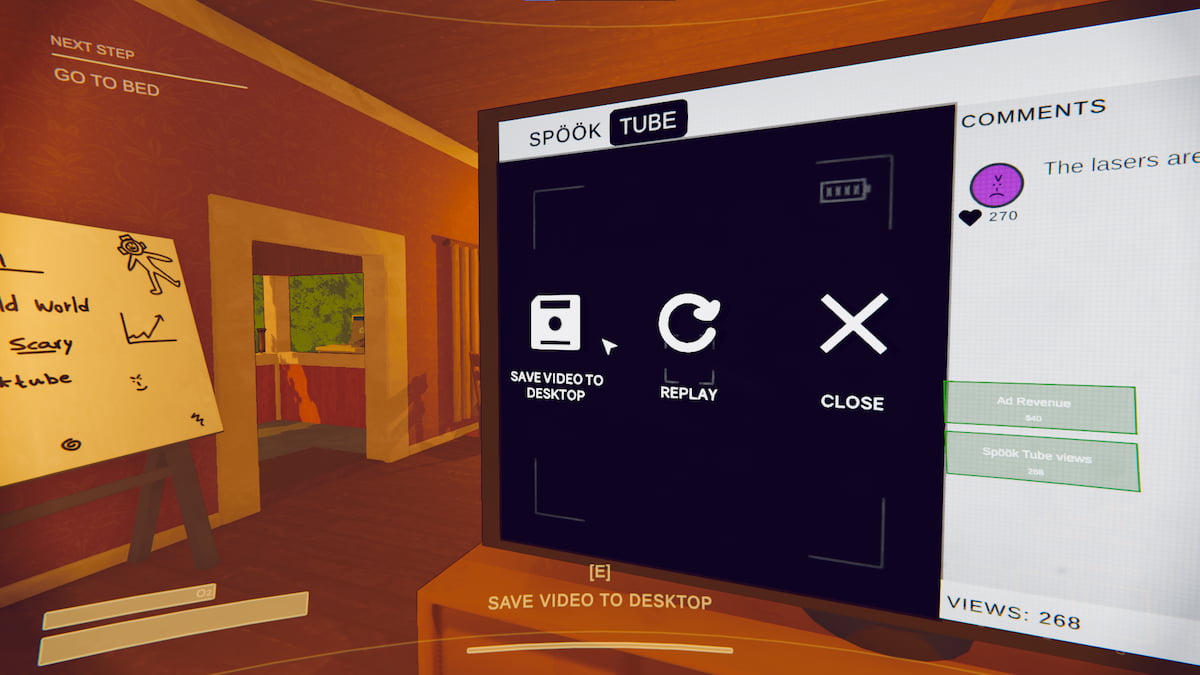
If you’re fed up with searching for your saved videos on your desktop, this mod is for you. It allows you to choose any folder on your computer to save the game recordings, eliminating the default “save to desktop” setting. To use it, you’ll need the BepInEx Configuration Manager as an additional plugin.
7) BetterLobby
If you’re looking for a more managed game lobby, BetterLobby lets you invite your friends to a game first and then open it up to random players. It also allows late joins if someone leaves during the game. This gives you more control over who’s in your lobby, ensuring your friends can play while still filling all the spots needed for the game.
8) Skip Intro Screen
A small utility mod that lets you skip the Content Warning intro screen faster by pressing Escape, which according to the mod developer, should save you about three seconds. If you really feel like you can’t waste this time, this mod is for you.
9) Flashcard
To make your recordings in Content Warning look better and more professional, you can download Flashcard so that you have extra settings to tweak on your camera. You can change the video frame rate, bit rate, and even spawn a second camera at the start for extra angles. It’s also another great tool if you’re looking to share your spooky recordings in the real world.
10) MakeMeRagdoll
Yet another great mod to make content with. MakeMeRagdoll makes your character fall flat on the ground just like a ragdoll, simply because you can. Play dead, do some weird ragdoll dance, or simply use it to do some funny moves on camera for extra virality.
11) UI Tweaks
If you want total immersion in Content Warning, you should download UI Tweaks. It lets you hide the entire interface inside the game, leaving you with only with what your character can see, and sound cues to let you know when you’re running out of stamina or oxygen. You can use it as a challenge mode where you have to track your stats and camera film yourself, instead of relying on the interface to tell you.
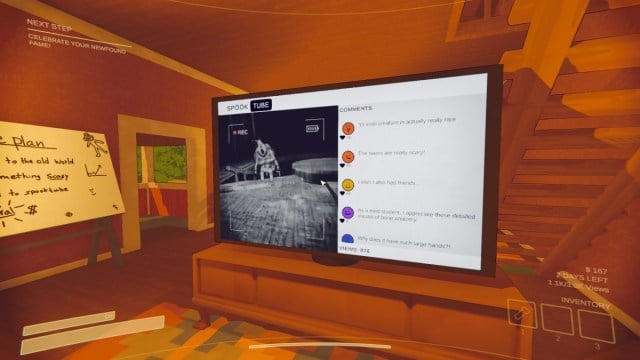
12) More Comments
Comments on your Content Warning videos can get boring after a while, so the More Comments mod will give more life to them on Spooktube. While it doesn’t change gameplay, it’s nice to give the game some added immersion, especially if you have been playing it for a while and have seen every comment a thousand times.
13) VolumeBooster
You can adjust Content Warning’s sound to be up to 30 times louder than the default using VolumeBooster. It’s especially useful so you can hear your friends if they’re too far from you, which makes their voices considerably hard to hear. It should also allow you to hear monsters more clearly and earlier than you would otherwise, so you could consider this mod cheating. But hey, it’s a casual co-op game, so do whatever you feel like. No judgement.
How to install mods in Content Warning
The easiest way to install Content Warning mods today is by downloading the Thunderstore Mod Manager from Overwolf, then downloading each mod from their Thunderstore page by clicking Install with Mod Manager.
Alternatively, you can download and install mods one by one, following the process below:
- If Content Warning is open, close it.
- Download and install BepInEx, which will create a plugins folder in your Content Warning folder.
- Visit the Thunderstore page of the mod you want to use
- Choose Manual Download to get the mod files.
- Move or extract these files into the plugins folder created by BepInEx.
- Run Content Warning and enjoy your mods, following any instructions they come with.
Where to find more Content Warning mods
You can find more mods for Content Warning in the game’s modding Discord server or on Thunderstore, where modders are starting to set up their mod libraries.





Published: May 6, 2024 09:45 am