Zombies is back with a vengeance in Black Ops 6, and there are two maps to battle your way through. For those looking for a more classic experience on a smaller map, Liberty Falls is the one to choose—and we can direct you to the Pack-a-Punch machine.
Grinding Zombies in Black Ops 6 is a great way to earn experience without sweating through multiplayer, and has the added bonus of having a bunch of exclusive camos you can earn to flaunt to your friends or opposition players.
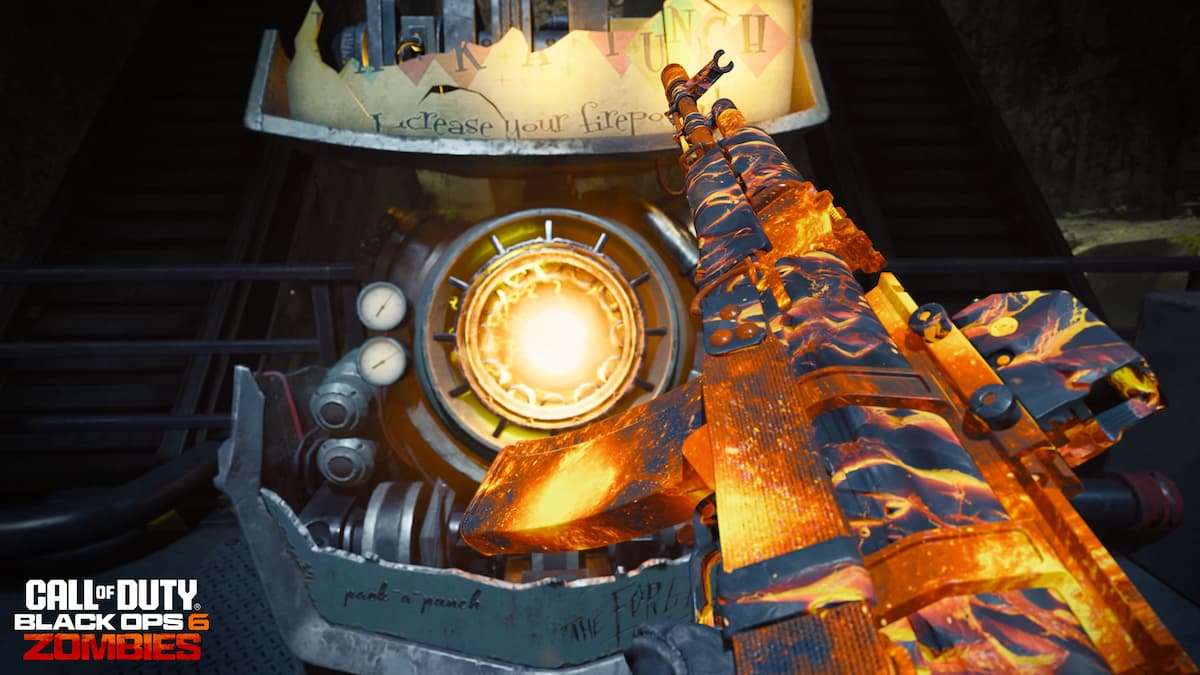
Survival in Zombies isn’t easy without making use of the Pack-a-Punch machine, however, and we’ve detailed the routes to take to reach it in our guide below.
Black Ops 6 Liberty Falls Pack-a-Punch location
The Pack-a-Punch Machine in Liberty Falls is located inside the Hilltop Church. It’s found at the back of the church, which is where you’d usually find a priest doing a ceremony if it wasn’t for the flesh-hungry zombies that have invaded.
There are two paths leading to the Pack-a-Punch Machine in Liberty Falls, and the choice of which one to take is up to you. However, I recommend using the left-hand side route starting with the unlockable doors by the Motel if you want Pack-a-Punch quickly, as this is the most direct route. A step-by-step guide is below:
- Directly from spawn, open the locked doors beneath the Motel.
- Open the next set of locked doors to Liberty Lanes, the bowling lanes.
- The final set of locked doors lead into the Church directly.
- Head to the back of the church to purchase Pack-a-Punch.
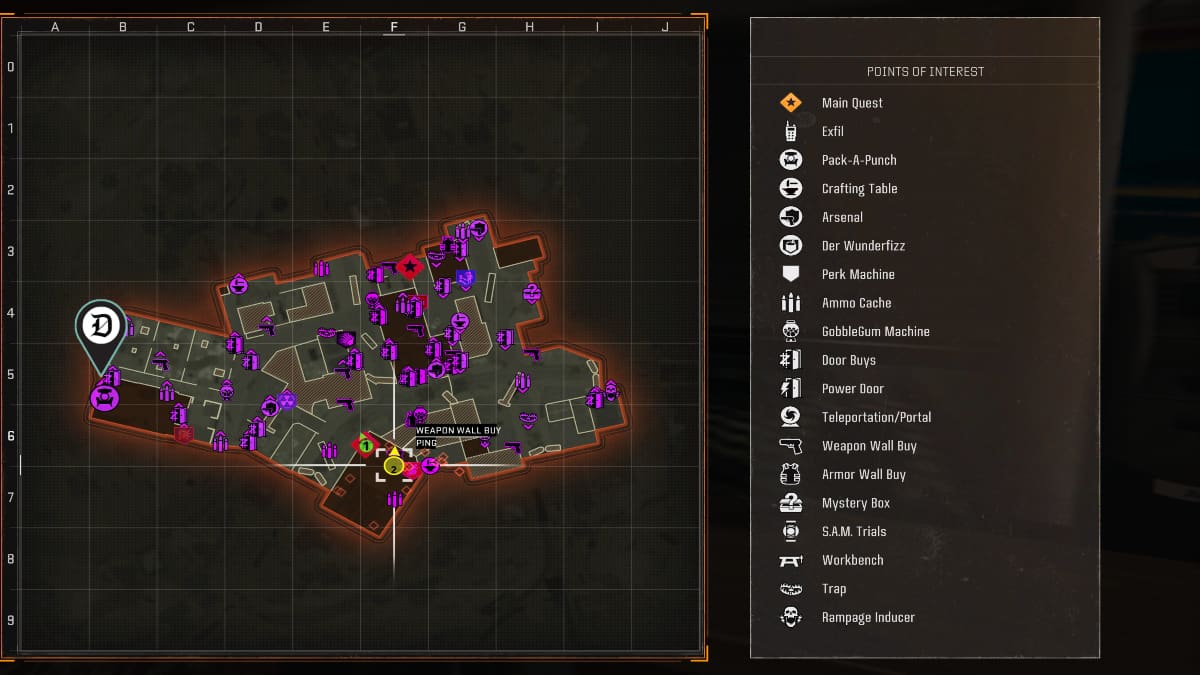
While the right-side route is longer, it does provide early access to vital Perks like Juggernog and Speed Cola. If you choose to go down this route, follow these steps. Either way, I recommend opening as many of the blocked doors as possible to help you escape in later rounds.
- Unlock the first locked barrier between the Ice Cream and the Fast-Forward shop.
- Head around Olly’s Shop and unlock the next blocked path in front of you.
- Turn left past the Crafting Bench ahead of you, then unlock the next blocked path.
- Follow the edge of the Church around to find the main entrance, then unlock it.
- Head to the back of the church to purchase Pack-a-Punch.
All Pack-a-Punch prices in Black Ops 6
There are no changes to the cost of Pack-a-Punch in Black Ops 6, with the price remaining the same as it has been. As you’d expect, each tier of Pack-a-Punch costs an increased amount. We’ve got them listed below.
- First Pack-a-Punch: 5,000 Points
- Second Pack-a-Punch: 15,000 Points
- Third Pack-a-Punch: 30,000 Points
The points cost is based on the level of the gun you have, so it will cost 5,000 Points each for the first level of Pack-a-Punch for two weapons. I recommend using the Pack-a-Punch on two weapons before purchasing a second Pack-a-Punch upgrade, as this will help you clear rounds if one weapon runs out of ammo.




Published: Oct 24, 2024 11:27 am