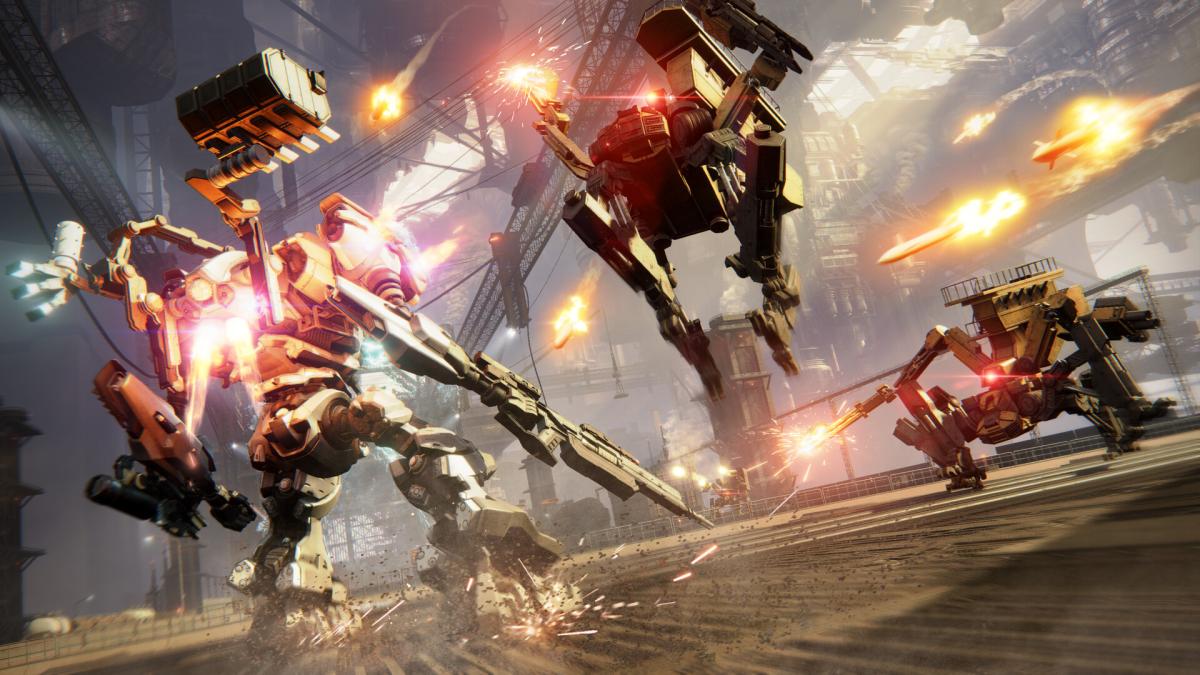
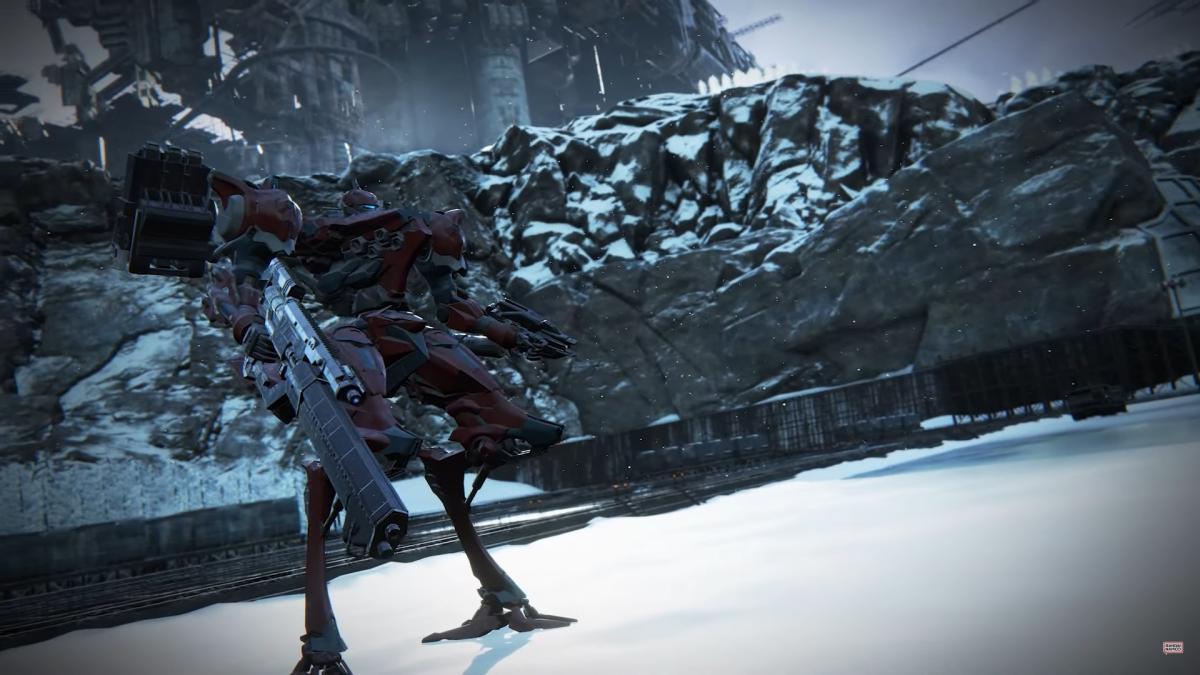
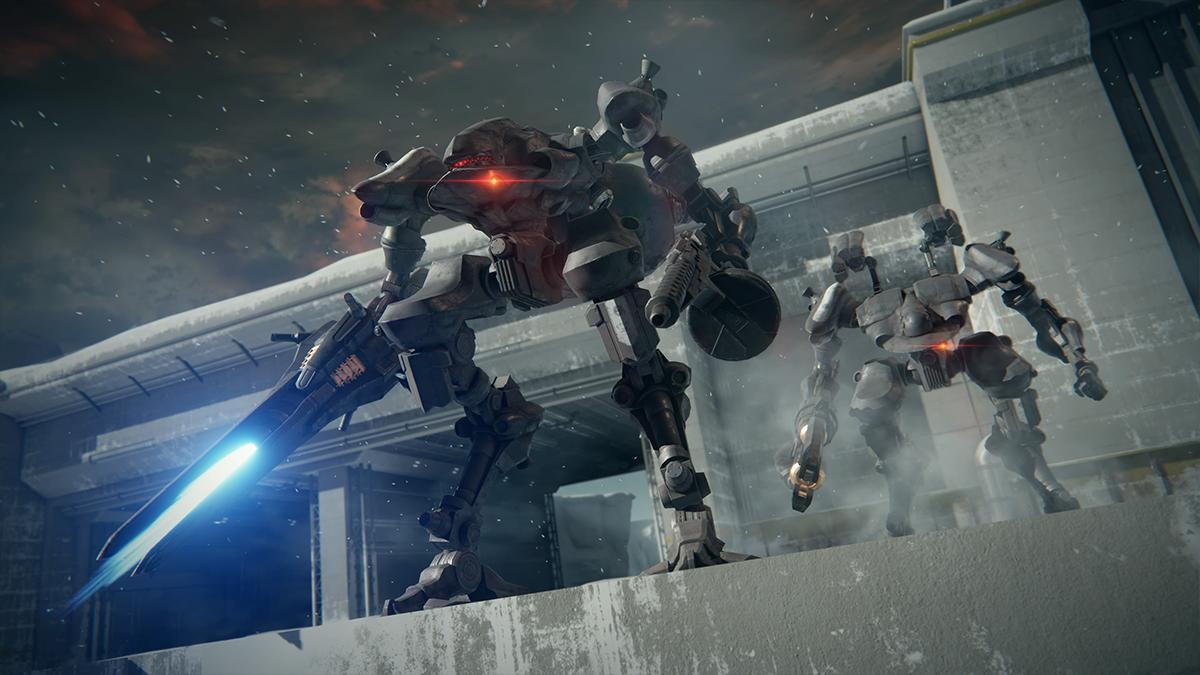
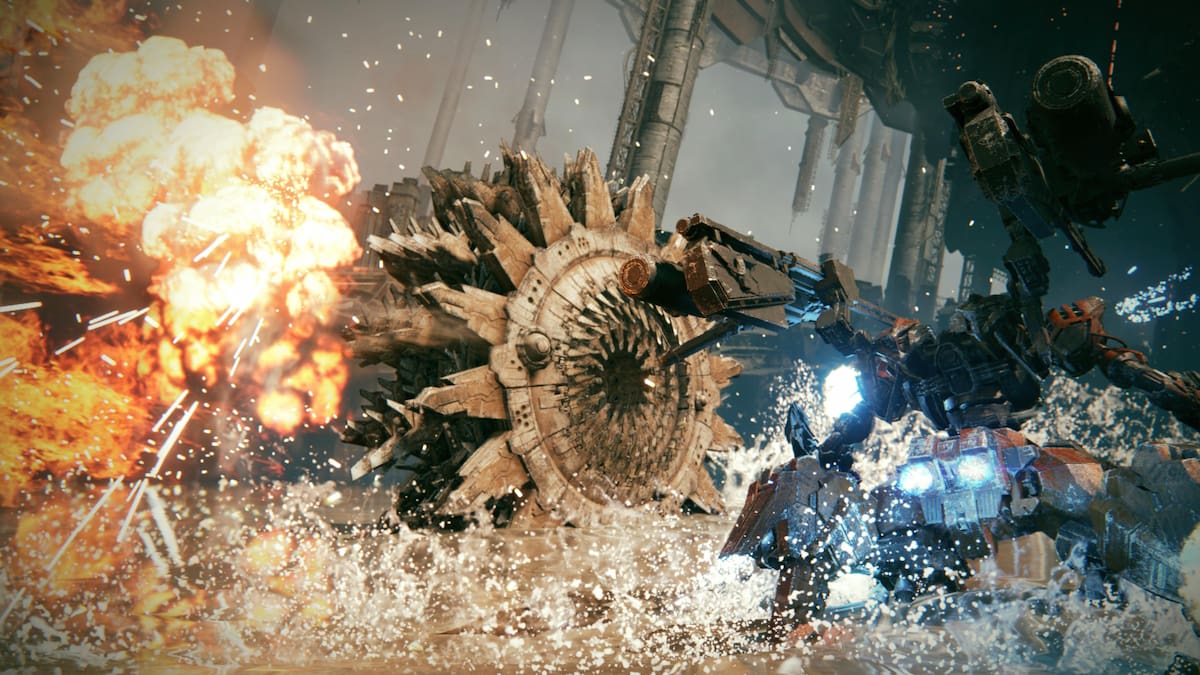
Firepower may be what you’re most concerned with when customizing your mech in Armored Core 6, but fashion is just as important.
It’s not enough to equip the strongest weapons in order to tackle the merciless hellscape of Rubicon. No, you also need to look the look. Whether you’re looking to be subtle, flashy, or equip military camo, here’s a quick and easy guide to build your AC the way that you want.
How to change your aesthetic design in AC6
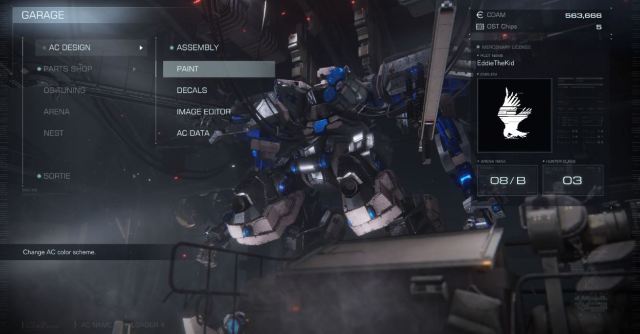
To change the design and look of your AC6 mech, the first thing you’ll want to do is assemble your mech. From a visual perspective, the main thing you’ll want to keep in mind is the shape and size of your AC. As such, the core, arms, and legs are namely what you want to be looking at.
Once that’s done, you can move onto painting each part of your AC. You can choose the paint job for each body part and weapon individually or do the same pattern for them all. If you want a quick pattern that looks good, AC6 offers styles in the categories of “Dark,” “Light,” and “Military.” But if you’re the creative type and would prefer making patterns yourselves, you have the option to design your own using RGB values and color wheels—whichever is easiest for you to work with.
On top of colors, you can also change the weathering and reflectiveness of your AC. Weathering will impact how beaten up your AC looks, with the lowest weathering score making it look brand-new like a freshly-bought sports car. Reflectiveness will impact the shininess of your AC.
Once your machine is as colorful (or colorless) as you desire, you can now place some decals. There are plenty of premade ones that are available for use, and even more that you unlock from completing Arena matches. However, you have even more customization options with the image editor, allowing you to create your own decals from scratch.
The image editor is very easy to use. Simply equip the symbols, shapes, letters, or images from the exhaustive list provided and place them at different layers. You have the option of changing each object’s size, color, and arrangement. For example, you can write out a name for your mech, or place a white skull on top of a black circle.
Once you are done creating your decal, you can equip it on your mech. The core is the most obvious place to put it, but if you prefer subtlety, placing it on the shoulder like an arm band could be the way to go.
Of course, don’t forget to go to AC Data and save your machine. You’ll also get the chance to give it a name and share it to other players. Now that you have a visually stunning mech, you can rest comfy in your AC knowing you’re turning heads while you’re shooting theirs off.


Published: Sep 11, 2023 03:09 pm