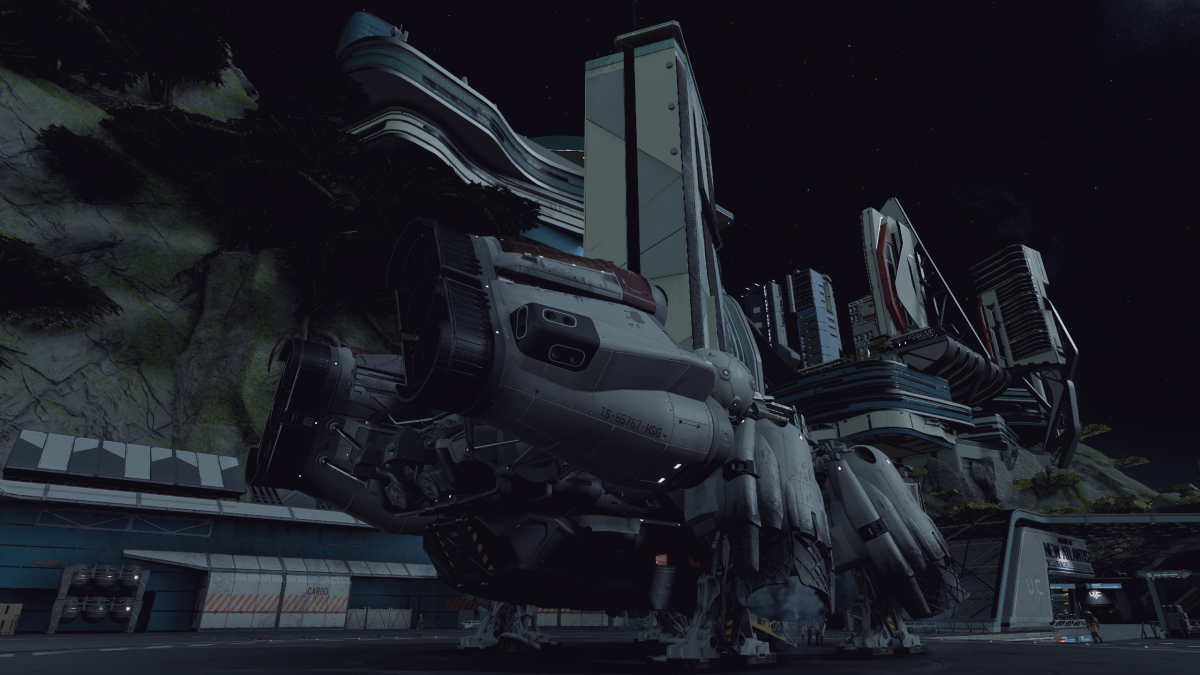
When you’re first introduced to your spaceship’s mechanics in Starfield, you’ll likely have zero idea what’s going on. Unless you’re an experienced space pilot from other games, the systems of your ship may seem like a foreign language.
In particular, I struggled with understanding the different gauges under the “Ship Systems” label when I first flew my ship. There are six gauges you can change, but they’re labeled with a few letters and you likely won’t be sure what increasing or decreasing their values do. In this guide, I will offer a helping hand to make you understand exactly what your Ship Systems gauges mean in Starfield.
What do the Ship Systems gauges do in Starfield?

When you first board the Frontier, you will see six gauges, all labeled with a different shorthand. By pressing a specific keybinding, you can swap between these gauges and increase or decrease their values by adding or subtracting bars from their specific column.
You might have an idea of what some of the columns do, but I will explain what each gauge represents and what you’re doing by changing their value.
- LAS: This stands for “Laser” and on the Frontier, it’s your first weapon slot. You increase or decrease the overall power of your laser weapon when you change the value of this gauge. If you’re fighting a ship or enemy that is susceptible to laser damage, you want to max this gauge out, and vice versa if you’re fighting an enemy that’s strong against laser damage.
- BAL: This stands for “Ballistics,” and on the Frontier, it’s your second weapon slot and uses ballistic damage to attack enemies, which is basically a machine gun. Like the Laser gauge, you can increase or decrease your ballistic damage by changing the gauge’s value.
- MSL: This stands for “Missiles” and on the Frontier, it’s your third weapon slot. As you might have guessed, this slot launches missiles at enemies. You need to lock onto a target before firing your missiles. Increasing or decreasing the gauge alters the power and lock-on time of your missiles.
- ENG: This stands for “Engine,” and is a gauge on every spaceship in Starfield. This gauge directly controls how fast you can go, so increasing it means you can reach a higher top speed. You want to keep this gauge at a median value unless you need to go fast or slow.
- SHD: This stands for “Shields,” and controls your total Shield Capacity on a ship. You generally want this gauge at a high value, as your Shields are your first line of defense.
- GRV: This stands for “Grav Drive,” which controls how fast you can make a jump to another system while in the cockpit of your ship. You need at least one point in this gauge for a jump to be possible. The more points in the gauge, the faster you can make a jump.
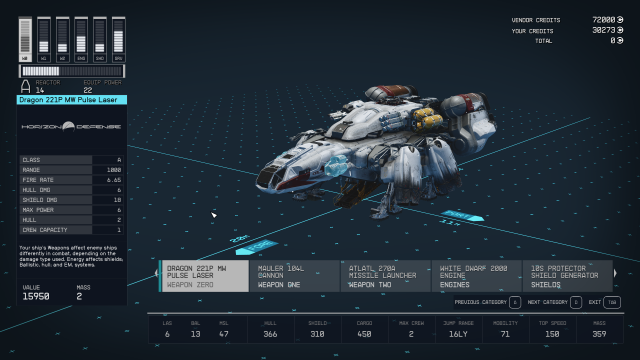
As you customize the Frontier and other ships in Starfield, you might see newly labeled gauges. These will likely represent new weapons, as there are more weapons than the ones available on the Frontier. But with your new understanding of how the Ship System gauges work in Starfield, you should be able to decipher what your new gauges mean.


Published: Sep 1, 2023 01:40 pm