Puzzles are often the most polarizing element of any game, and are in a very unique position—players won’t let them live, but won’t let them die. By this we mean that games, especially RPGs, don’t feel complete without them. Despite that, nobody seems to actually like puzzles. We sort of keep them around specifically to hate them. It’s endearing in a deeply toxic sort of way, and it’s the same in Baldur’s Gate 3.
Part of this issue stems from the fact that a well designed puzzle should frustrate players to an extent. If you’re able to breeze past a puzzle without stopping to think and experiment, then it isn’t really a puzzle at all. On the flip side, a puzzle that is too difficult feels unfair and also no longer like a puzzle, but just some answer to look up.
There is a very specific and difficult-to-obtain middle ground—a tightrope on which the perfect puzzle design walks. While some puzzles in Baldur’s Gate 3 find this balance, many (and we mean many) do not. Still, a perfect puzzle is a rare specimen, so we’re giving some leeway. The three puzzles on this list are not simply frustrating, they are inherently flawed in their design.
Baldur’s Gate 3: Most frustrating puzzles to solve
3) The Moon Puzzle
This puzzle had so much wasted promise that it’s truly a shame it ended up on this list. The Moon Puzzle was very close to being a perfect puzzle, but fell flat simply because it is difficult for too many reasons. That is, it has more than one gimmick.
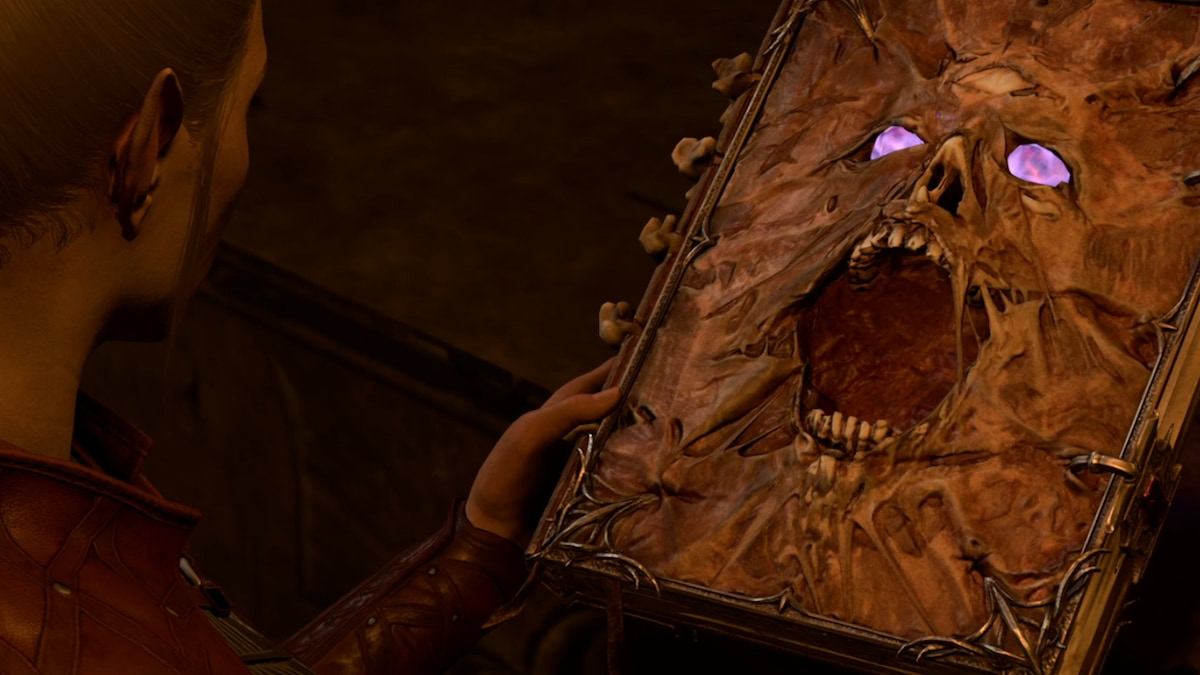
The Moon Puzzle is the key to unlocking the door to the Underdark from the Defiled Temple beneath the Goblin Camp. Players will see five interlocking stone discs on the floor, each with four gem slots that can transfer from one disc to another as discs are rotated. Four of these slots are dark, and the rest are lit up.
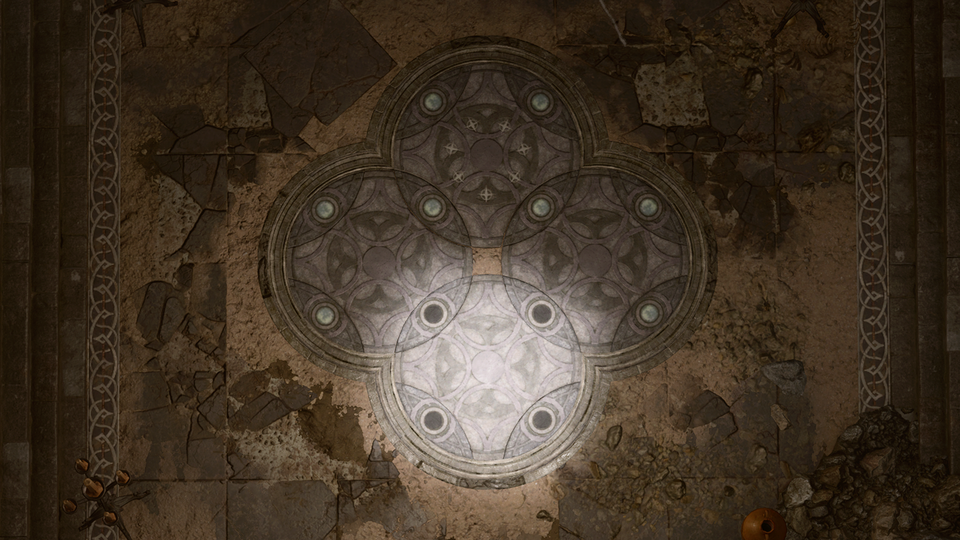
Immediately, it becomes clear that the four dark gems are going to be relevant, so we started tinkering. Moving the gems is fairly challenging, as much like a Rubik’s Cube, it is very easy to get a gem out of the correct place while trying to move another to it’s spot. Algorithms are needed here.
First, we tried moving all the dark gems to the middle disc. It took some trial and error, but we got there. Nothing. Then, we tried moving all the dark gems as far away from one another as possible. Still nothing. Finally, we searched every corner of the room for a clue. Again, a fruitless effort.
Finally, we took to Google. The answer, it turns out, is to move all the dark gems to the bottom circle. Fair enough, but how do you actually figure out that answer? Well, you read it in a cryptic riddle from a book in a completely separate room, of course. This is the issue with the Moon Puzzle that makes it so frustrating—it seems impossible to solve without outside help.
Because actually maneuvering the gems to the bottom disc is tricky enough on its own, the riddle should absolutely be contained in the same room as the puzzle. This way, players would have to decipher a riddle, and then use some brain power to act on it. Because the journal is in such a random location, the first step in solving this riddle is getting lucky and chancing upon the book. Luck should never be an element in a puzzle.
2) The Brain Puzzle
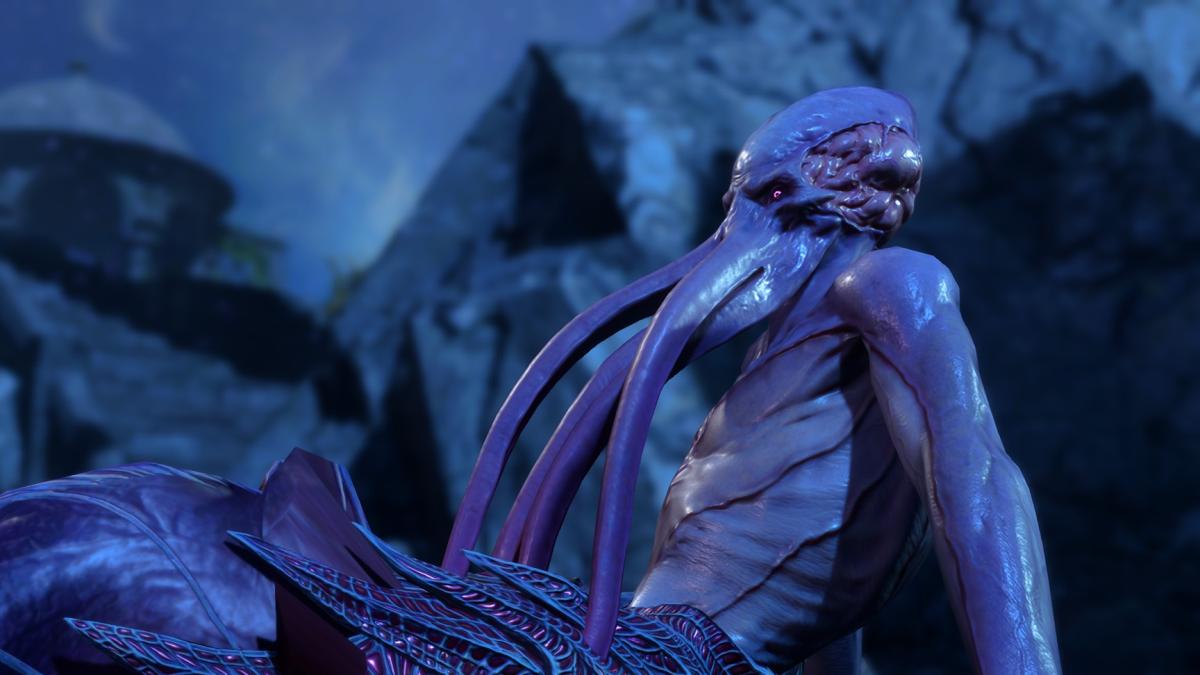
Remember those click bait app store ads that say “90 percent of people fail this puzzle! Can you solve it?” Well, apparently the Mind Flayers remember. In the Necrotic Lab located within the Mind Flayer Colony, players can encounter the Brain Puzzle.
The only redeeming quality here is that it isn’t essential to progress the plot of the game. Players are presented with four starting and ending points—Speed, Memory, Emotion, and Reason. Between the starting and ending points, there are a series of different nodes that can be activated to connect paths from the starting and ending points of the different nodes. However, nodes cannot be shared, and connection paths cannot intersect one another.
The game doesn’t tell you this, of course. You simply must figure out the way the main character of a bad adventure movie figures things out: intuition! If you don’t have cheap writing on your side, you can look up a solution instead. Granted, this isn’t a terribly difficult leap of faith to make, but actually arranging the nodes in the proper formation is so difficult that players will likely be extremely hesitant to actually try their idea out. You’ll essentially be dedicating 20-60 minutes testing out a hunch.
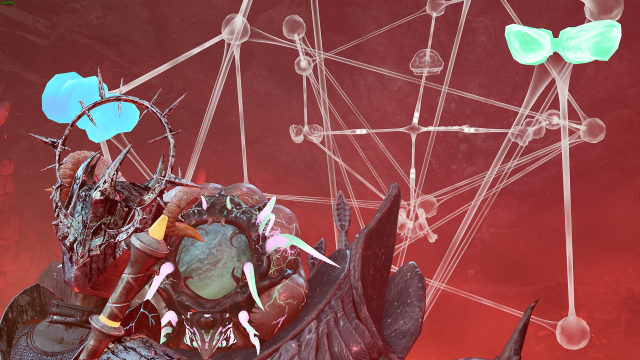
The worst part of this puzzle is that it simply does not work with the camera in Baldur’s Gate 3. This game has a unique camera style that takes some getting used to already. For a puzzle that depends specifically upon looking clearly at theoretical paths through dozens of different possible routes suspended in midair, you can pretty much forget it. One of the hardest parts of this puzzle is getting a decent look at just what the hell is actually going on.
Solving this puzzle not only requires searching online for answers, it also requires tabbing back and forth between the game and a solution guide, as there are an absolutely ridiculous amount of steps to follow. Get one step wrong, and you likely won’t know until later, when suddenly everything is all tangled and you have to start from scratch and hope it doesn’t happen again. This puzzle is really Data Entry Simulator in disguise, only a single typo means you have to restart your shift. It’s one of those puzzles where after you discover the answer, the frustration turns to dread, as you think, “do I really have to do THAT?”
1) The Nightsong Puzzle
This puzzle is frustrating for a simple but great reason—it isn’t a puzzle (and yes, we fact checked that). The Oxford Dictionary defines a puzzle as “a game, toy, or problem designed to test ingenuity or knowledge.” Here’s how the Nightsong Puzzle in Baldur’s Gate 3 works.
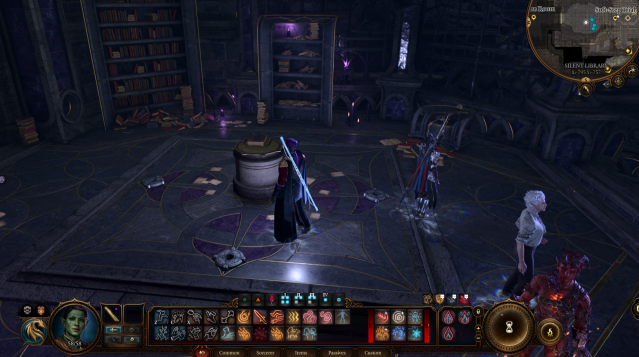
When exploring the crypt in the Cursed Shadow-Lands to seek out the mysterious Nightsong Artifact, players will come to a library that leads to The Gauntlet of Shar. In a fashion that is oddly on brand for the Goddess of Darkness and Loss, The Gauntlet is guarded by a totally random puzzle. For how seriously Shar seems to take herself, she sure does love whimsical challenges.
In this puzzle, players will find a small pedestal that can be activated. Upon doing so, the narrator will say, “What can silence the Nightsong?” and an option to combine an item with the pedestal will appear. Sounds intriguing and well thought out, right? Wrong.
We made the mistake of using our brains on this puzzle, which ended up wasting a ton of time. First off, we thought of maybe trying a light of some sort, since Shar is all about darkness. Maybe a torch? A Moonlantern, perhaps? Nothing. Then, we turned to some darkness related choices, still nothing. Stumped, we decided to look around the room for clues. There are tons of different books titled “Teachings of Loss” with a one word subtitle for each.
We decided to try one of the books, and finally something happened. When a Teachings of Loss book is added to the pedestal, the room fills with Black Tentacles, killing a character or two. Not the desired outcome of course, but clearly these books are on the right track, right? We began trying every different possible order for the books, assuming they had to be added to the pedestal in the correct order. After all, since these actually interact with the pedestal, they must be involved in the solution, right? RIGHT?
Wrong. There is one book and one book only that matters, and it isn’t even in the same room. Leave the puzzle, go to the back left corner, search a random bookcase, and grab Teachings of Loss: The Nightsinger. That book and that book alone will complete the puzzle. Why? Who knows. Why do the other books interact with the pedestal at all? Unclear. Knowledge and ingenuity do not play any part in solving this “puzzle.”
It makes us think of what would happen if, during a Dungeons & Dragons campaign, players became stuck on this puzzle, only it was a Dungeon Master who had created it. Once the players finally give up and ask the DM to just explain it, they say, “Oh, you had to leave the room and search a bookcase to find a specific book (in a library, mind you). Placing that book on the pedestal solves the riddle.”
The players probably respond, “Gotcha, that’s interesting. How were we supposed to figure that out?” At which point, the DM has nothing to say for themselves.
In the other two puzzles on this list, we can at least see where the thought and effort went in, only the execution was off. This puzzle feels like virtually no thought was put into it, and as such no amount of thought can produce a solution.
Others Asked
What aspect of Baldur's Gate 3 do players find particularly challenging?
Avoiding romance with companions is particularly challenging for players in Baldur's Gate 3.

What is one of the main issues players face with Baldur's Gate 3?
Players face an issue where they are unable to save their progress in Baldur's Gate 3.
What problem do players experience in Act 3 of Baldur's Gate 3?
In Act 3, players experience bugs and a dip in game performance, particularly in the densely populated city of Baldur's Gate.


Published: Aug 22, 2023 04:54 pm