Curing a Zombie Villager in Minecraft is rewarding, as it transforms an enemy into a valuable ally. It’s also an essential part of building a trade chamber, since successfully curing a Zombie Villager offers discounts on your trades with every Villager you interact with.
That being said, here’s how to cure a Zombie Villager in Minecraft.
Curing a Zombie Villager in Minecraft
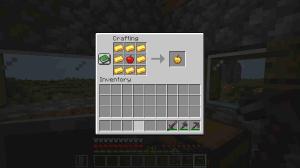
To begin, you’ll need to gather the necessary items: a Splash Potion of Weakness and a Golden Apple. The Splash Potion of Weakness can be brewed by combining a Fermented Spider Eye with a Water Bottle in a Brewing Stand (powered by Blaze Powder), and then adding Gunpowder to turn it into a splash potion.
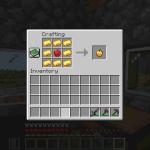


Golden Apples, on the other hand, are crafted using eight Gold Ingots and an Apple.
Finding a Zombie Villager
Once you have these items, the next step is to find a Zombie Villager. They spawn naturally at night or in dark places. When you locate one, it’s best to trap it in an enclosed area to prevent it from wandering off or being harmed by sunlight. Try putting it in a hole with a trap door above it or by simply creating a small enclosure around it.
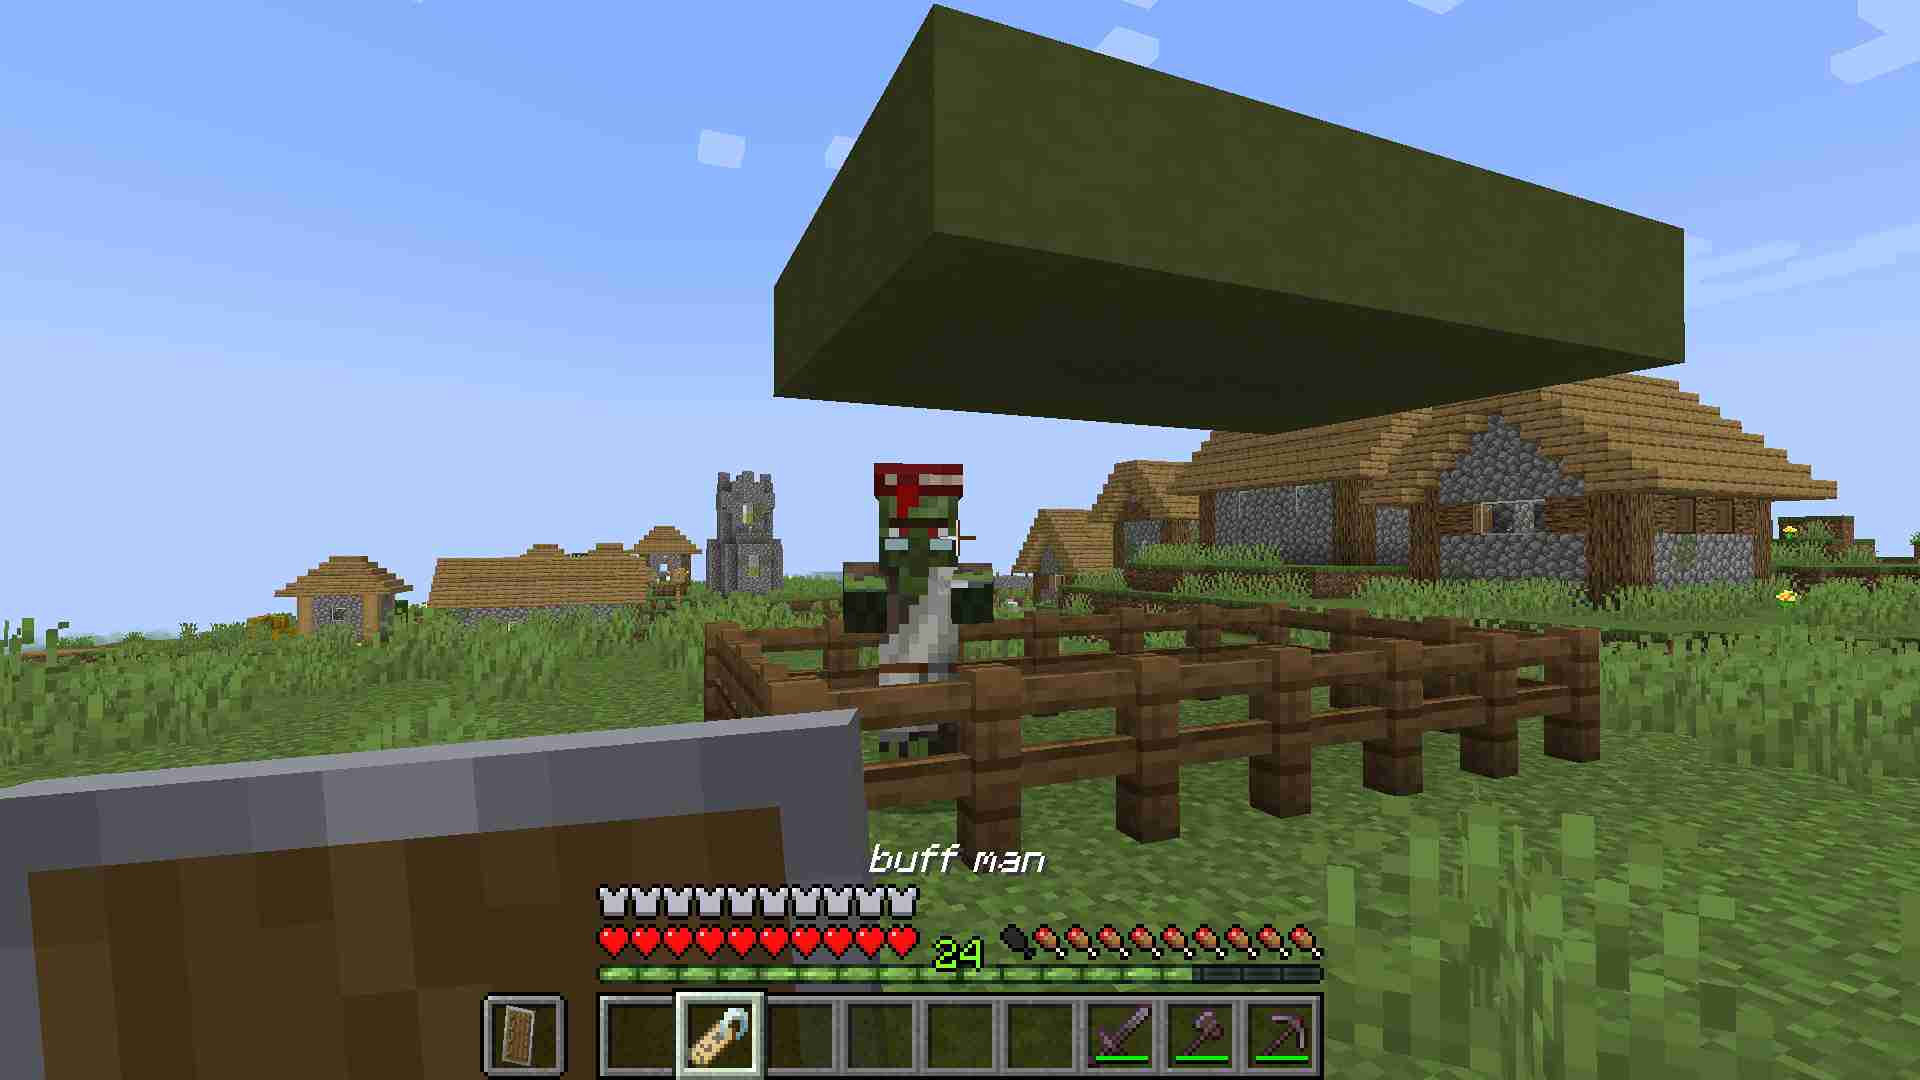
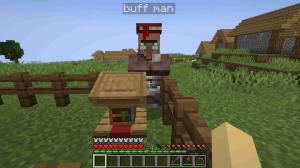
You could also name the Zombie Villager using a Name Tag to make sure it doesn’t de-spawn in case you wander too far away from it.
Weakening and transforming the Zombie Villager
With the Zombie Villager secured, throw the Splash Potion of Weakness at it. This will apply the Weakness effect, a necessary step in the curing process. Next, approach the weakened Zombie Villager and use the Golden Apple on it. You will see the Zombie Villager start to vibrate along with yellow particles, indicating that the curing process has begun.
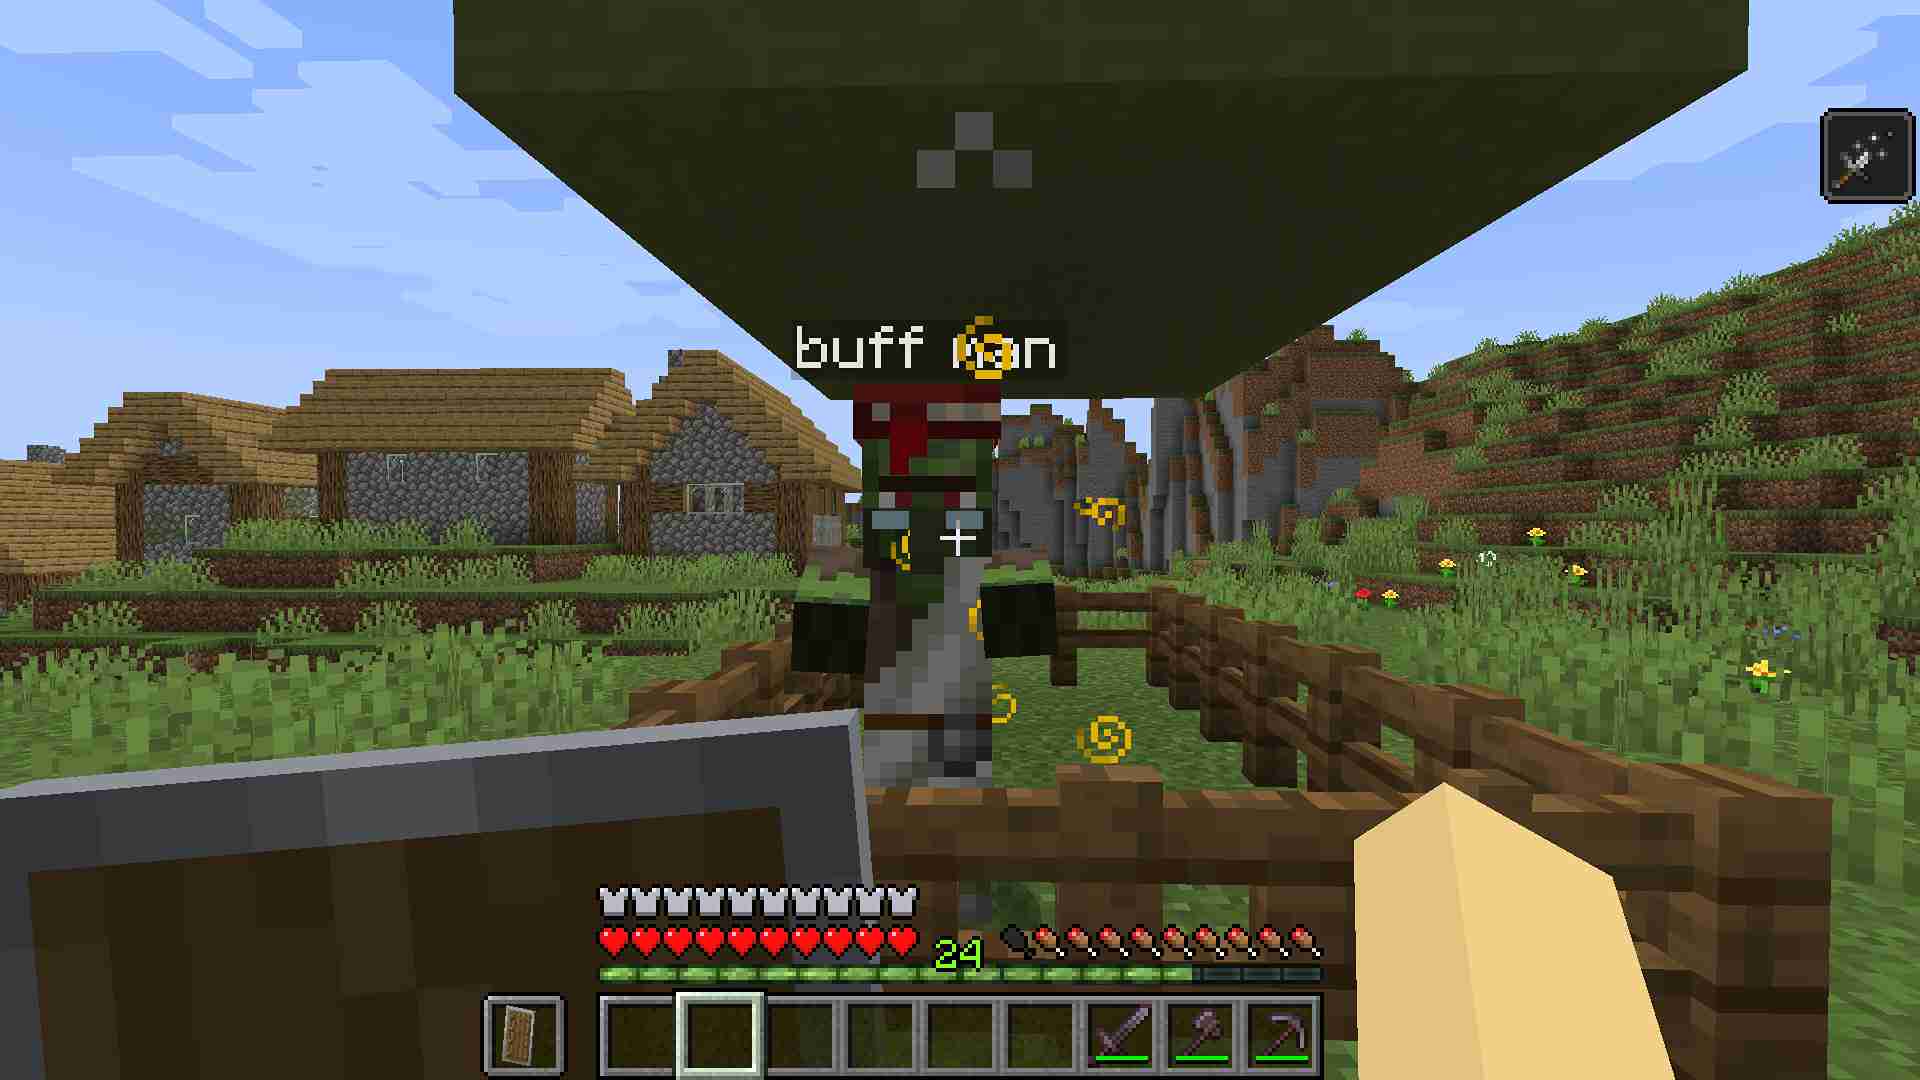
The transformation process takes a few minutes, so make sure the area is safe from other hostile mobs and sunlight. After the process is done, you’ll receive the Zombie Doctor achievement and a cured regular Villager in your Minecraft game.
Putting the Villager to work
These cured Villagers can be assigned specific roles by placing profession blocks near them. For example, placing a Lectern nearby will turn a Villager into a Librarian, while a Blast Furnace will assign the Armorer role.
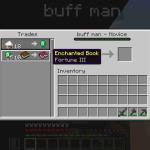
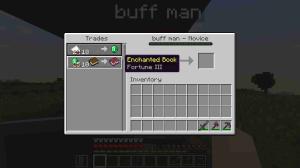
This allows you to customize the trades available along with the added trade discounts you get for curing the Villager in the first place—making them a valuable addition to get a plethora of useful items that would otherwise take a lot of time grinding.


Published: Jul 31, 2024 04:12 pm