Tremors of the Earth is, without question, one of the hardest, most involved quests in World of Warcraft Classic.
The rewards you can earn from this quest, though—especially the Blazewind Breastplate, a leather piece of chest armor that yields +23 Agility—are unmatched by most other quest rewards in the game, especially at this level bracket.
If you’re attempting this quest during phase two of the Season of Discovery, you’ll find that even though Tremors of the Earth is available to start at level 40, it’s going to be quite difficult to complete. You’ll quickly find out that this quest is meant for players pushing level 50, and with the level cap in phase two of SoD sitting at 40, you might have a tough time completing it unless you bring a relatively skilled group of five players.
Here’s how you can complete Tremors of the Earth in its entirety in WoW Classic and WoW Season of Discovery.
Tremors of the Earth part one: Where to find Boss Tho’grun in WoW Classic
The first major step toward completing the Tremors of the Earth quest is to collect an item called the Sign of the Earth. This item will give you access to certain objectives later on in the chain and collecting it initially, although difficult and relatively luck-based, is still pretty straightforward.
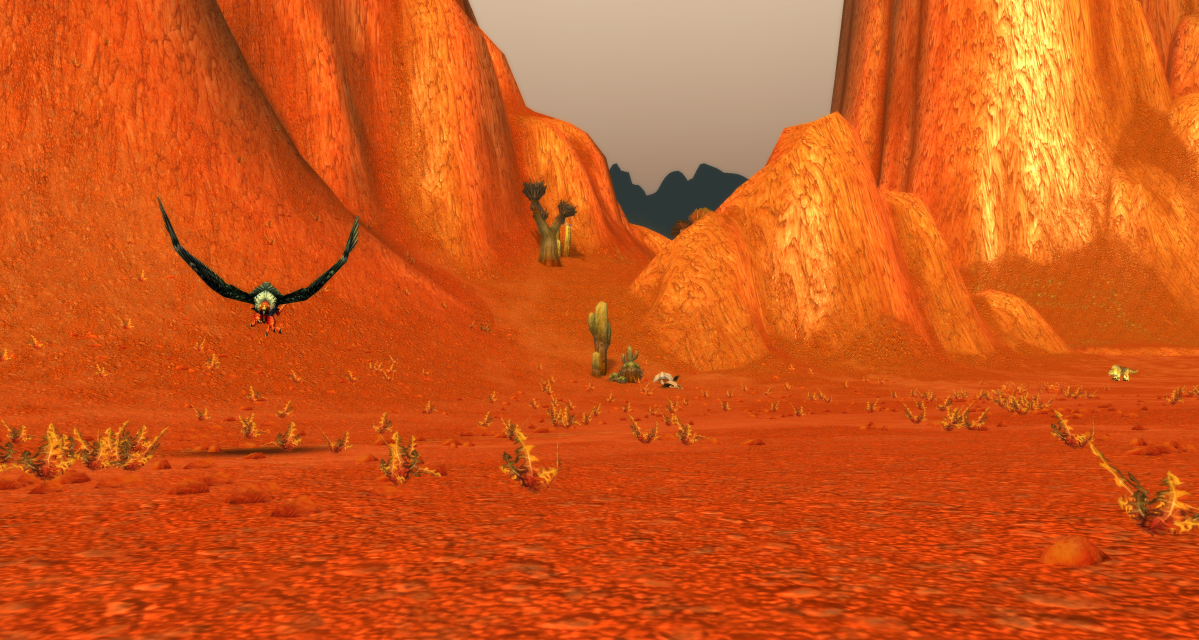
The way you obtain the Sign of the Earth in WoW Classic is by defeating an NPC named Boss Tho’grun. This ogre roams around the Badlands and has no specific point of stagnant location. You’ll just need to get lucky and find him (and the other ogres that patrol alongside him) at some point during your travels in the Badlands. We recommend picking up Tremors of the Earth and having it in your quest log so that if on the off chance you do encounter Boss Tho’grun, you’ll be able to kill him quickly, loot the Sign of the Earth, and turn in the first part of this quest chain back at Garek.
Tremors of the Earth part two: Hematus and Blacklash
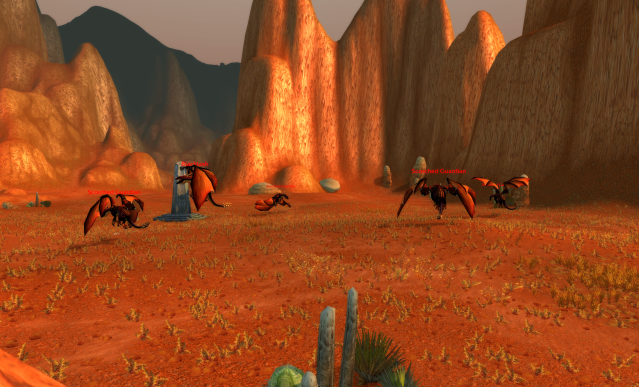
After turning in the Sign of the Earth to Garek, you’ll get the next objective in the second part of this quest chain, which is to find and defeat two black dragons who can be found roaming the Badlands: Hematus and Blacklash.
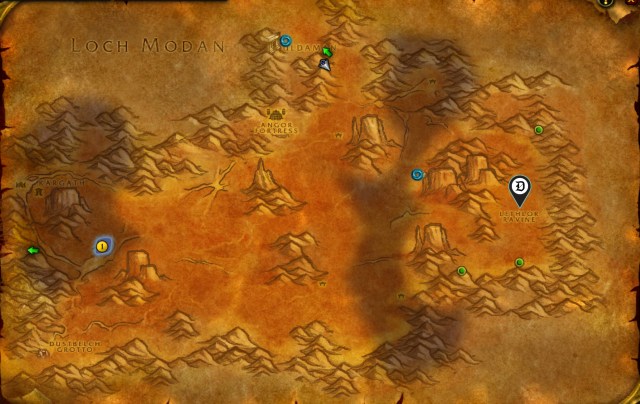
Before you even have the opportunity to kill these two black dragons, though, you’ll need to free them, which can be done by activating several pillars around the zone. The locations of the three runestones with their exact coordinates are listed below.
- Pillar of Amethyst [80, 64]
- Pillar of Diamond [84, 33]
- Pillar of Opal [73, 66]
Activating these three stones will give you access to the two dragons, who are level 50 enemies and should not be taken lightly. You will need a group for this quest; there is no negotiation about that. Bring four other like-minded individuals who also want the rewards that this quest yields. We recommend a traditional WoW team composition with three heavy-hitting DPS players, one tank, and one healer to keep you all alive. You should all be level 40 if you’re doing this in phase two of SoD, but if you’re doing this in a later phase of the season or in traditional Classic WoW, any level between 40 and 50 is recommended for your group members.
Hematus and Blacklash can be found at coordinates [81, 50] in the Badlands. Head there and defeat the two dragons—preferably one at a time—and loot their corpses to grab the Chains of Hematus and Blacklash’s Bindings, the two quest items you’ll need to bring back to Garek. If you kill these two dragons and forget to loot their corpses, you’ll need to do the entirety of the quest over again, so don’t forget to loot them.
Once you’ve successfully defeated and looted these two level 50 dragons, head back to Garek and take your reward. This quest has some of the best rewards in the game for its level, but most players targeting it, especially during phase two of Season of Discovery, are doing so for the Blazewind Breastplate. So if you’re playing a leather-wearing class, you’ll probably want to take that very good item and keep it as part of your loadout.


Published: Feb 15, 2024 04:06 pm