
There are plenty of side quests to keep you entertained during your time playing Avatar: Frontiers of Pandora, with each offering different rewards should you choose to complete them.
One of the side quests you discover early on is called Crush, and it can be a little tricky to get through as it involves finding clues that aren’t always easy to find. With this in mind, we are going to be looking at how to complete this Avatar: Frontiers of Pandora side quest, as well as what rewards you will get from doing so.
How to begin the Crush quest in Avatar: Frontiers of Pandora

To access this quest, you will first need to have met Nefika and completed the Aranahe Clan mission in the main quest storyline. Once you have done this, you will be able to wander around the Hometree freely. Leave the Hometree and you will see a fellow Na’vi called Nawuk nearby to the entrance. Speak to her, and she will inform you a human has been spotted in the area nearby, beginning the quest.
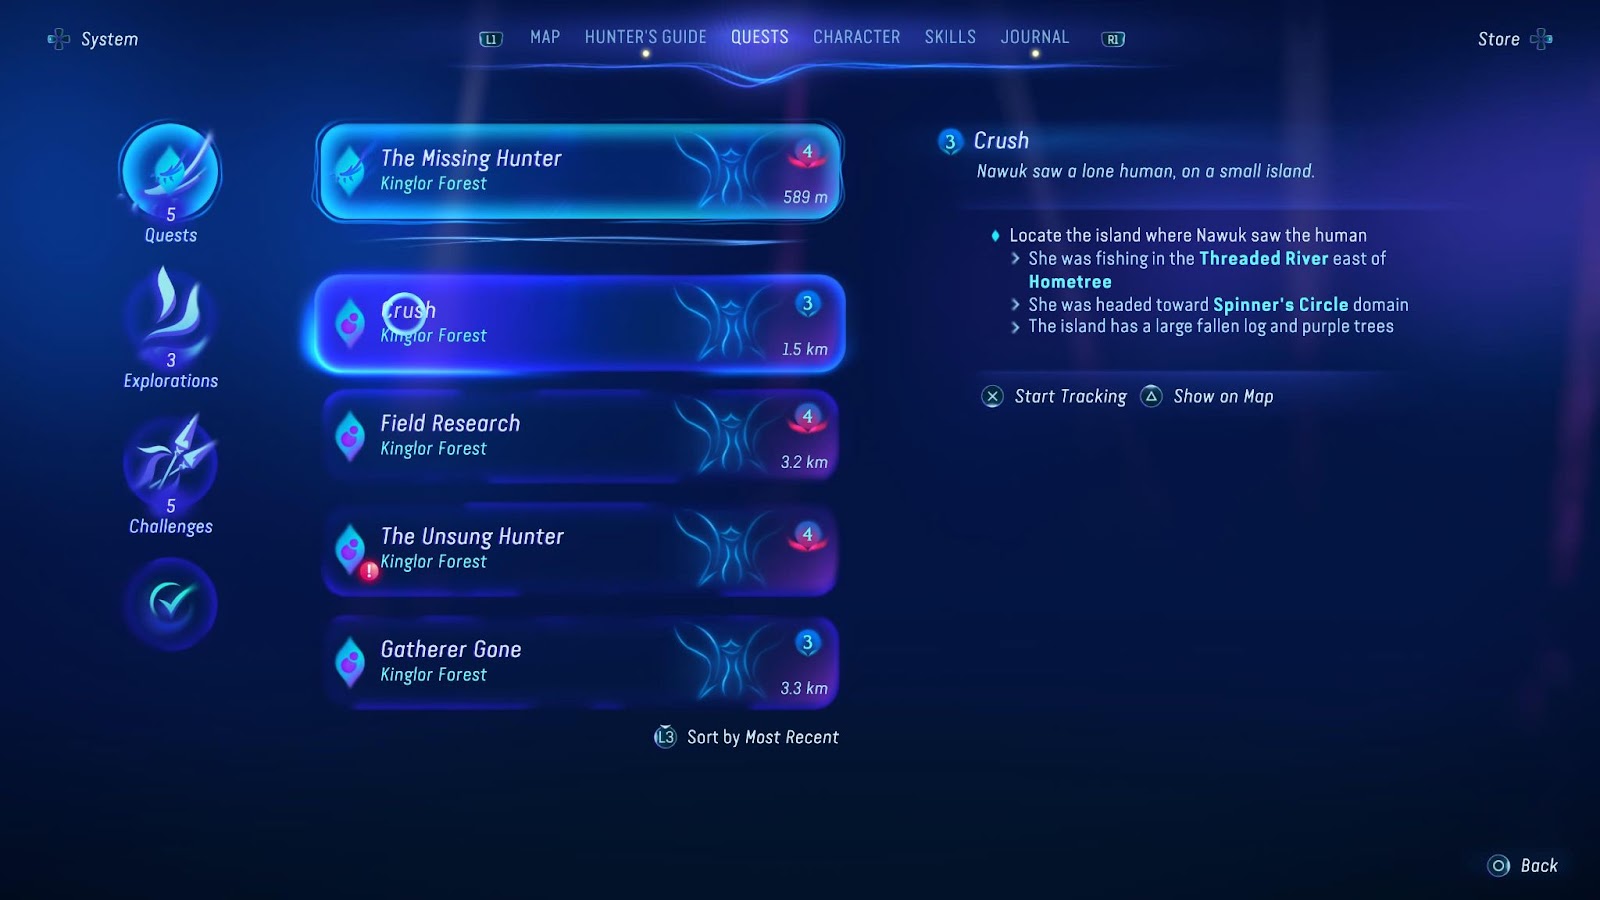
When she has given you the details, the Crush quest will be available in the quest menu. Go into the game menu and navigate to the quest tab to find it. Press the “Start Tracking” button and a marker will appear on the map directing you to the area where you can begin searching for the rogue human.
Finding the search area in the Crush quest

The quickest way to get to the search area once the marker is added to your map is to first fast-travel to the Weaver’s Flourish Na’vi camp. If you haven’t discovered this camp yet, all you have to do is find it to unlock it as a fast travel destination. If you visited the Aranhae clan’s Hometree first, you can find Weaver’s Flourish by traveling east from there, as you can see on the map above. It’s handy to use this camp as a place to restock, craft, cook, and fast travel from, so even if you haven’t found it by the time you start doing the Crush quest, I would advise heading there first as it is on the way to the island you’ll need to go to.
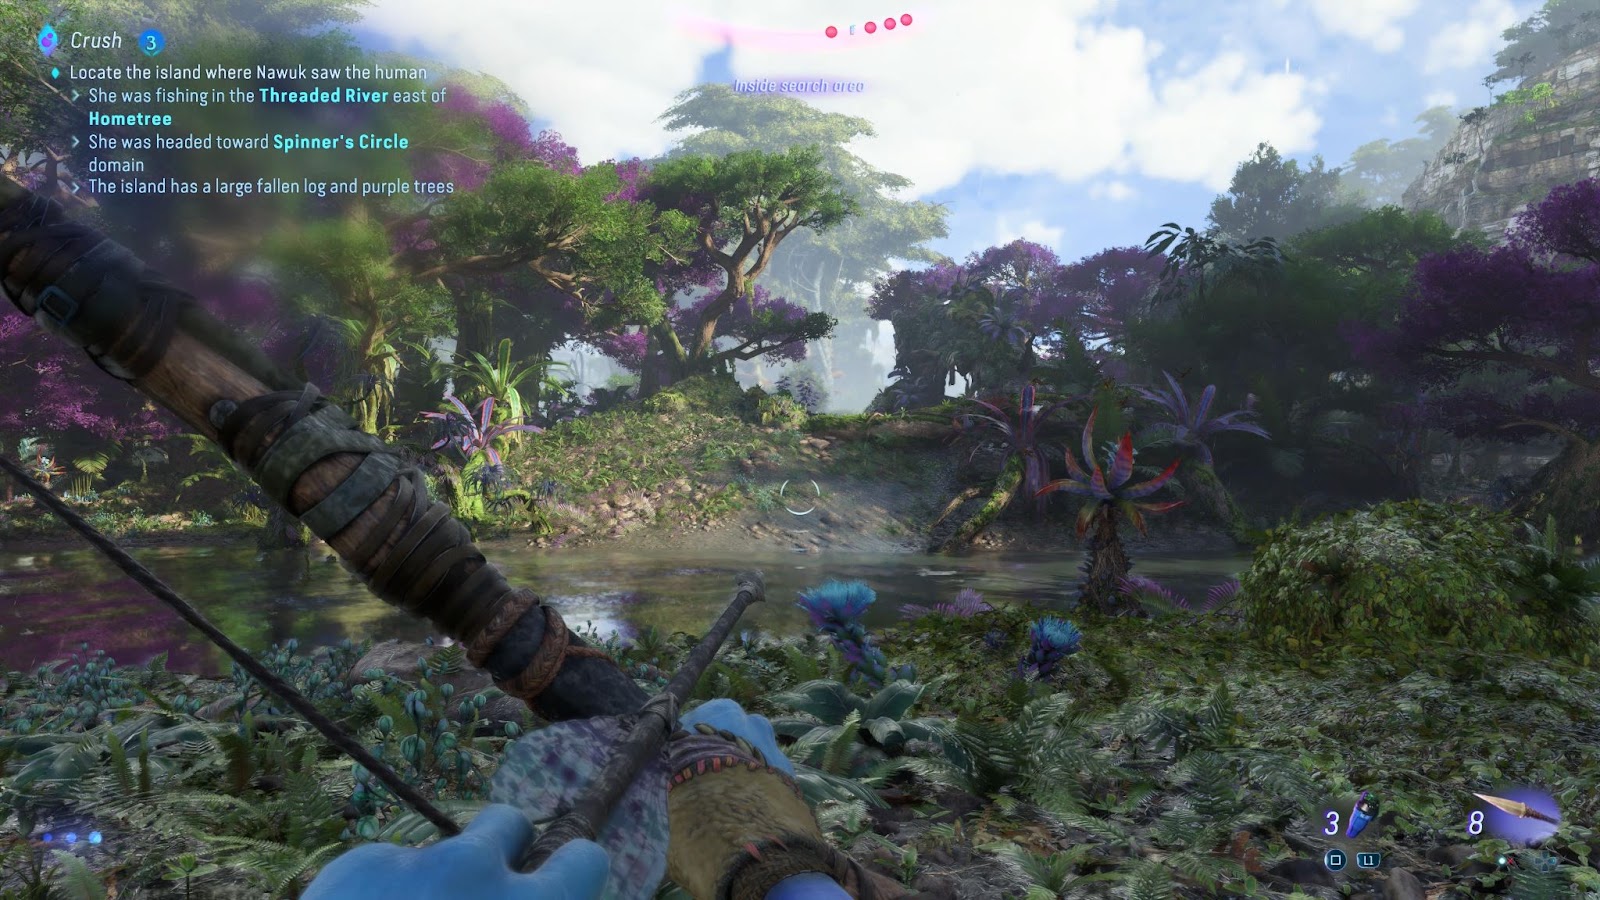
Keep following the light blue marker on the map, and you will come to a small island. You will see some text at the top of the screen to inform you that you are in the search area, so you’ll know you’re in the right place.
What are the clues you need to find in the Crush side quest?
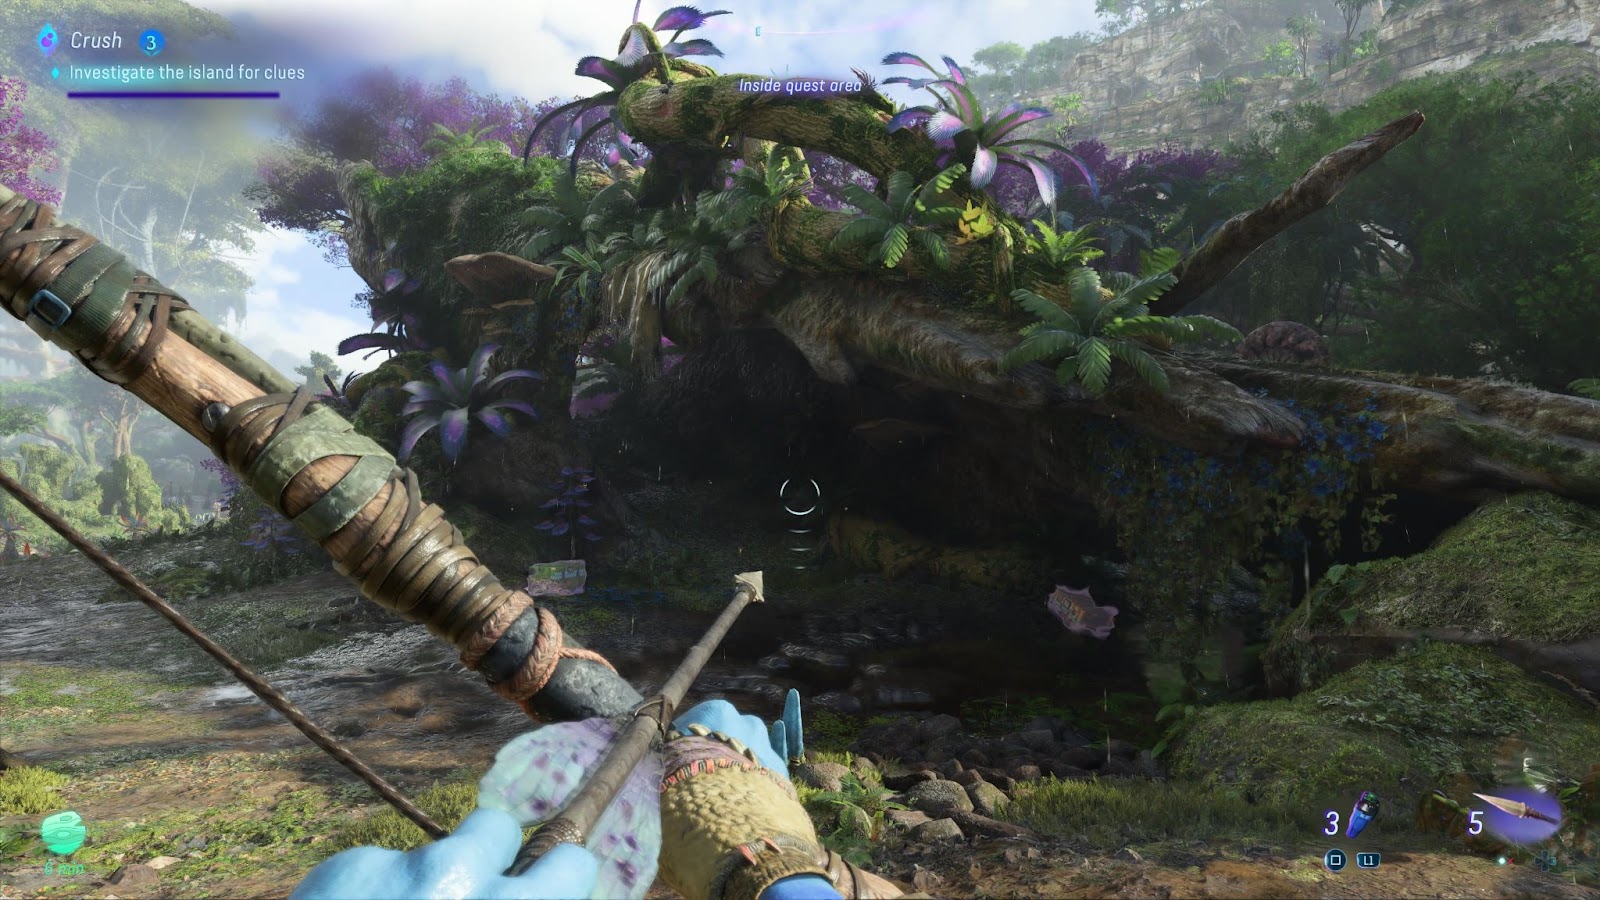
To begin your search for clues, head over to the large fallen tree, as this is where Nawuk says that the human was last seen. The clues you need to find on the island are as follows:
- Box of Resistance Rations
- Aircraft Skid Marks
- Broken Wasp Hive
- Broken Branch
- Wide Footprints
- Cracked Tablet
It doesn’t matter which order you find the clues in, but you do have to link them in the correct pairings to progress in the quest, so let’s take a look at how to find each of these clues and how to choose the appropriate pairings.
Finding the clues in the Crush side quest
Box of Resistance Rations
I started looking for clues under the fallen tree, so I’ll start from there, but don’t feel like you have to find the clues in this order. If you spot any others first, feel free to inspect them. Thankfully, the clues are all within the same area, so you won’t have to search around too long.
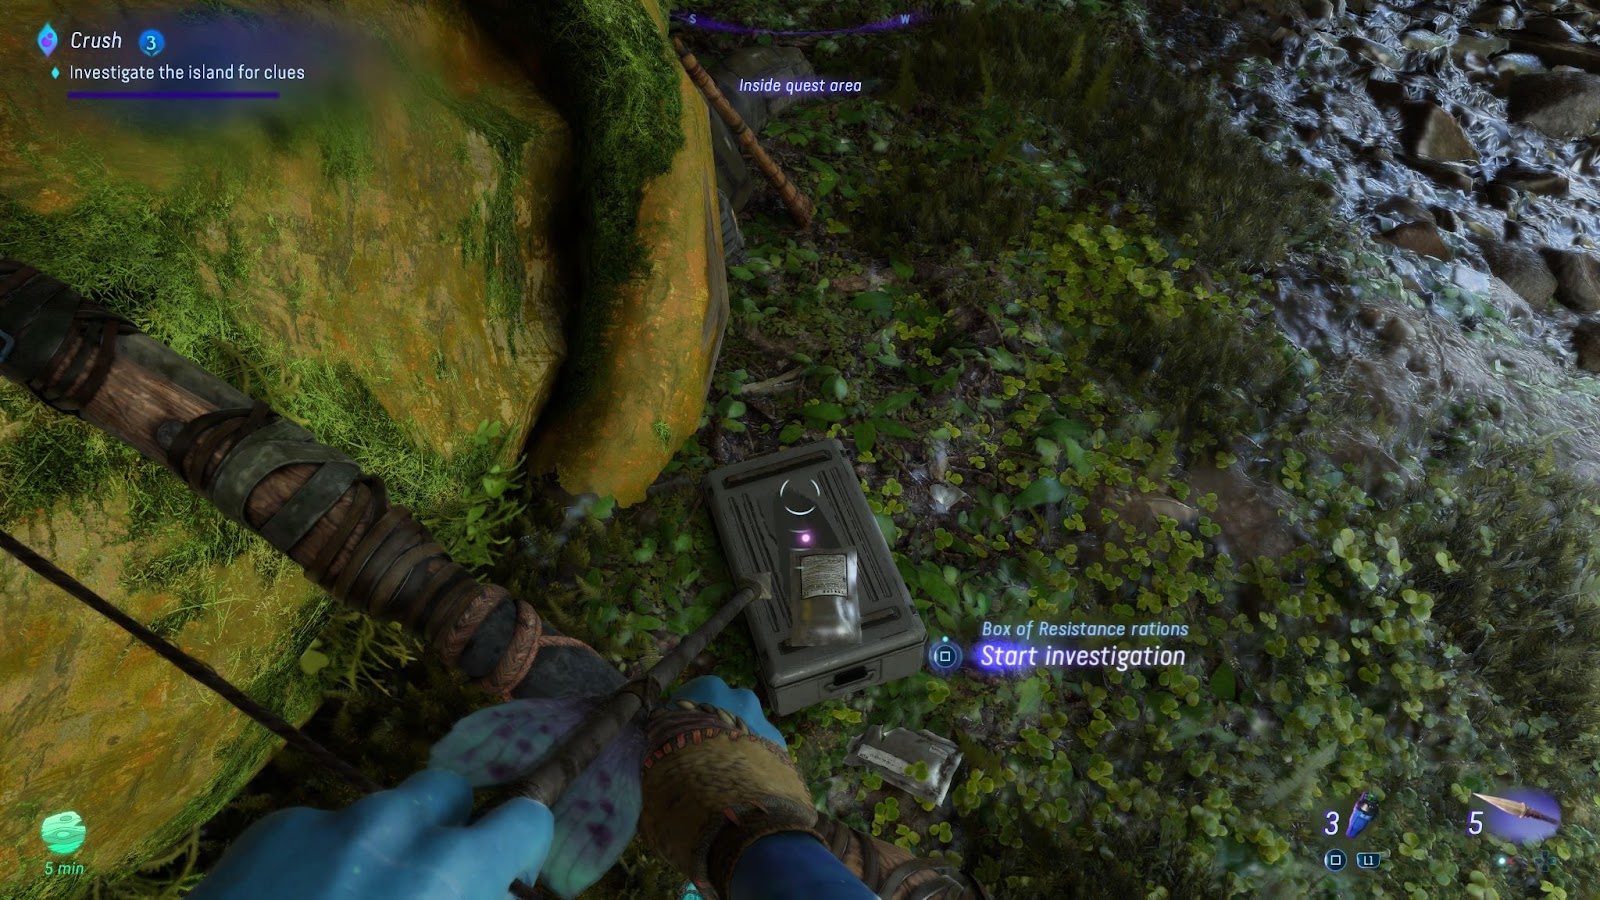
Under the tree, you will spot a box of Resistance rations. Inspect it by using your Na’vi senses to highlight the box and then start the investigation. Interact with the box to get a bit more information and to collect it as a clue. There are also some supply boxes under the tree too, so make sure to pick them up as well.
Aircraft Skid Marks
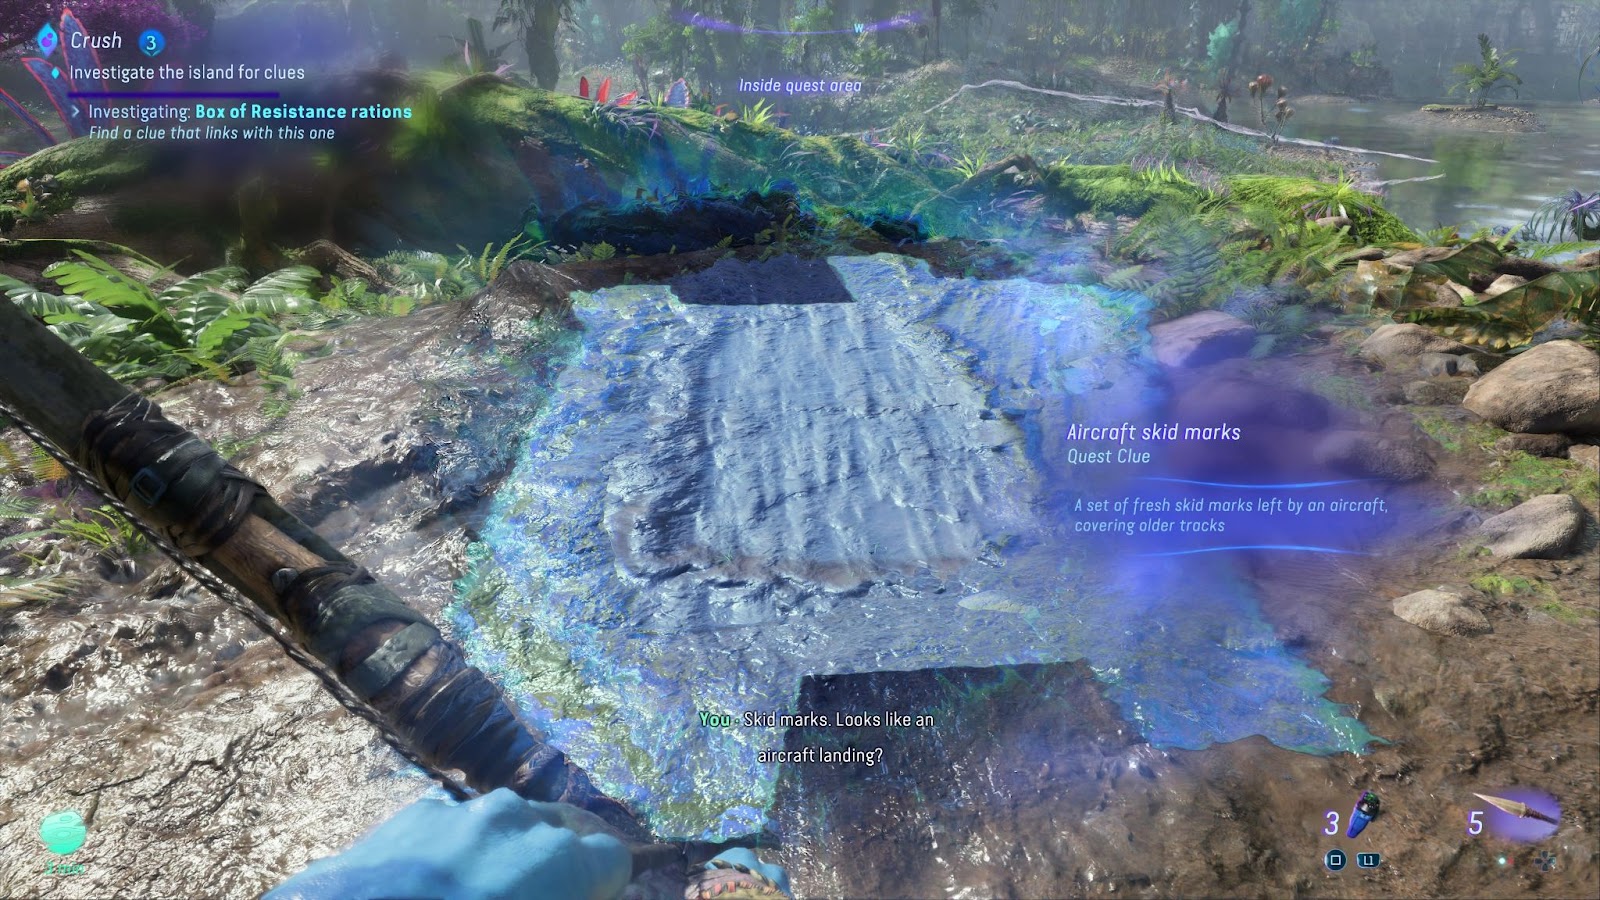
The skid marks from an aircraft are the next clue, though this could be the first clue you might come across when finding the island. If you went to the tree first like me, then turn around and go towards the water to find the skid marks.
The marks denote a makeshift landing area of sorts, so look for the relatively well-sized muddy area to find them. Use your Na’vi sense to highlight the clue and collect it as you did with the box of rations.
Link the rations and the skid marks
The rations and the skid marks are the first clues that need to be linked, so press the button prompt that appears asking to link your clues. Depending on which one you found first, go back to the other clue and interact with it to finish linking them.
Broken Wasp Hive
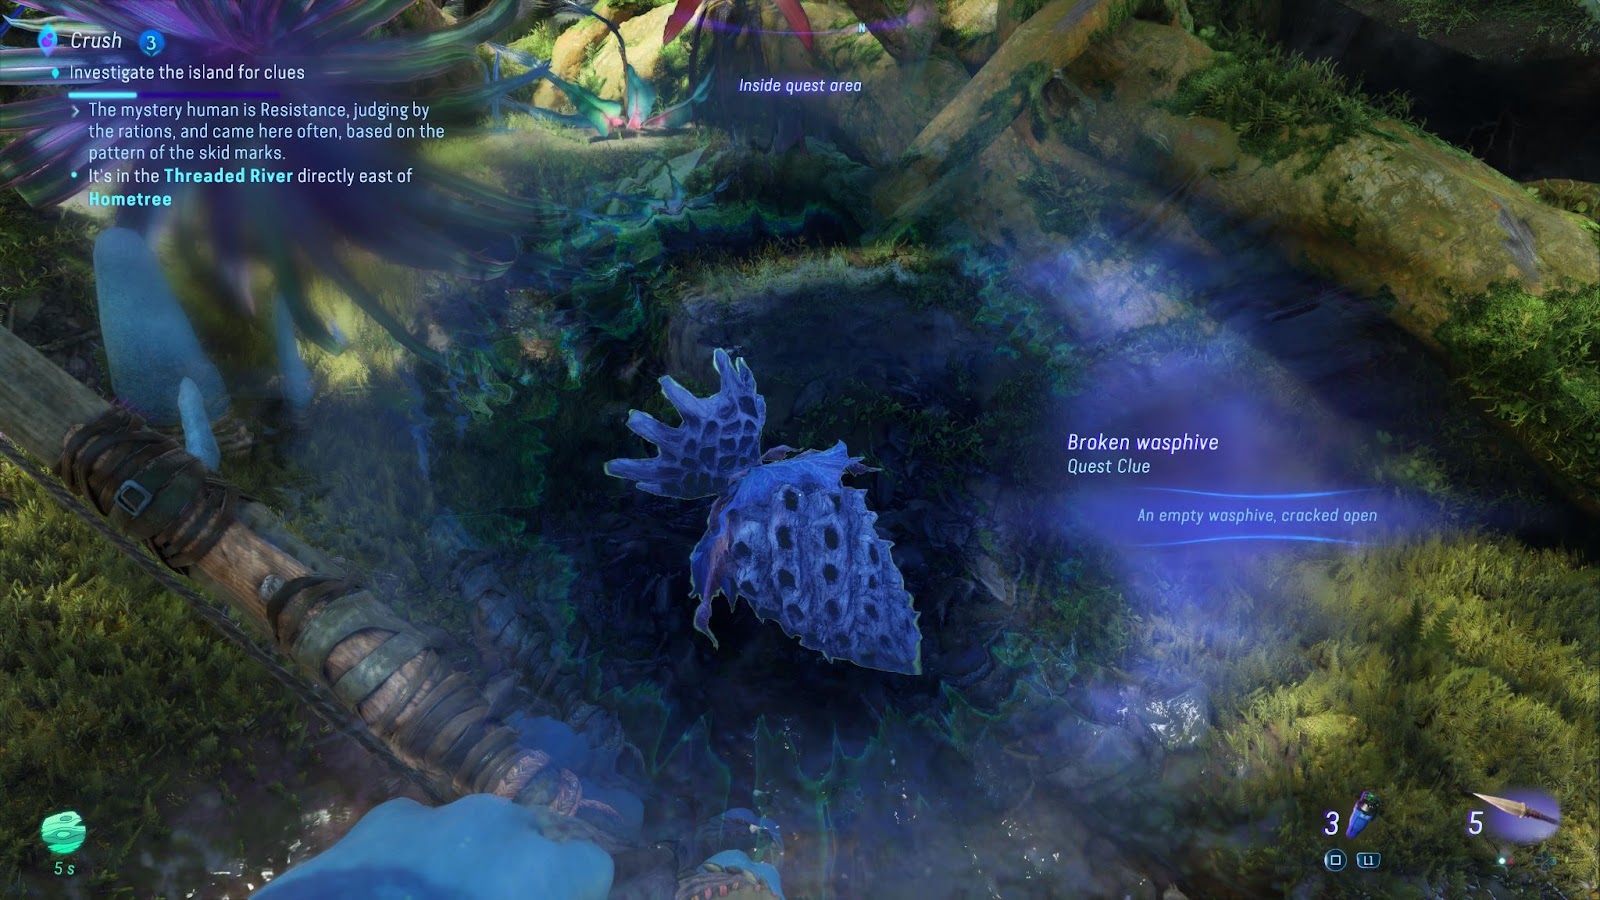
The next clue to find is the broken wasp hive, which is found directly opposite the large fallen tree where you found the rations. Do the same as you did with the other clues to highlight and interact with the hive.
Broken tree branch
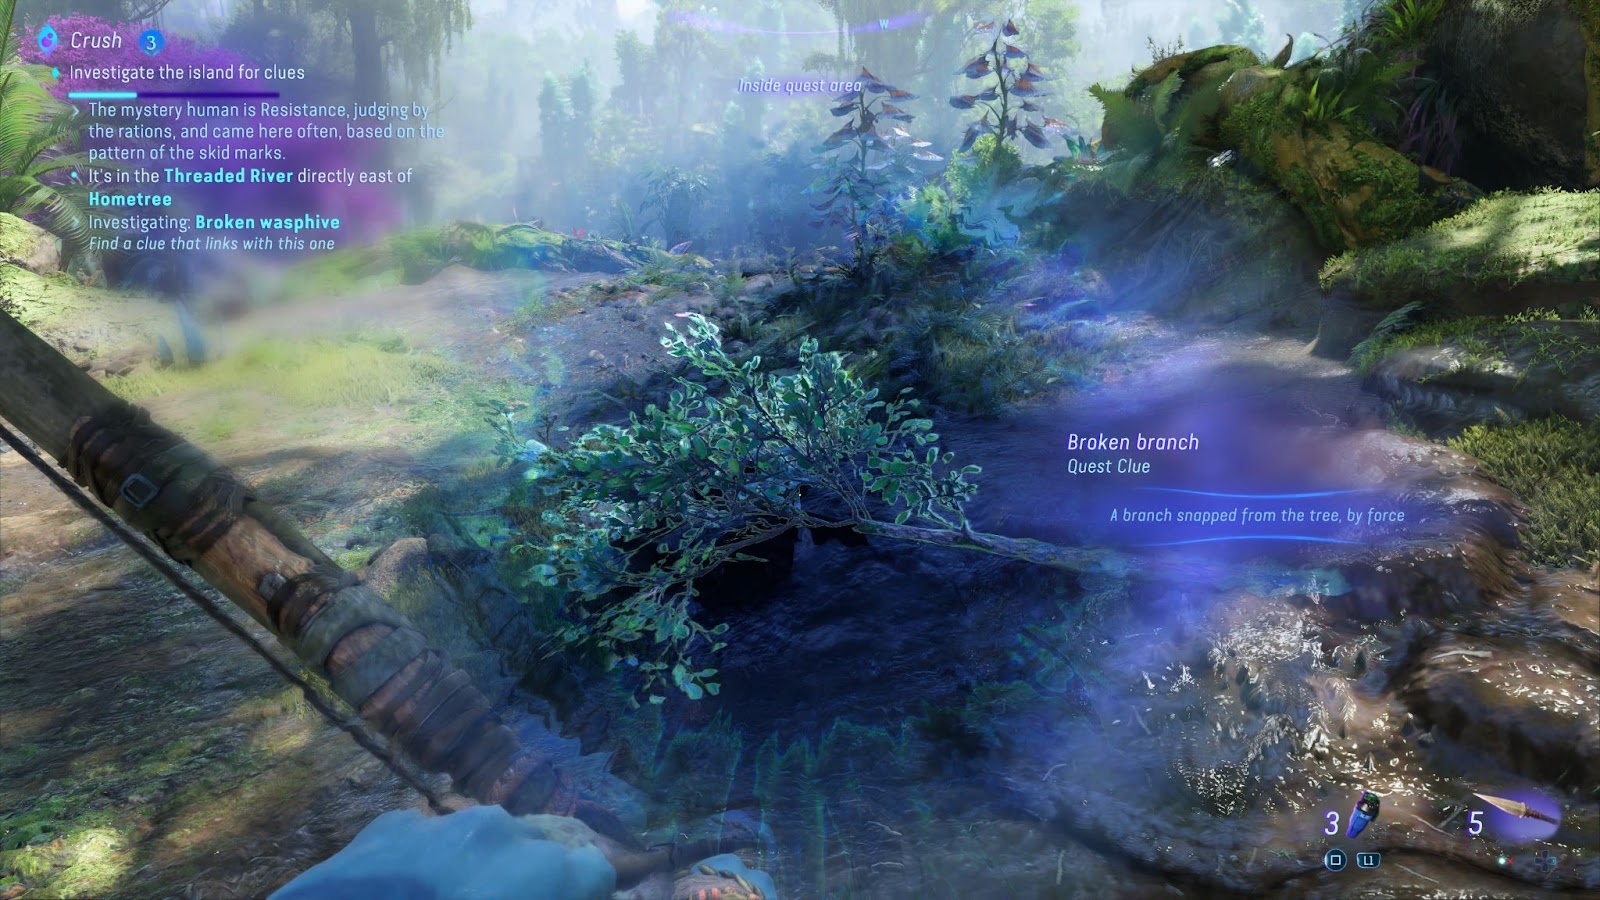
The tree branch can be found next to the hive, though it will only stand out from the other foliage in the area when you use your Na’vi senses (which you have to do anyway to interact with the clue, so you should be able to spot it relatively easily).
Link the broken wasp hive with the tree branch
Do the same as you did with the aircraft skid marks and the box of rations to link the broken wasp hive and the broken tree branch together as paired clues.
Wide Footprints
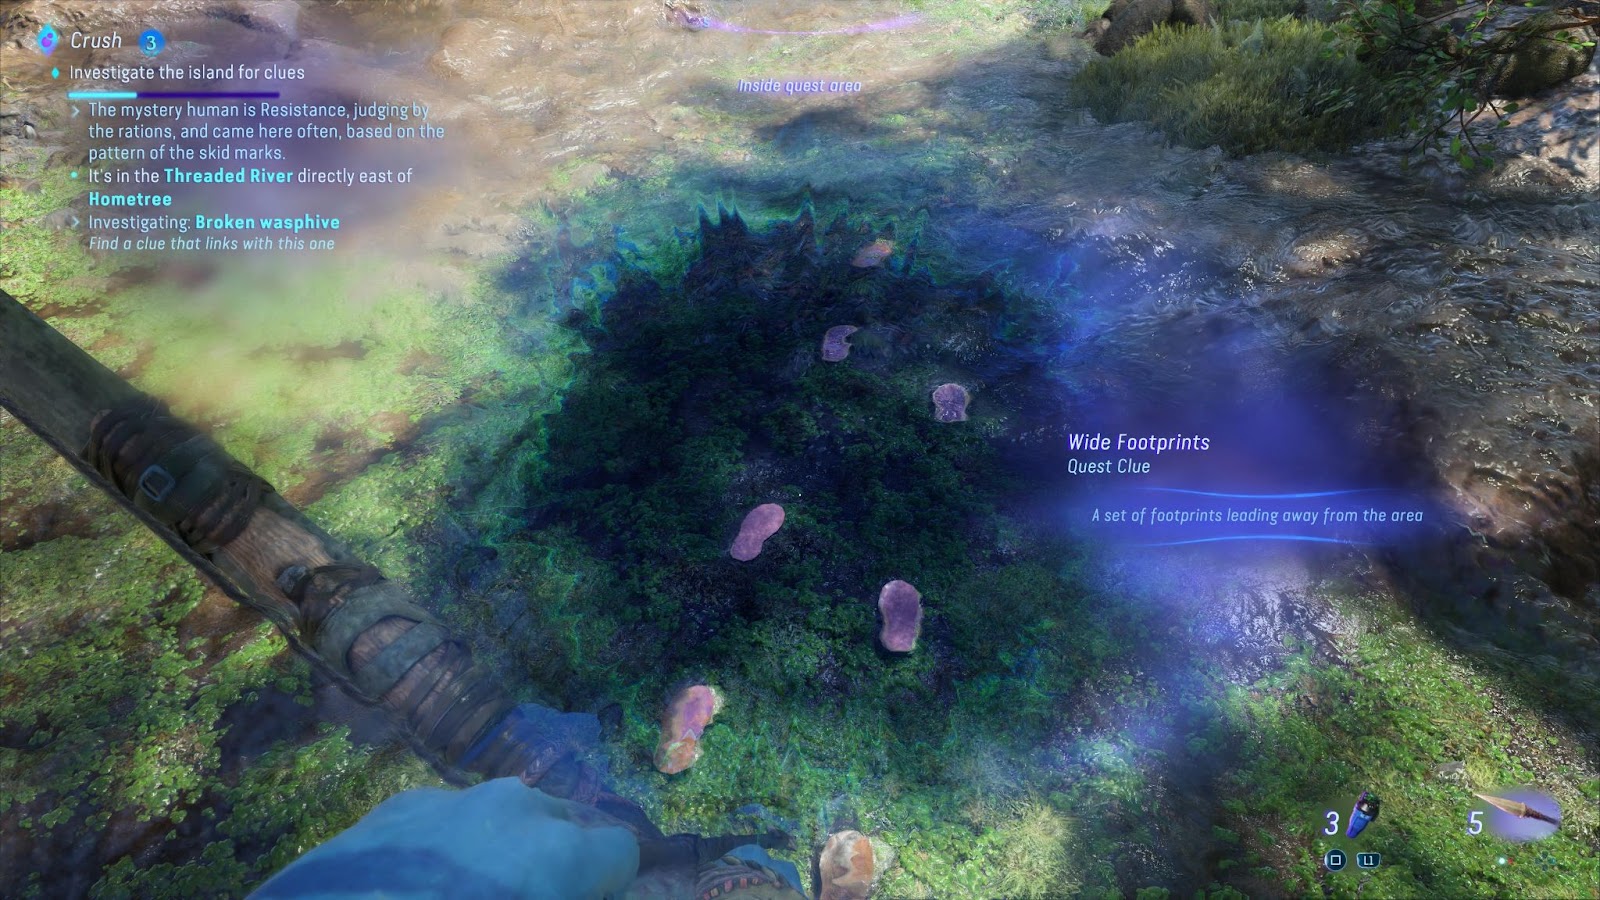
The next clue to highlight is the wide footprints, which can be found next to the broken wasp hive and the broken tree branch. It doesn’t take Sherlock Holmes to deduce something wasp-related happened here; something that caused the human to run. Follow the fleeing footprints, and they will lead you to your next clue.
Cracked Tablet

The final clue to find is the cracked tablet, which you will spot if you follow the footsteps toward the aircraft skid marks.
Link the wide footsteps and the cracked tablet
Link these final two clues together to complete the puzzle and make the deduction that a human from the Resistance landed their aircraft craft and was hanging around the area long enough to have some rations. They then ended up breaking a tree branch and releasing a hive of wasps, causing them to run towards the water and drop their tablet in the process.
This isn’t the end of your detective career, though, as you will next need to hack into the tablet to try and find the owner of the device.
Hack the tablet with the SID
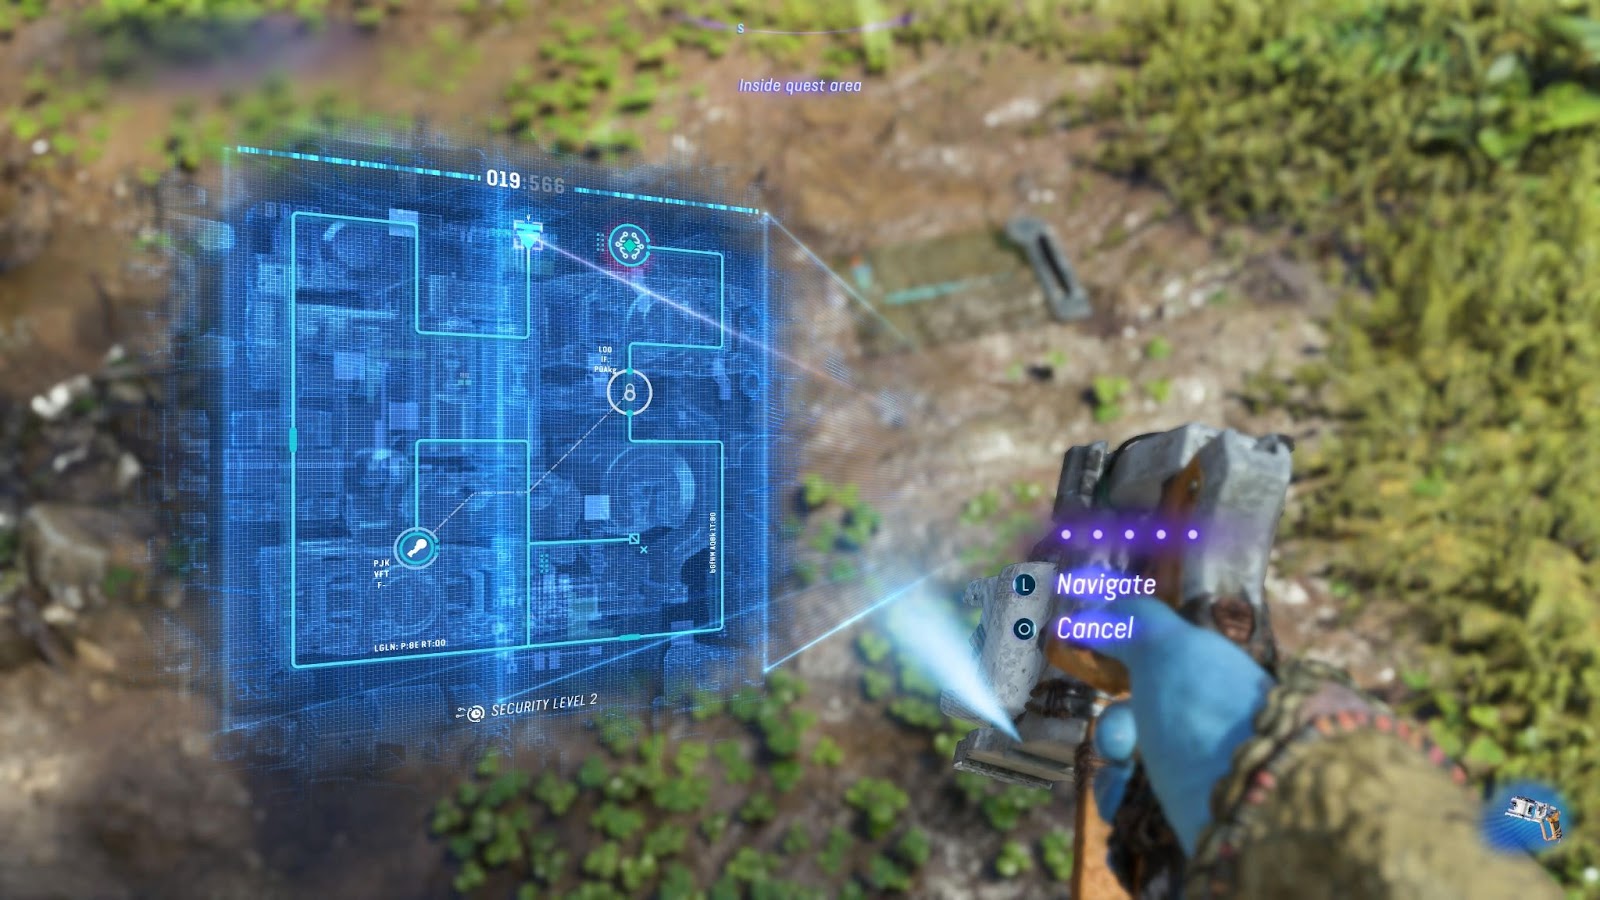
You will have learned how to hack with the SID by this point, but as a refresher, let’s look at how to use the device. To hack with SID, all you need to do is gently hold down the trigger on your controller or the click button on your mouse until the white circle aligns correctly with the green circle. This will open up the hacking mini-game, where you will have to navigate the icon through to the end of the maze to unlock the device or terminal you are trying to get into.
With the tablet, you will have to navigate to the key symbol before you can get to the end of the maze, as otherwise it will remain locked. You’ll also need to time it right too, but it isn’t too hard to do so.
Talk to Alex at the Resistance HQ
You’ll hear a confession of a crush from the owner of the tablet once you have unlocked it, though it isn’t completely clear who is speaker is (or who they have a crush on). You’ll be prompted to return to the Resistance headquarters to speak to Alex, whose tech know-how might be able to help you figure out who the tablet belonged to.
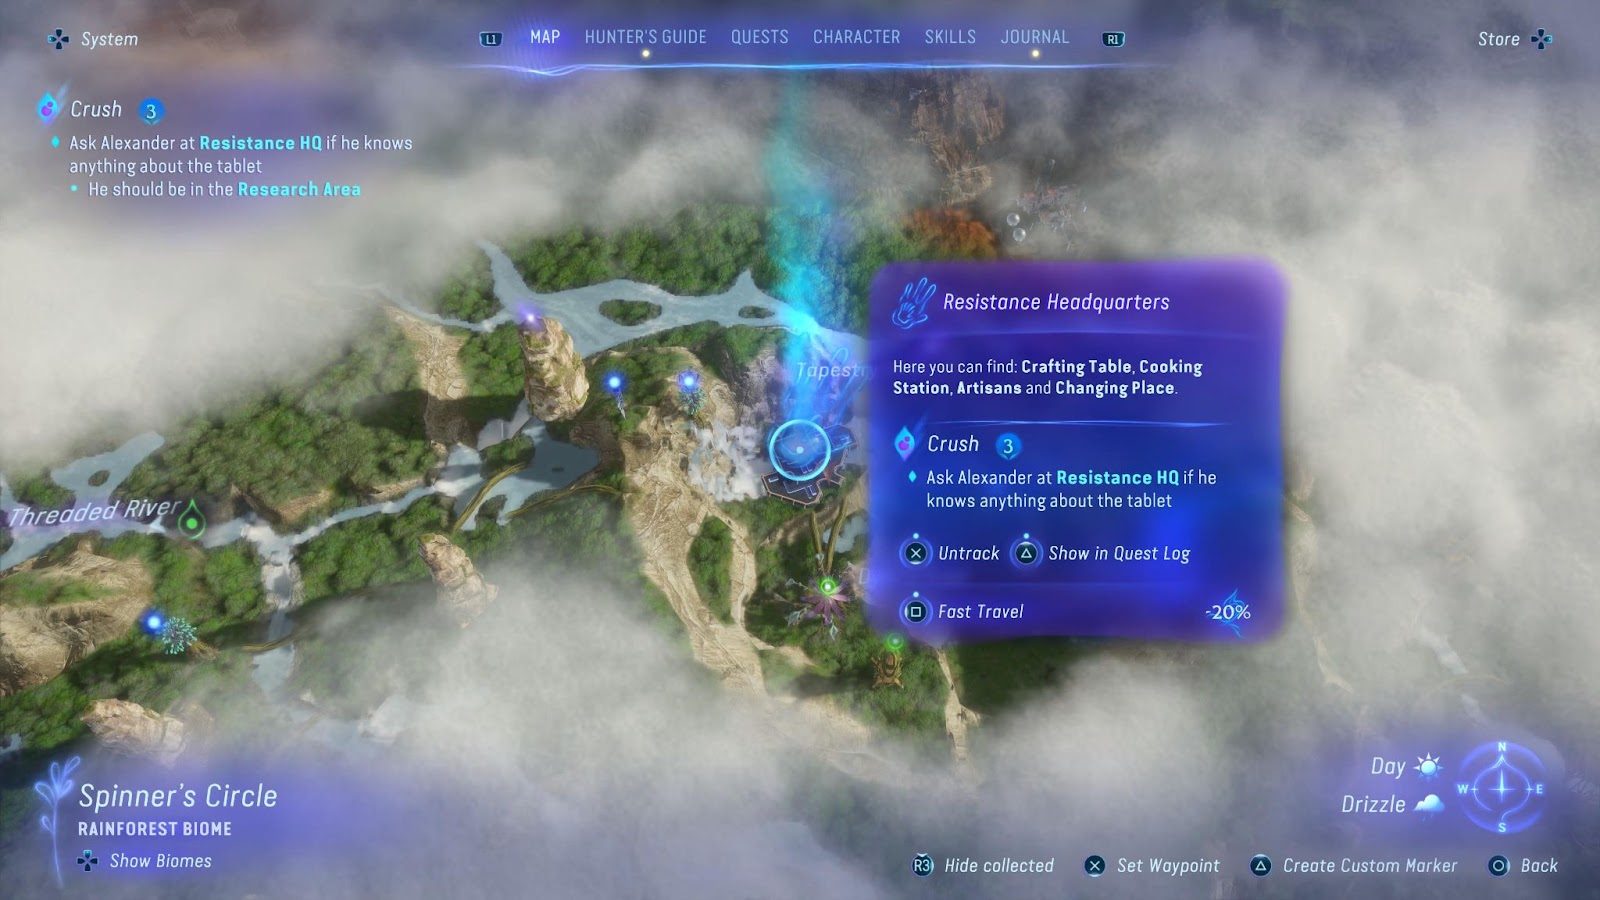
You can fast travel back to the headquarters easily. Bring up the map, hover over the HQ, and then hold down the fast travel button to instantly be transported there.
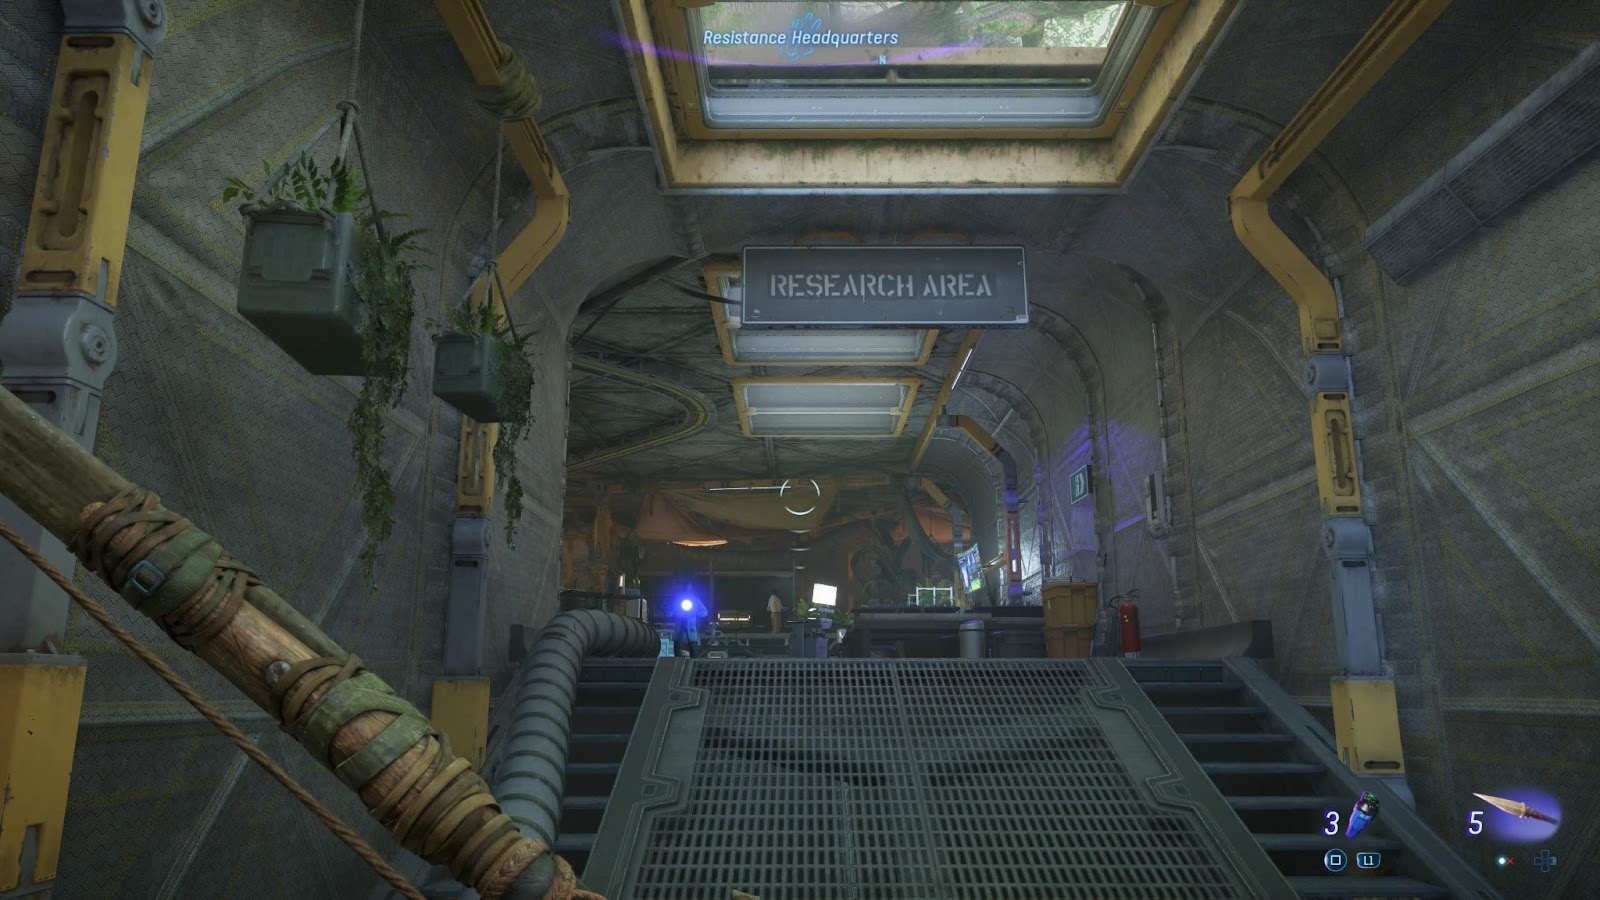
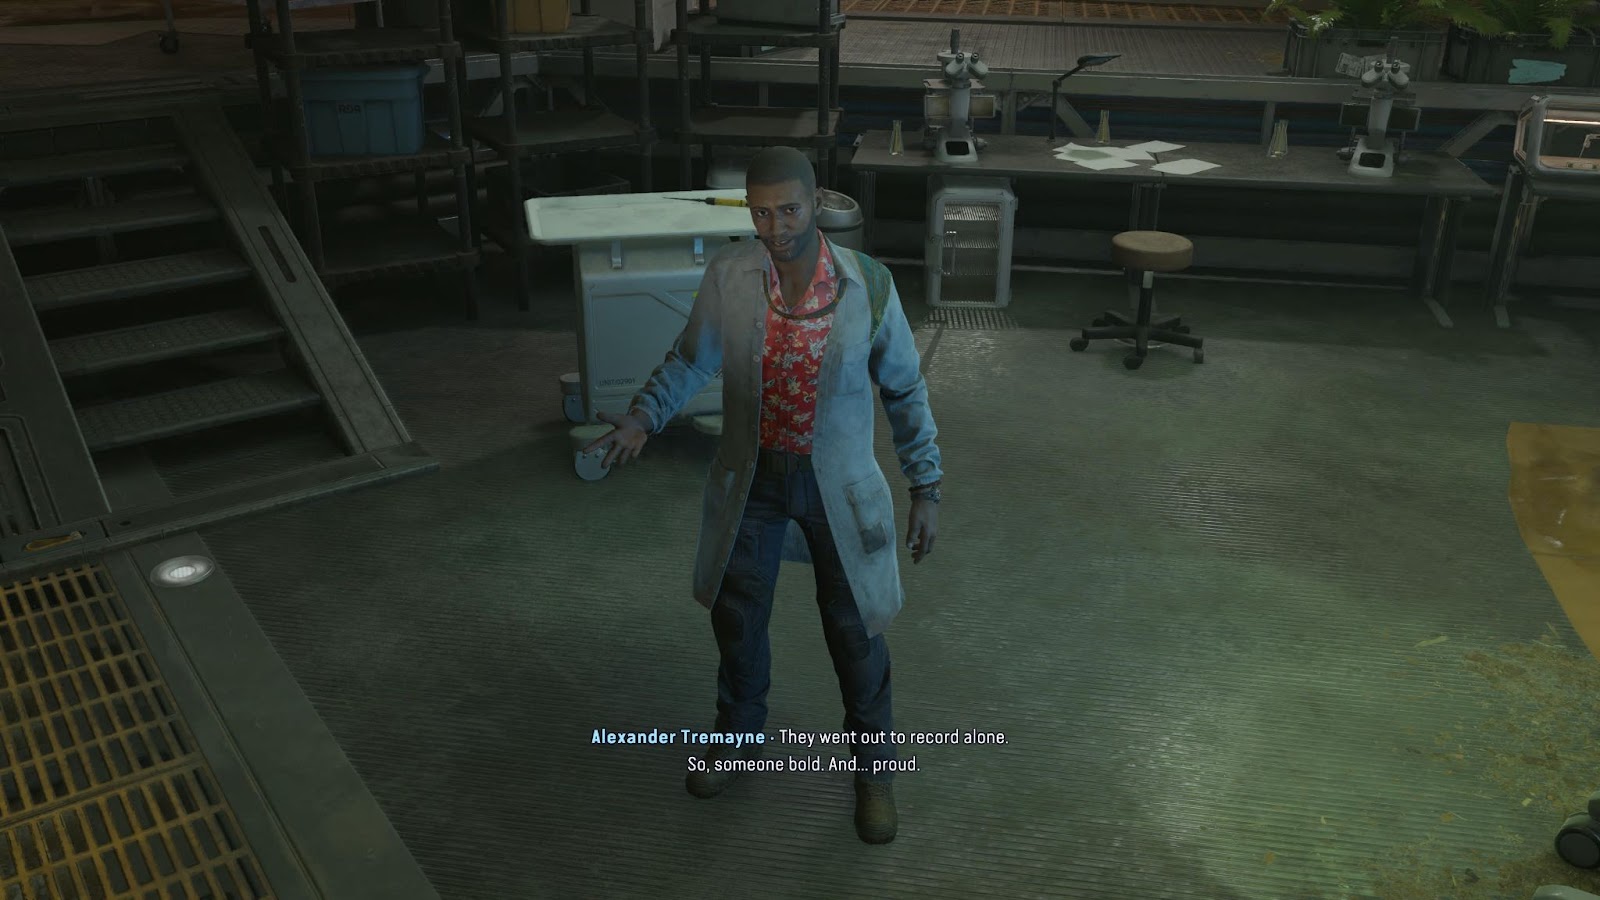
Once you are back at the base, head upstairs to the research area to find Alex. Talk to him and he will say that unfortunately, his tech expertise isn’t able to save the tablet. However, he does give you a clue as to who the tablet might belong to when he says that the person in question is someone “bold and proud” as they were willing to go out alone to record their thoughts in privacy, even though they put themselves in danger to do so.
Find the tablet’s owner in the Resistance HQ
The quest will then task you with finding the owner of the tablet with the clues you have. We will make it easier for you, as you’ve already solved enough of a puzzle by finding the tablet in the first place. It seems only fair you get a bit of a break from sleuthing.
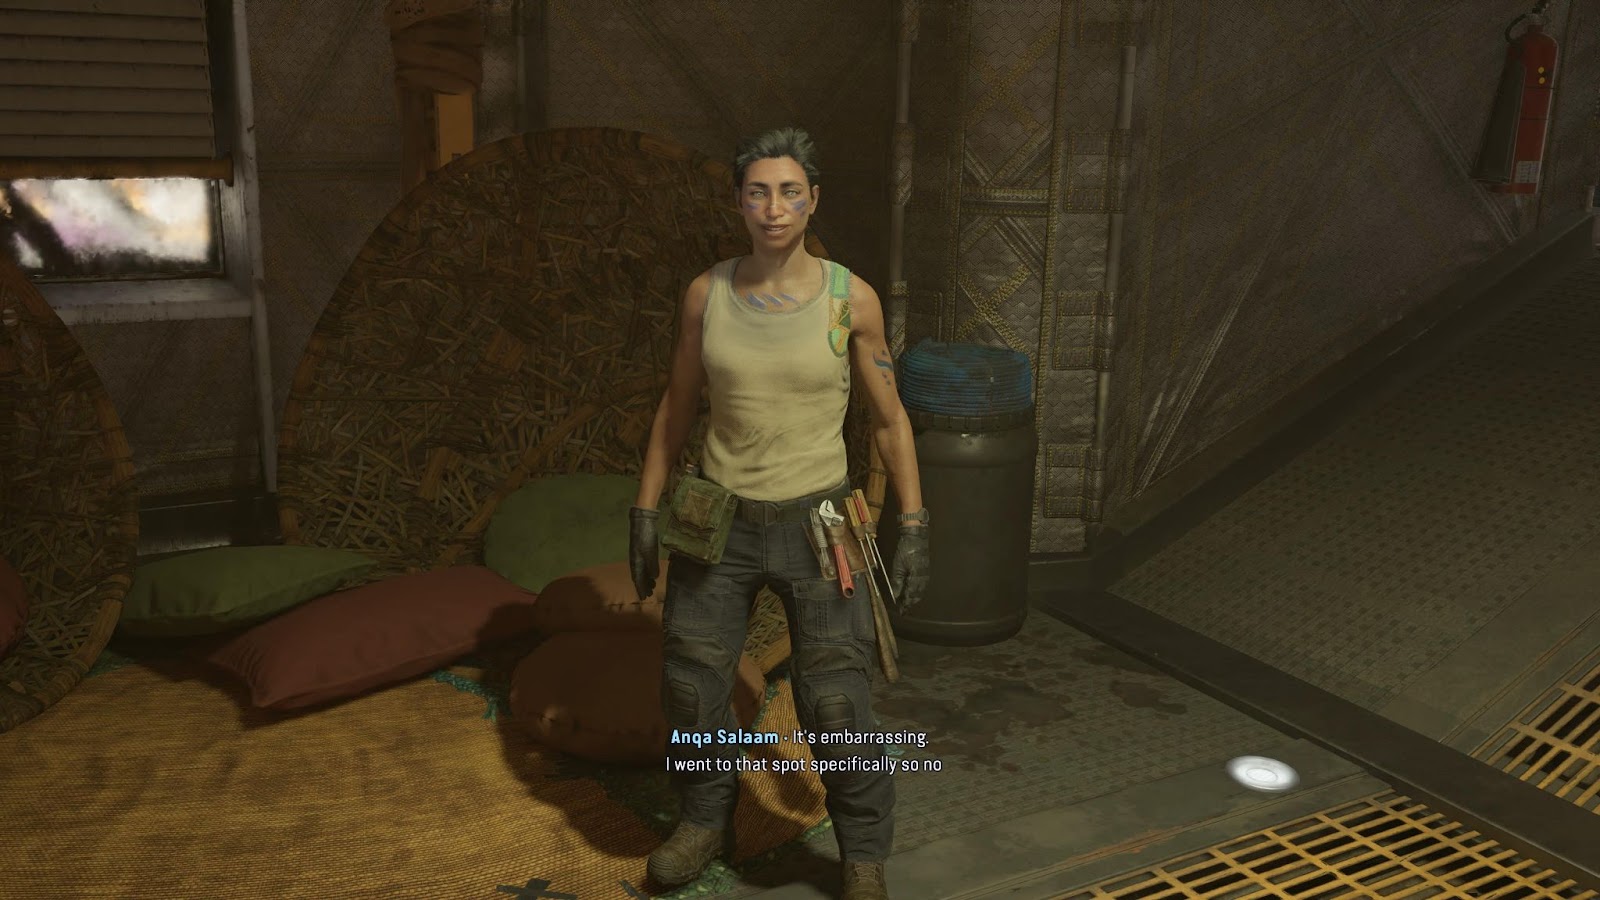
The owner of the tablet is Anqa Salaam, who can be found in the central hub area of the HQ, near the weapons trader. When you speak to her, she will deny being on the island. However, she will accidentally mention she doesn’t know anything about a tablet, despite you not telling her about the tablet. Freudian slips, am I right?
Talk to Anqa again and she will eventually lead you to a slightly more secluded area and admit it was her tablet and she was the one who recorded the crush confession. Once you have spoken to her, you will get a pop-up saying the quest has been completed.
Who Anqa has a crush on is still a mystery, and at the time of writing, I haven’t progressed through the quests enough to find out if this is addressed again. I hope so, as it’s kind of a depressing ending for Anqa otherwise, as she tells you she will just move on and forget about her feelings. We’re not fans of repressing our emotions here, so hopefully we will get a bit more closure with this secondary character story thread.
What rewards do you get from completing the Crush side quest in Avatar: Frontiers of Pandora?
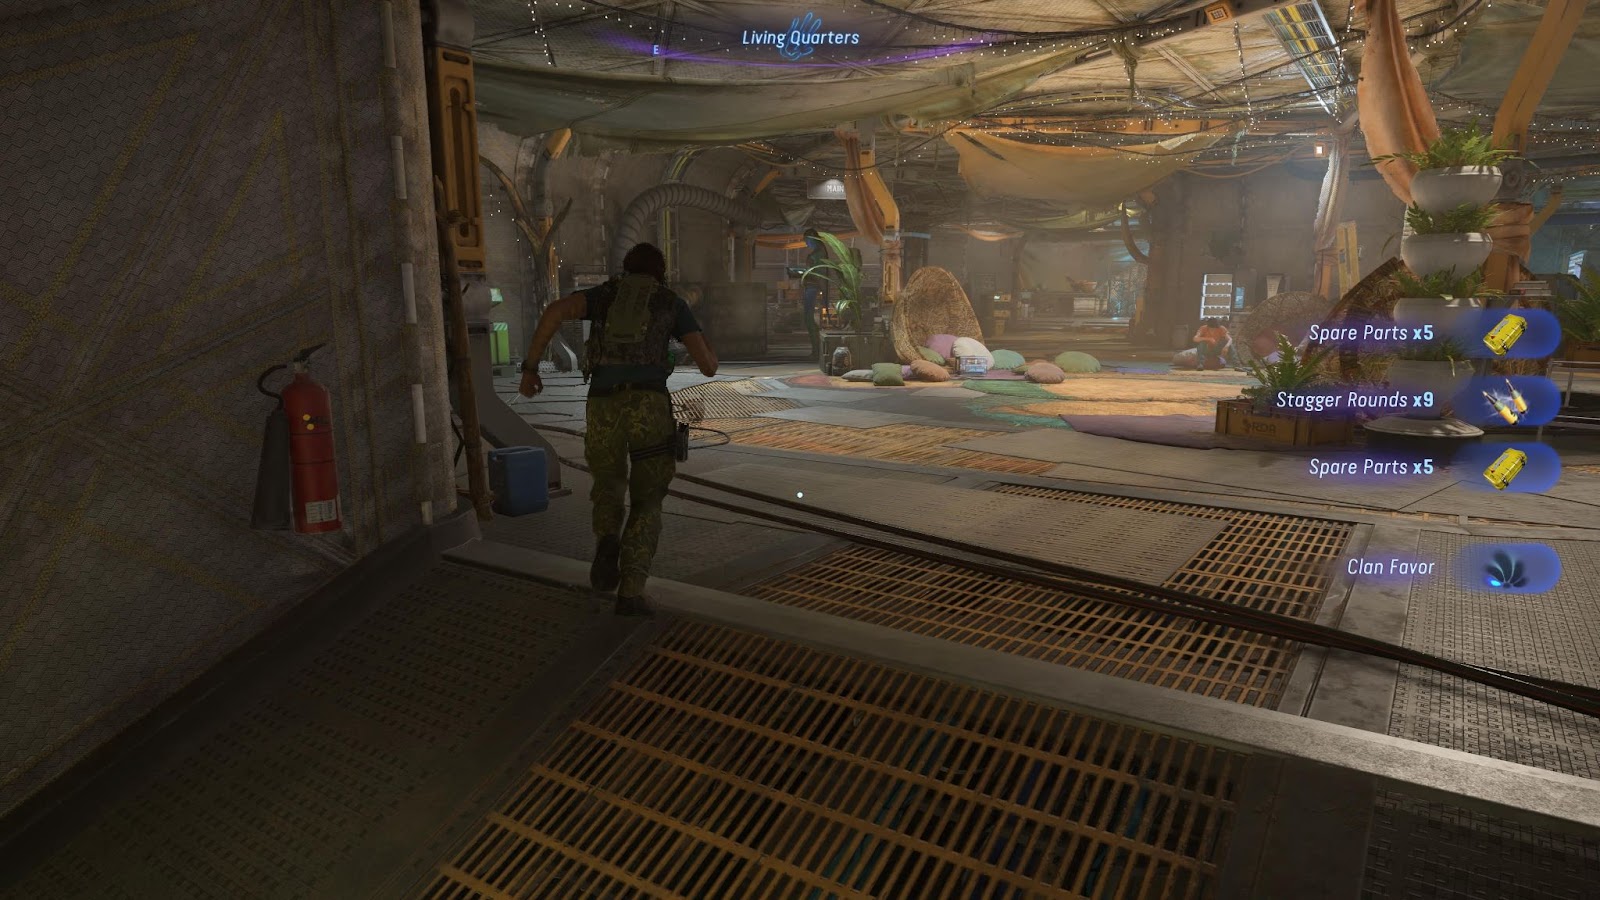
Despite the less-than-fulfilling ending from a narrative perspective, you do get some good rewards from completing this side quest. You will receive 10 Spare Parts as well as one Clan Favor and nine Stagger rounds for your assault rifle. This is a worthwhile reward, as you need to stock up on all the supplies you can to fight the RDA.
Because of this, I would definitely recommend completing this Avatar mission even though it is optional so that you can grab those nifty supplies.

Published: Dec 13, 2023 12:09 am